TL;DR
Let's Do It Together!
Step 1: Open Agency Configuration
Click on Agency to access agency configuration.
Step 2: Access Custom Templates
Select Custom templates to view available templates.
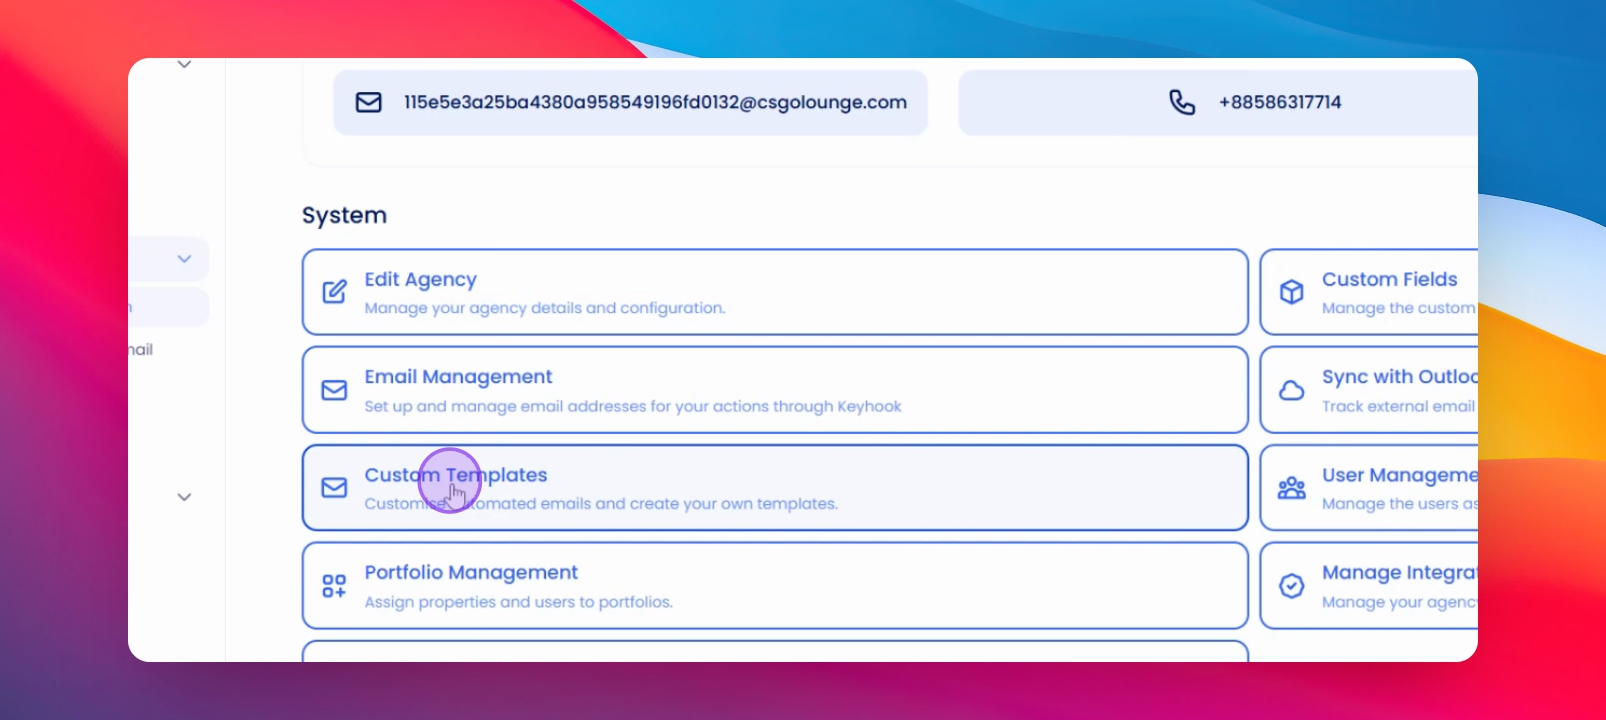
Step 3: Choose a Template
Select the template you want to change.
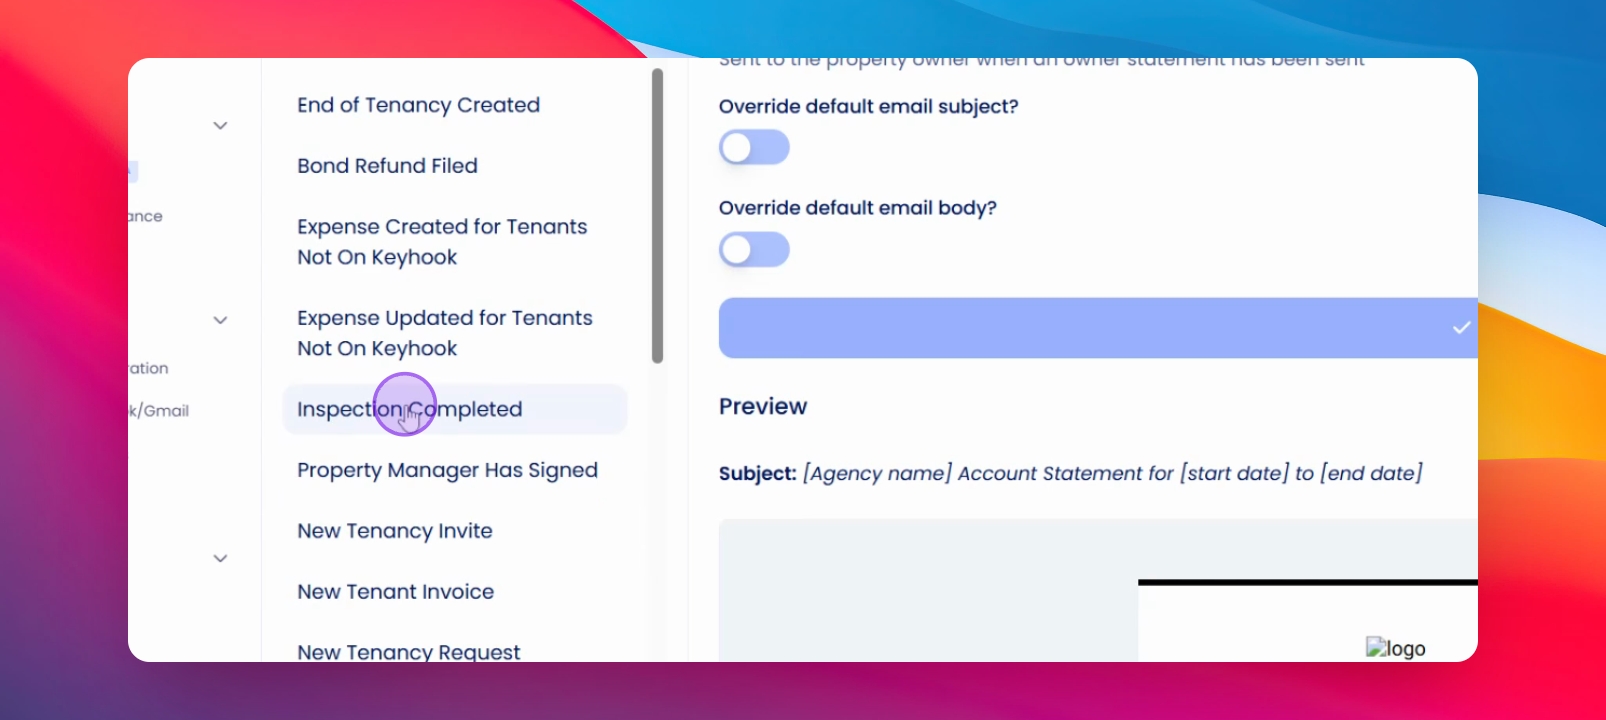
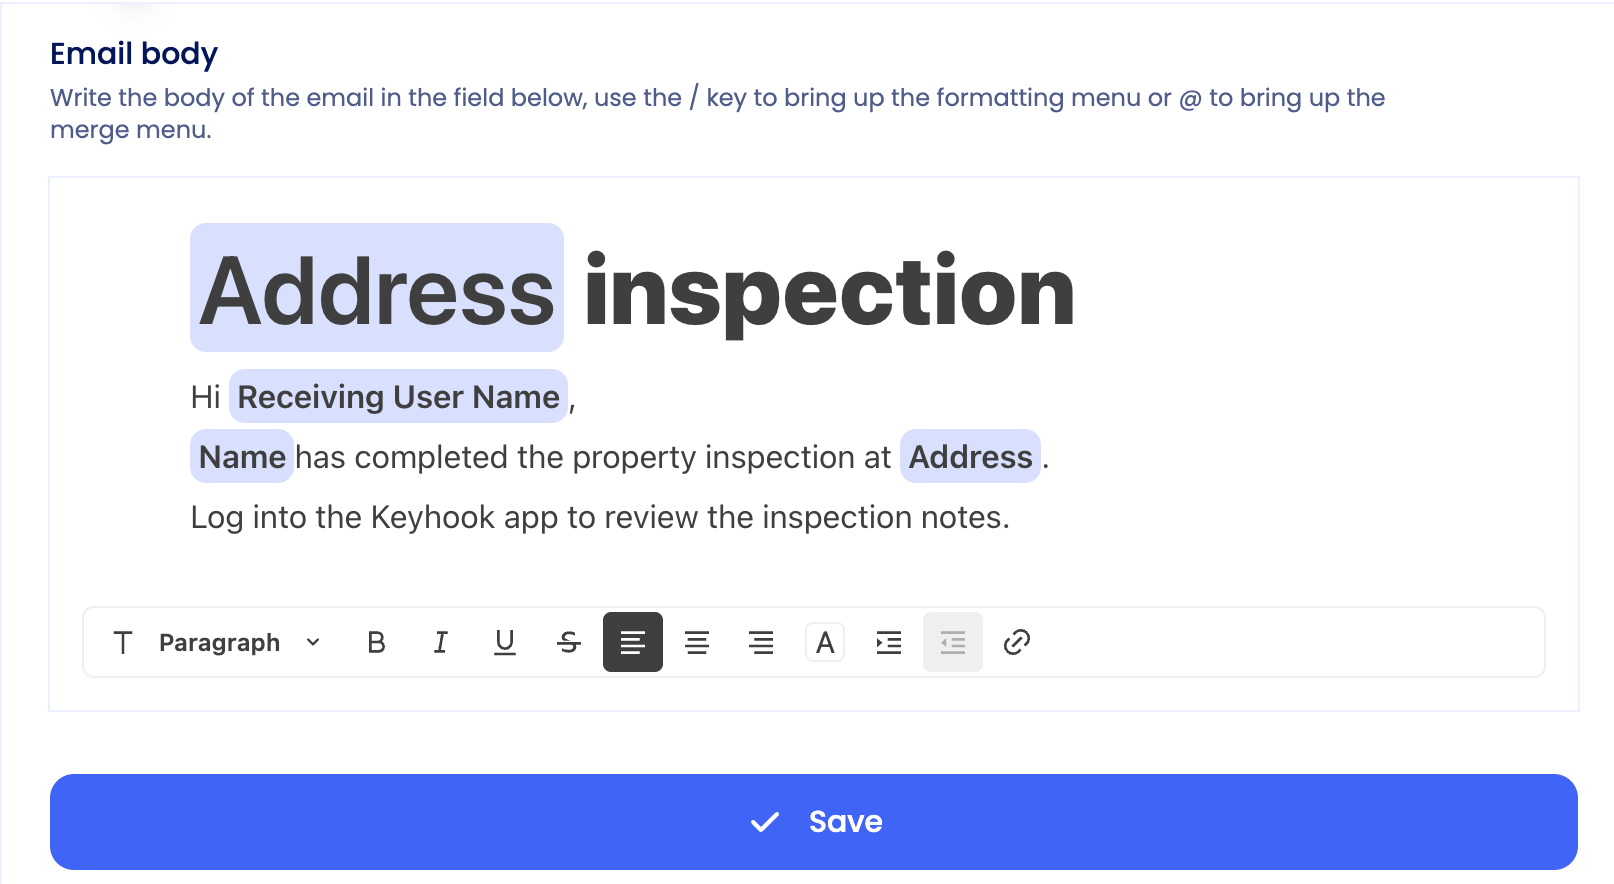
Step 4: Modify Template Content
Change the subject and body of the selected template.
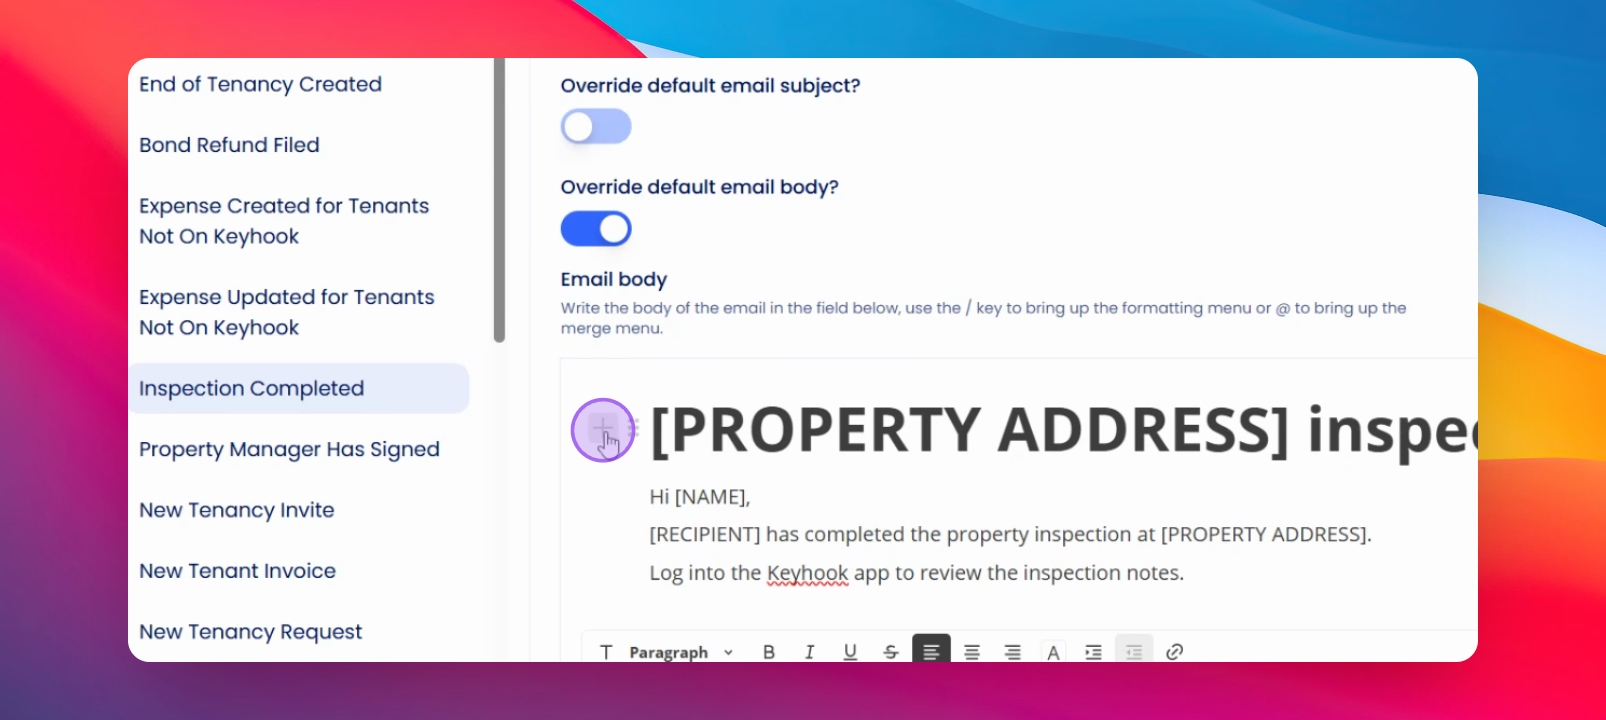
Step 5: Override Default Body
Click override default email body to change the content.

Step 6: Copy Existing Body Content
Paste the original wording if needed before editing.
Now you can add to the wording as required.
Step 7: Use the Plus Button
Click the plus button to add lists, paragraphs, images, and more.
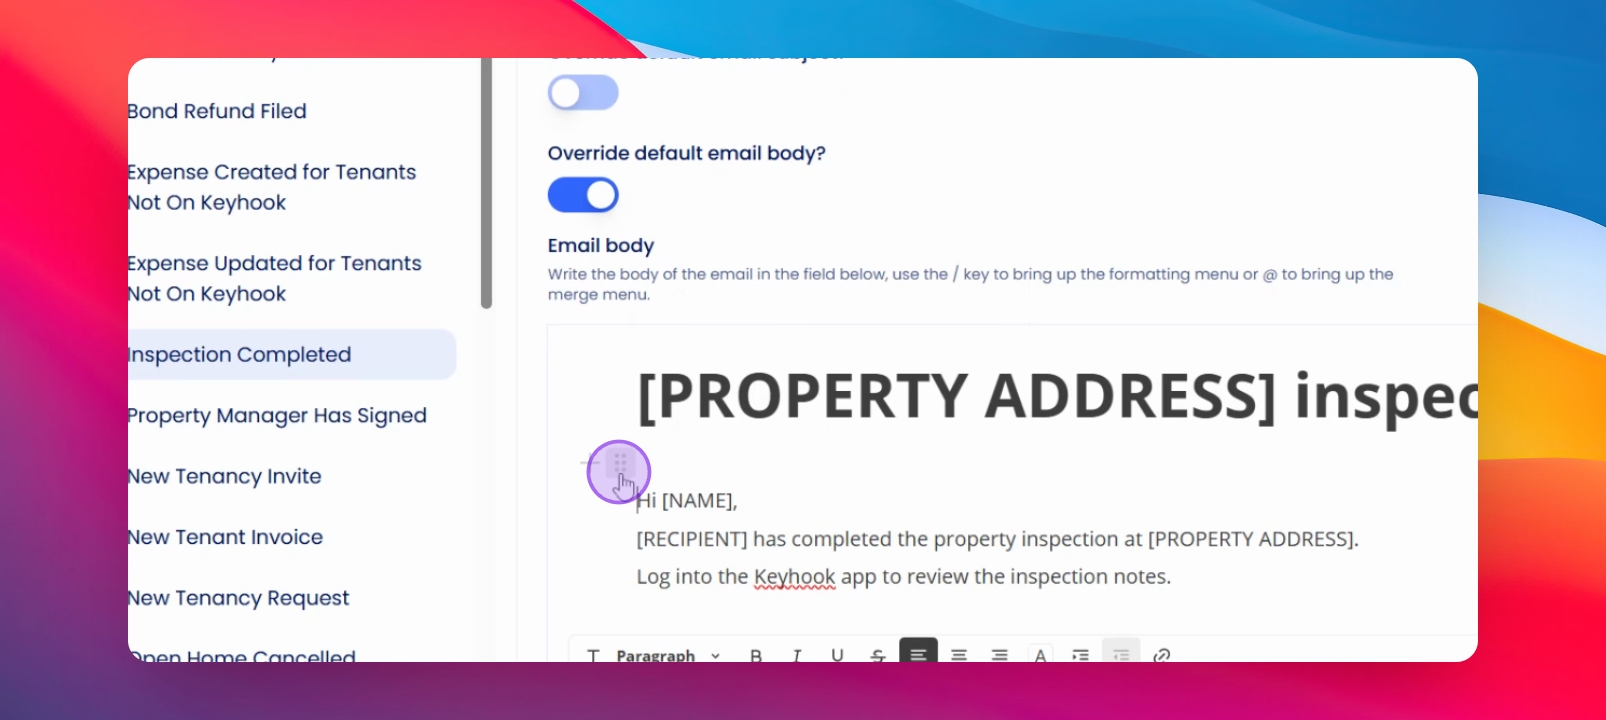
Step 8: Manage Formatting
Use the six dots for formatting options like deleting or adding colors.
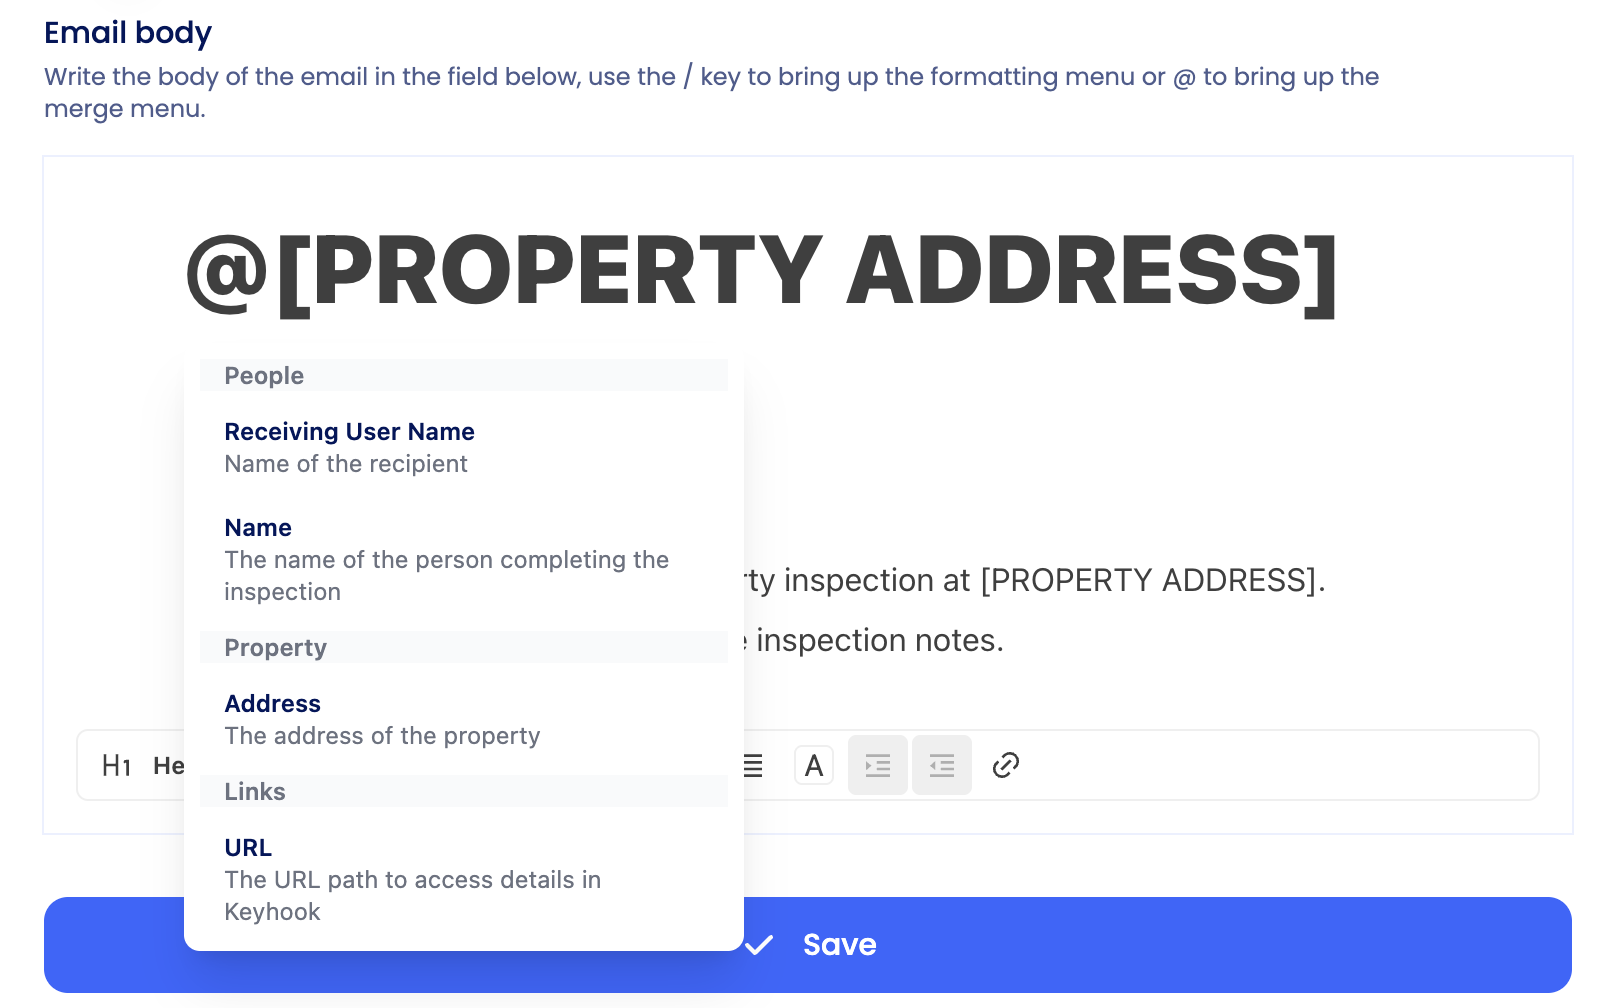
Step 9: Add Merge Fields
Press @ to bring up the list of available merge fields. Select the merge field you would like to include.
Step 10: Save Changes
Make sure to click save to apply your changes.
Step 11: Verify Your Template
Return to the template to confirm your changes are visible.
Your customized version will now appear instead of the default.
Step 12: Restore Default Template
If needed, you can revert to the original default template.
Simply turn off the override option.
If you need more help or have any questions, just reach out to us at support@keyhook.com — we're always here to help!
Click on this link to give a feedback: Support Article Feedback Form