How to instructions
1. Accessing the Inspection Table
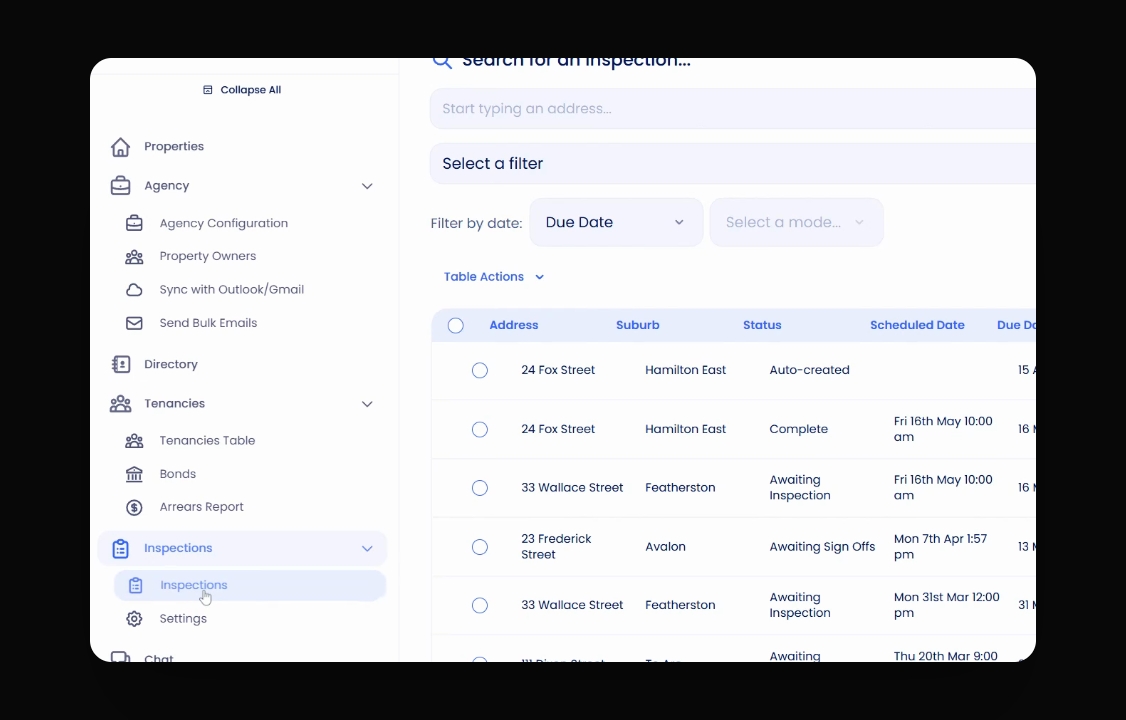
To find the inspection table, navigate to the left-hand menu. Click on Inspections and then click on Inspections again. This will take you to the inspection table.
2. Customizing Table Display
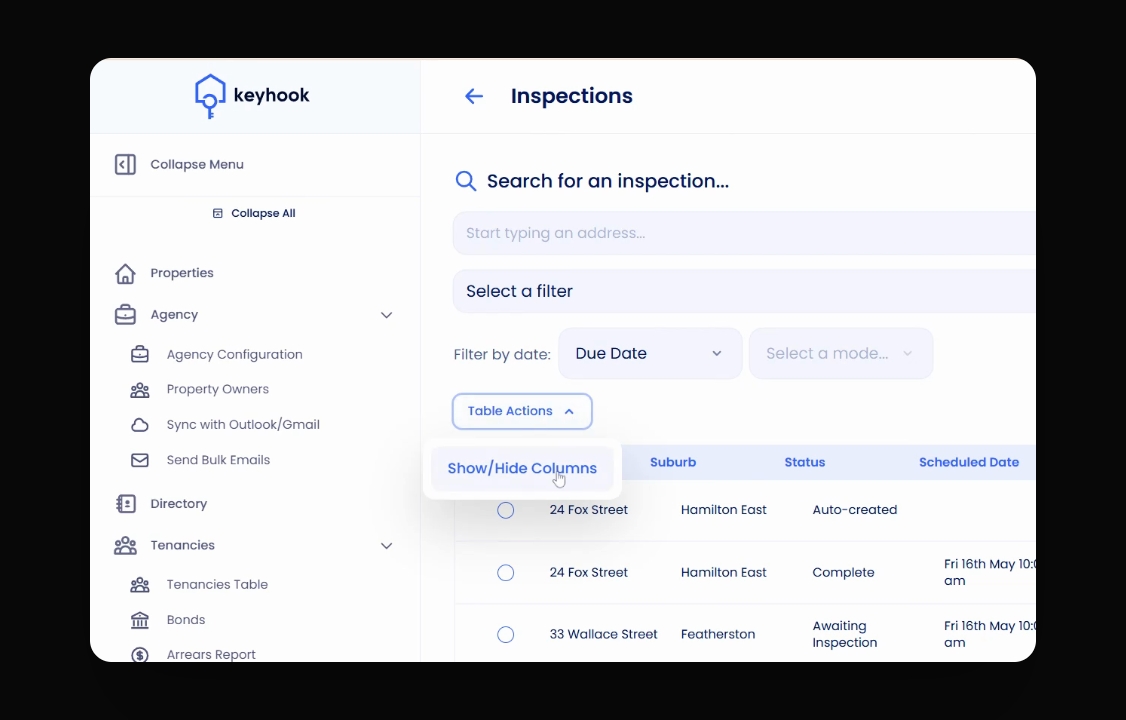
You can choose what you see on the screen by clicking on table options and then selecting Show and Hide columns. Here, you can decide what you want to display and apply the changes to see the inspections that are currently set.
3. Setting Up Filters
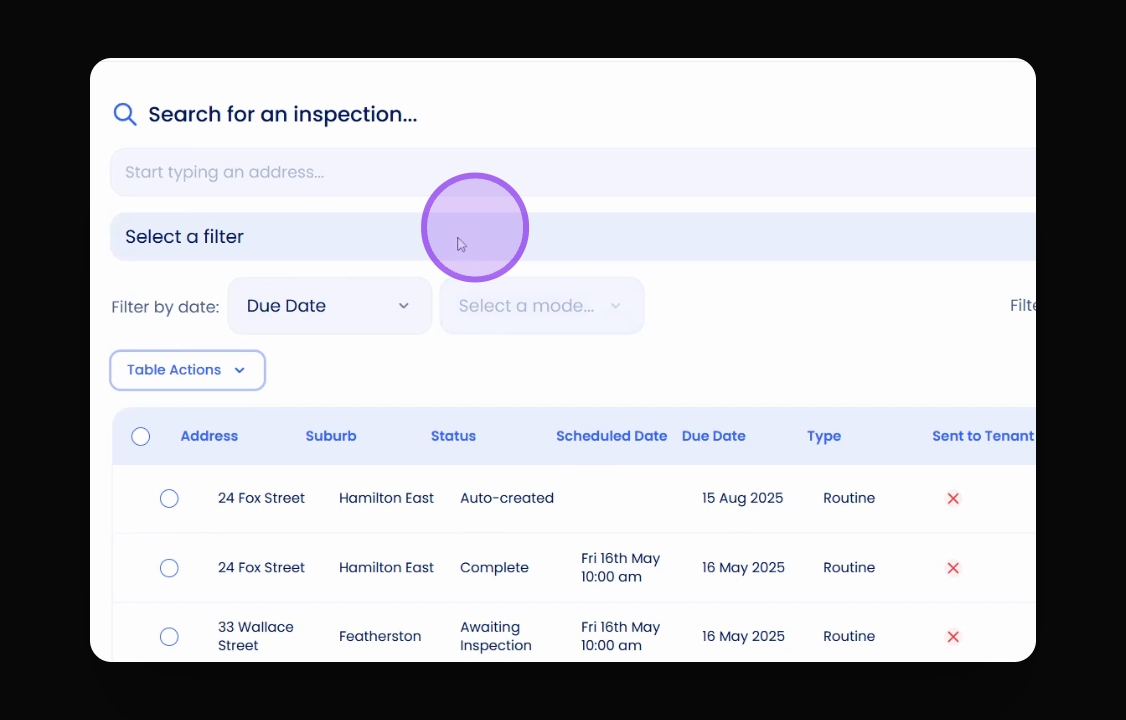
You have a variety of filters available to manage your inspections. You can filter by those that are due now, those awaiting inspection, and more. Explore these options to tailor the inspection table to your needs.
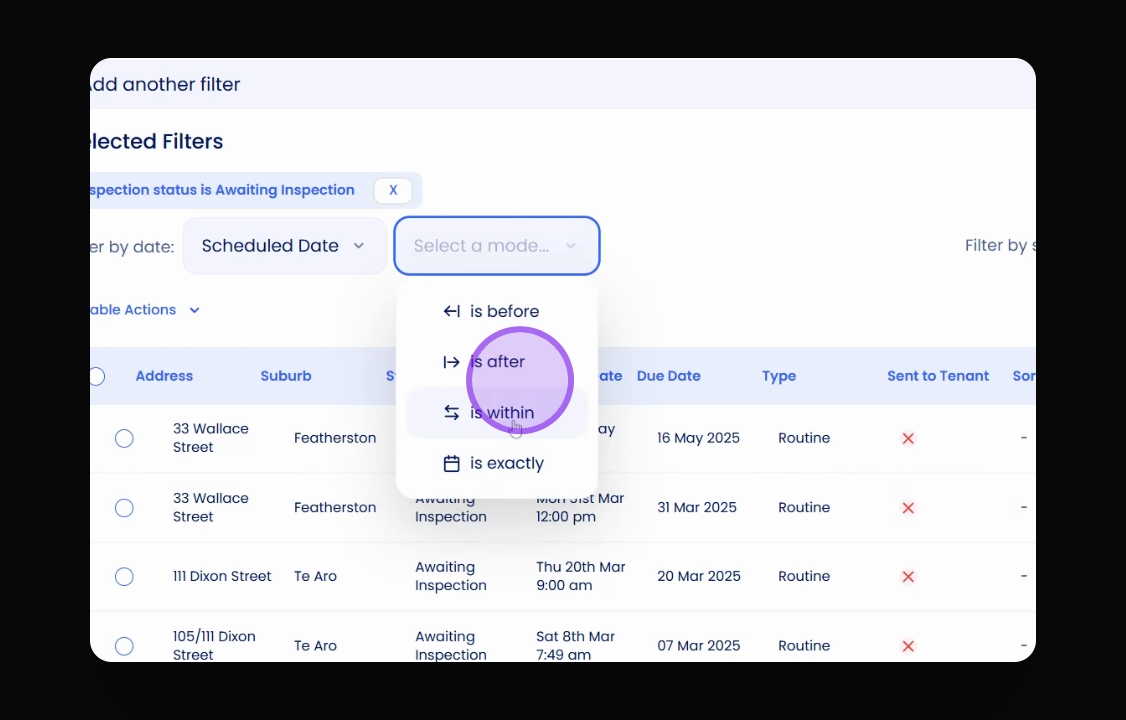
4. Filtering by Schedule Date
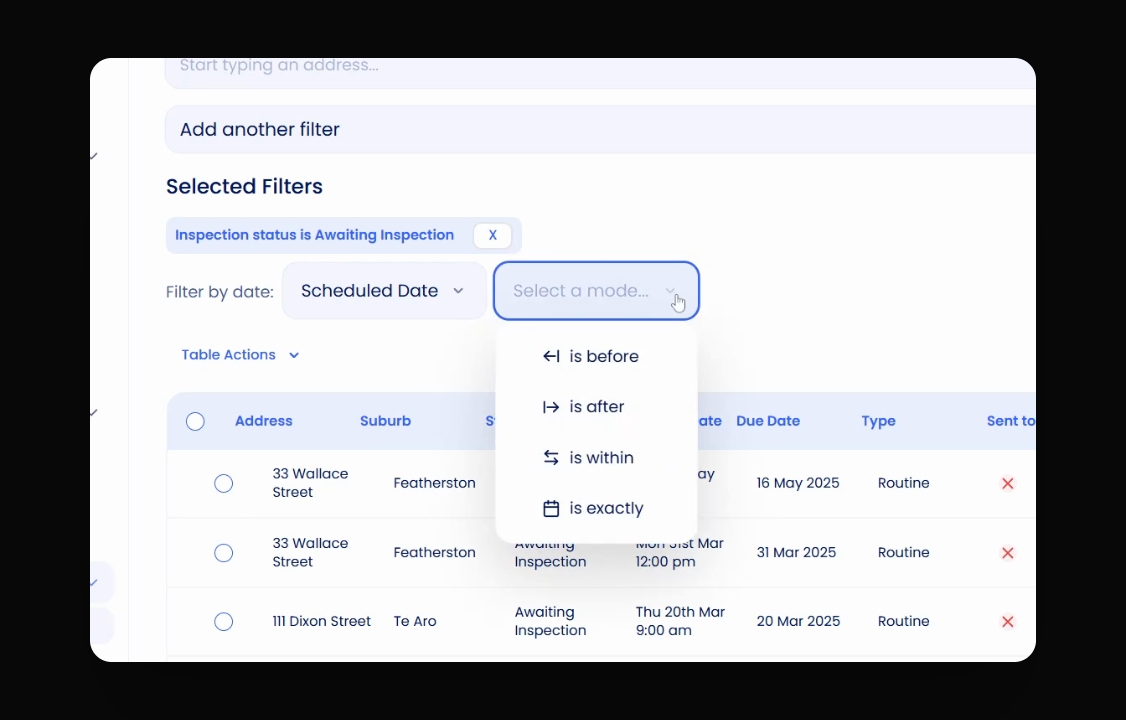
You can choose to filter by either the due date or the scheduled date. For instance, you can specify if you want to see inspections that are before today, after today, within a date range, or exactly on a certain date.
5. Applying a Date Range Filter
For this example, let's say you want to view inspections within a specific date range. You would select the range from 1st of March to 31st of March. This will display the inspections due within that timeframe.
6. Sorting Inspections
You can also organise inspections by sorting codes. Which are set against a property in the Property Setup page.
Conclusion
By following these steps, you can effectively utilise the inspection table to manage and organise your inspections according to your preferences.