Let's do it together!
Step 1: Access Keyhook
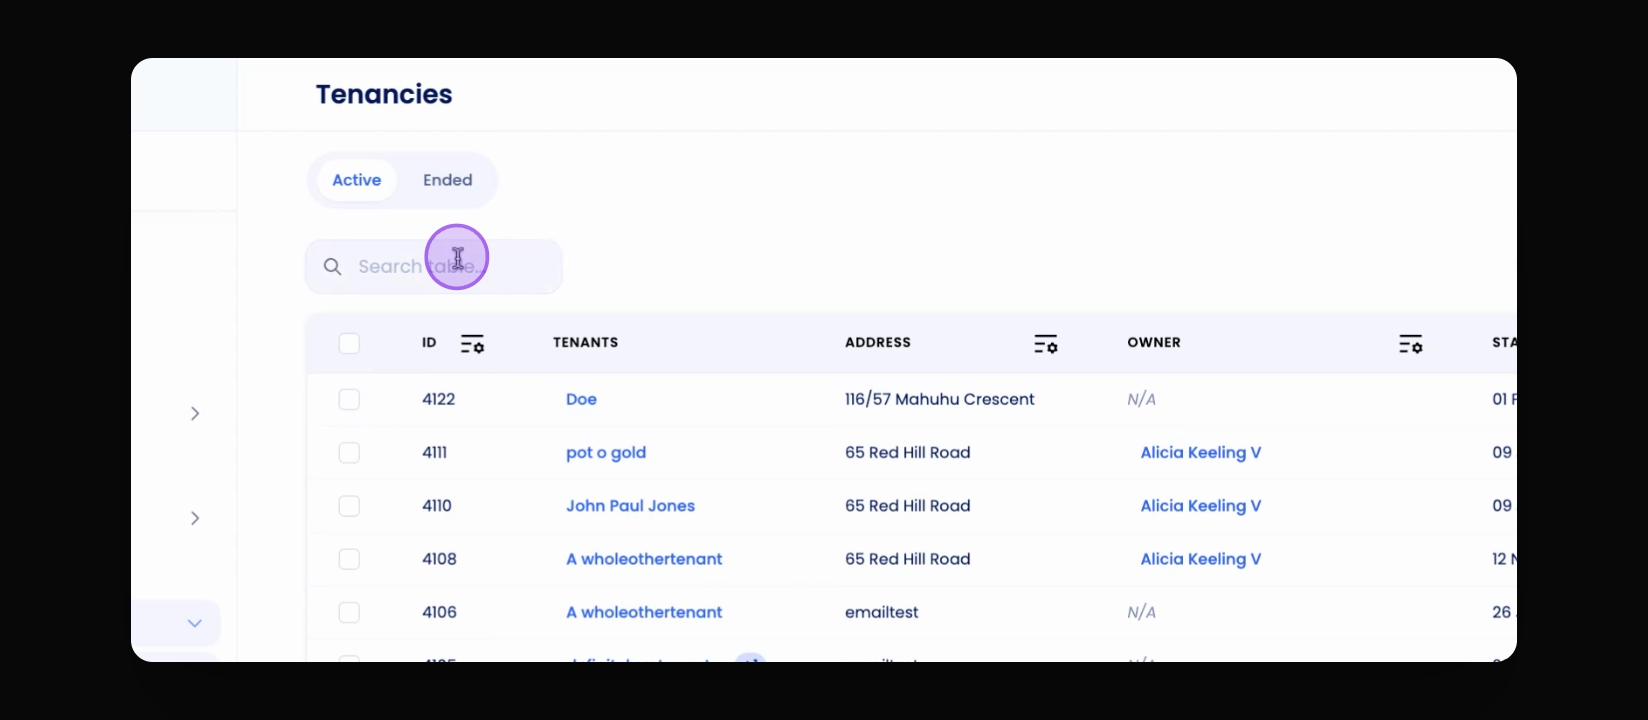
Open Keyhook and navigate to any page where tables are available, such as property owners or tenancies.
Step 2: Use Search Bar
Utilize the search bar at the top of the page to find specific information from the table.
Step 3: Search Example
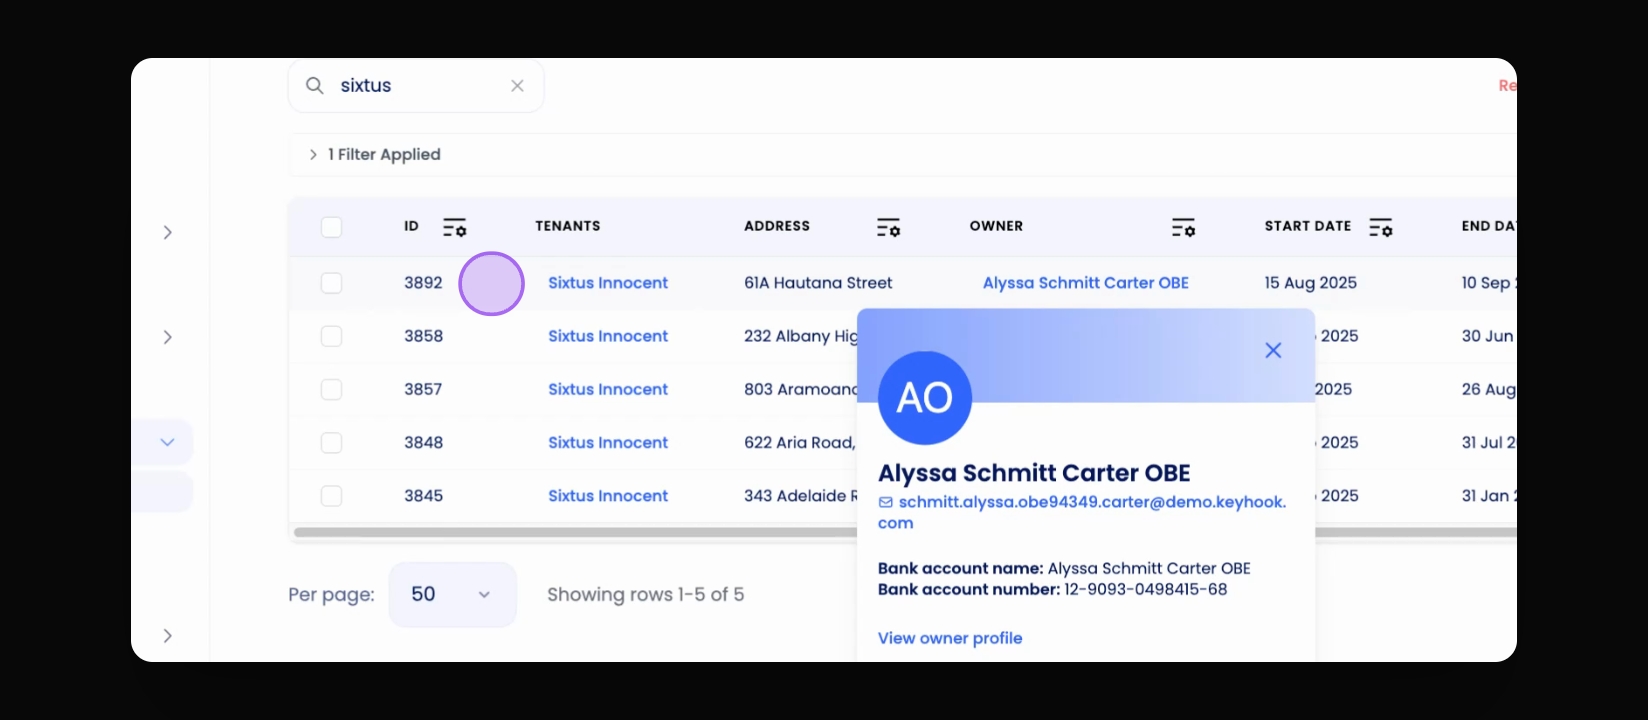
For example, search using tenant's name, property address, or owner's name to find relevant tenancies.
Step 4: Instant Table Update
The table updates instantly based on your search criteria.
Step 5: Clickable Data
Notice the data in bright blue; this indicates clickable elements that lead to more information.
Step 6: Access Info Box
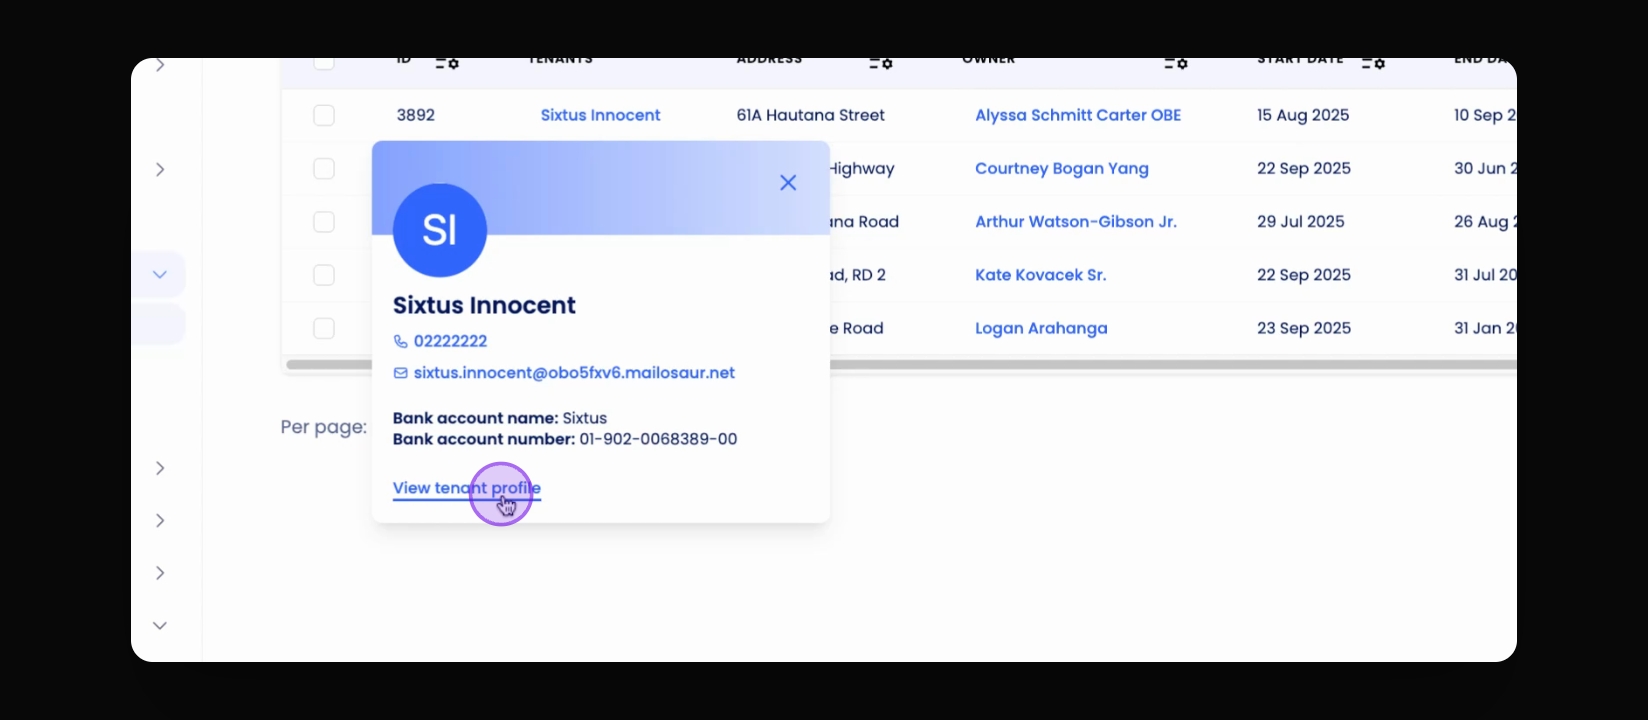
Click on blue values, like the tenant's name, to open an info box with more details.
Step 7: Navigate Records
From the info box, you can navigate to the tenant's profile or related records.
Step 8: Row Interaction
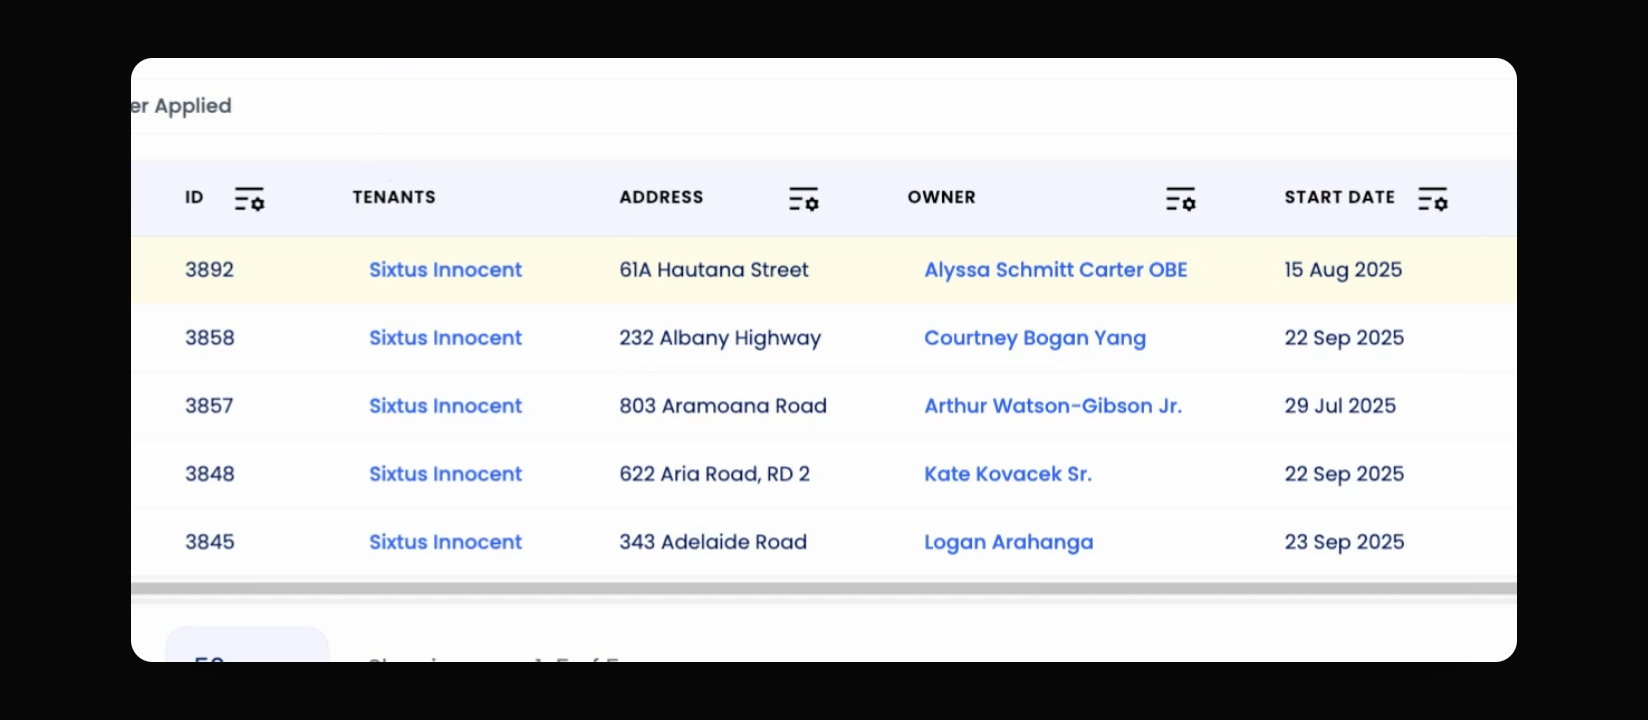
Click on any white space within a row to access the main page associated with that record.
Step 9: Selected Row Indicator
The selected row turns yellow to indicate the last clicked item, enhancing efficiency.
Step 10: Select Rows
Use the select all option or individual checkboxes to choose rows for bulk actions.
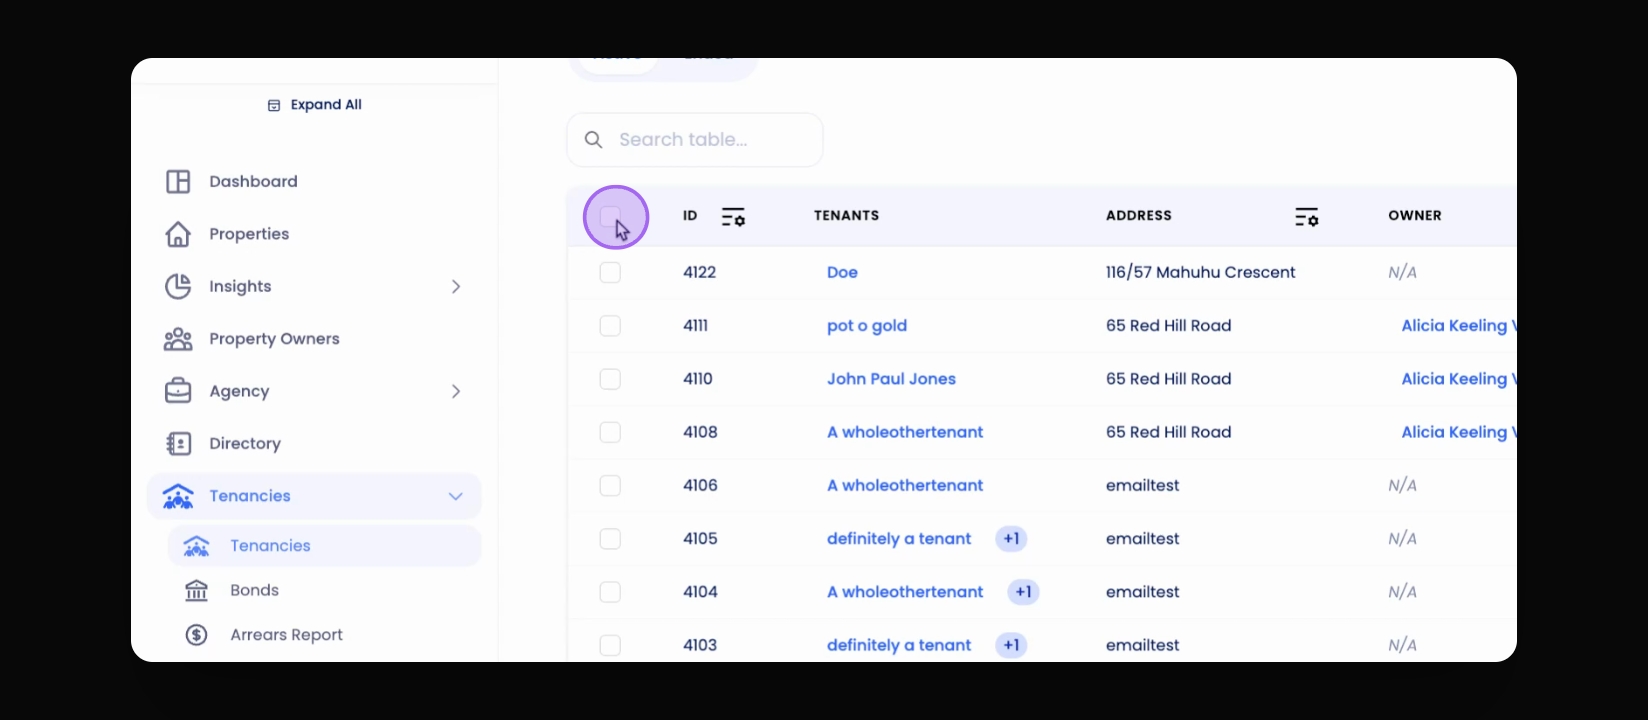
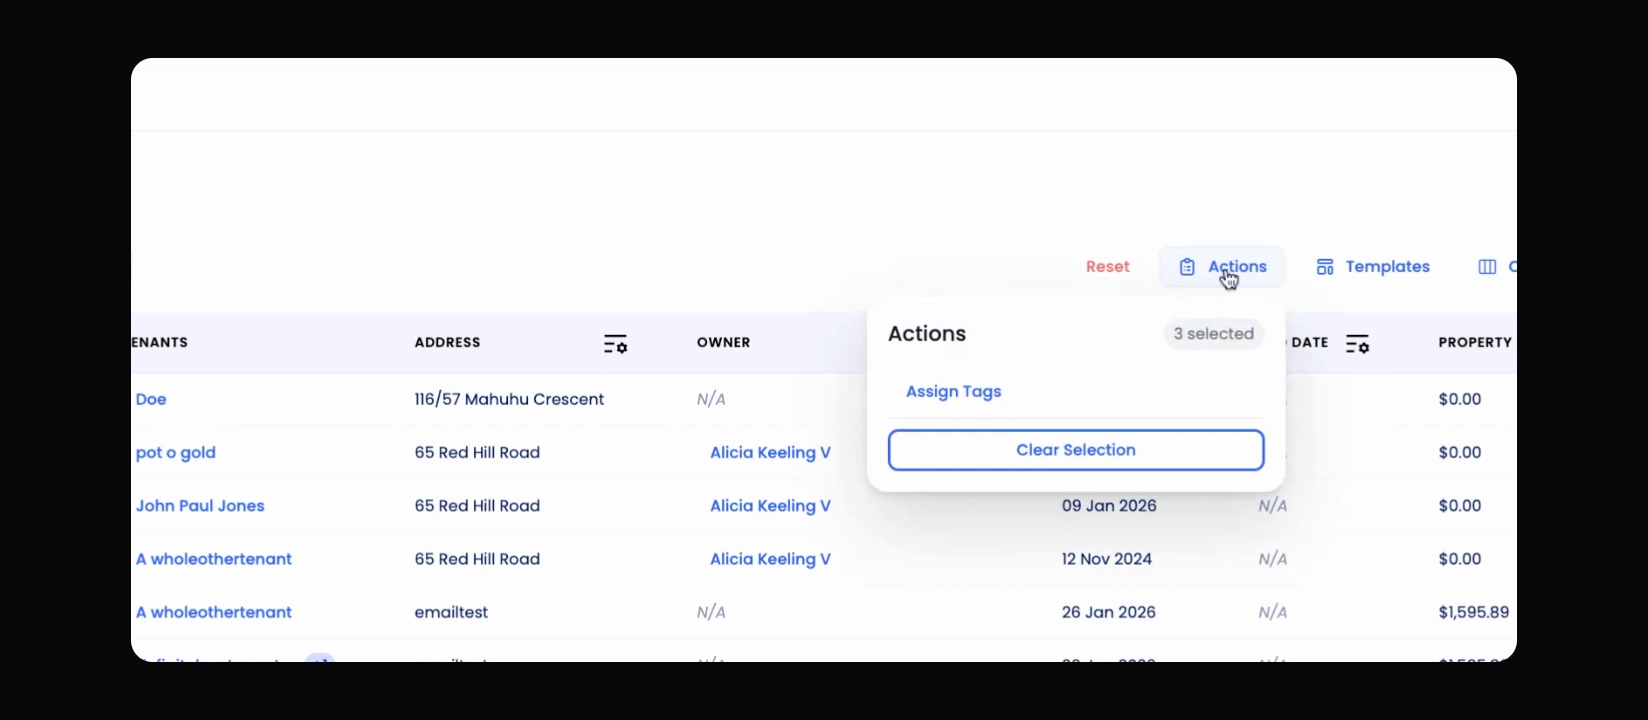
Step 11: Perform Bulk Actions
After selecting rows, click the Actions button to perform actions on multiple records.
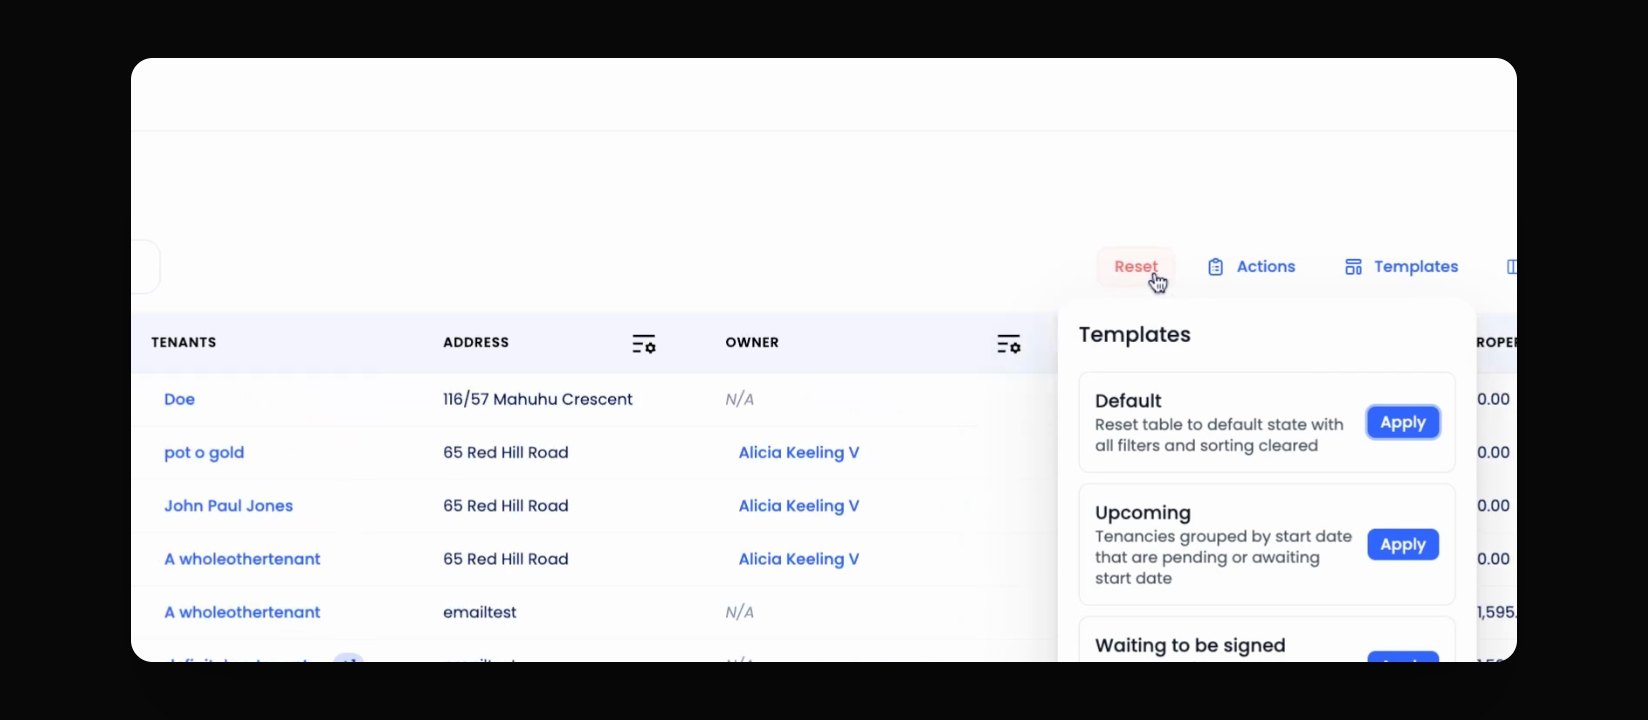
Step 12: Apply Templates
Choose from Keyhook's predefined templates to customize the table view with a single click.
Step 13: Reset to Default
Click Default from the templates or the Reset button to return to the default view.
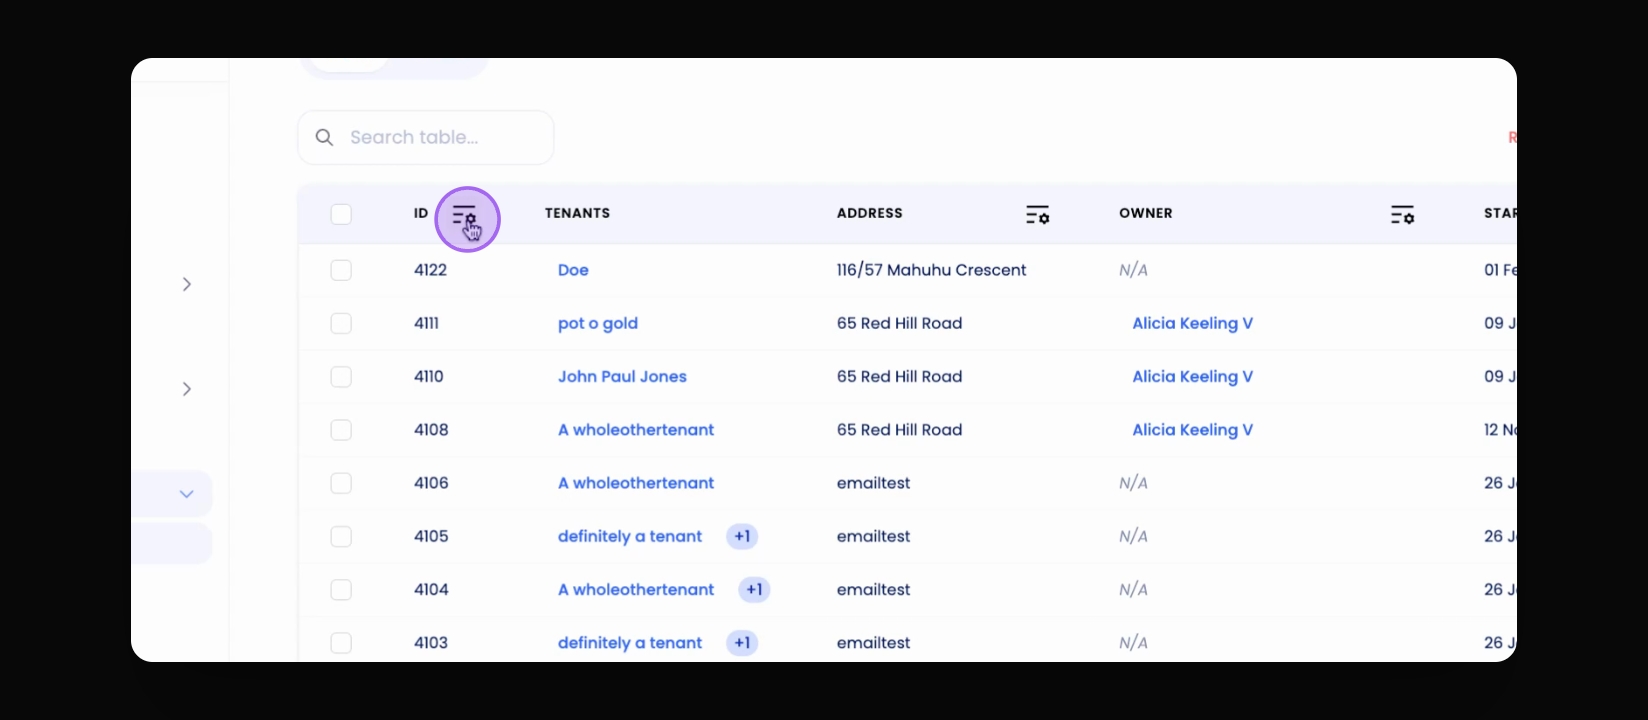
Step 14: Filter Columns
Use the filter option in each column to refine the displayed data as needed.
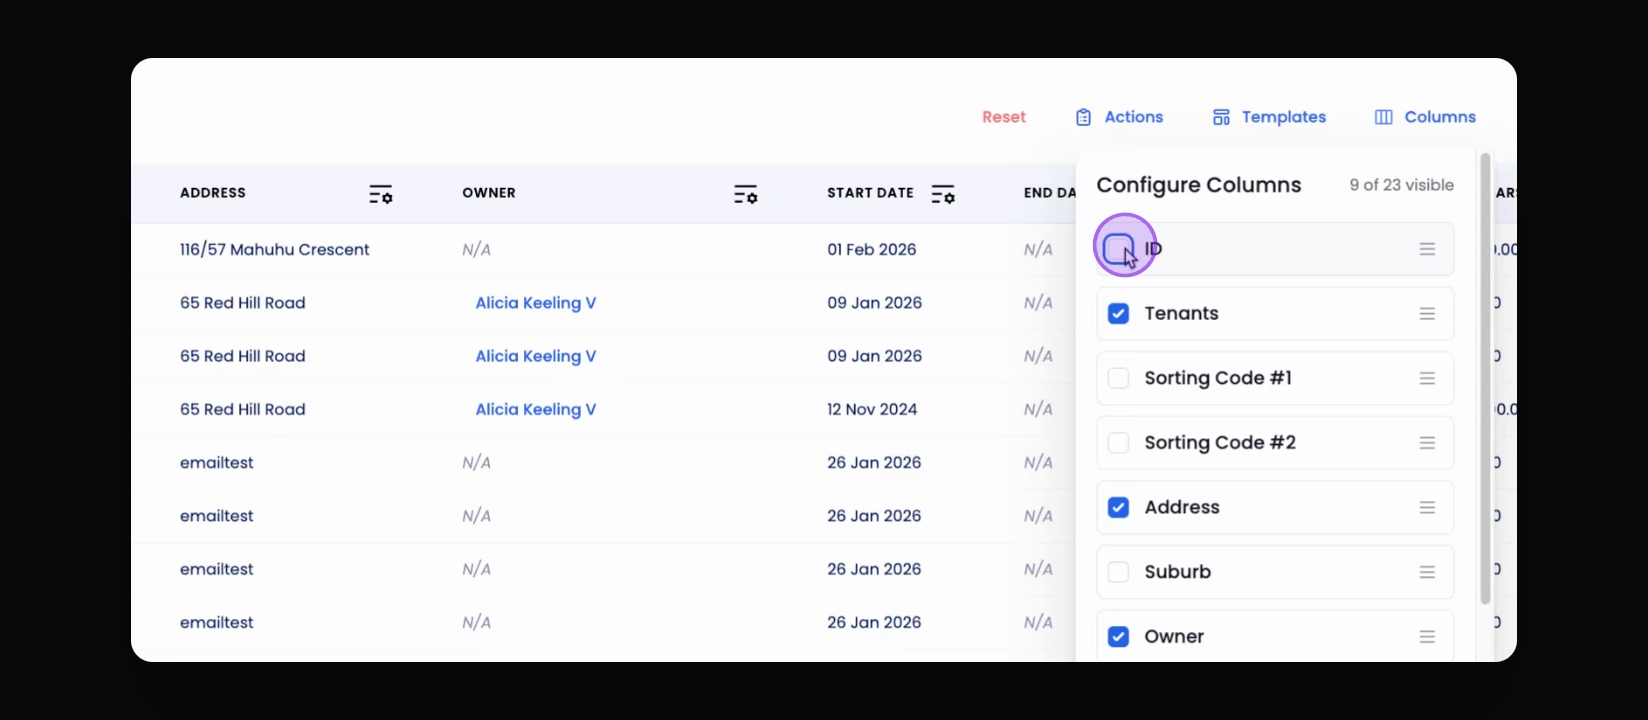
Step 15: Customize Columns
Click on the Columns button to select or deselect which columns to display in the table.
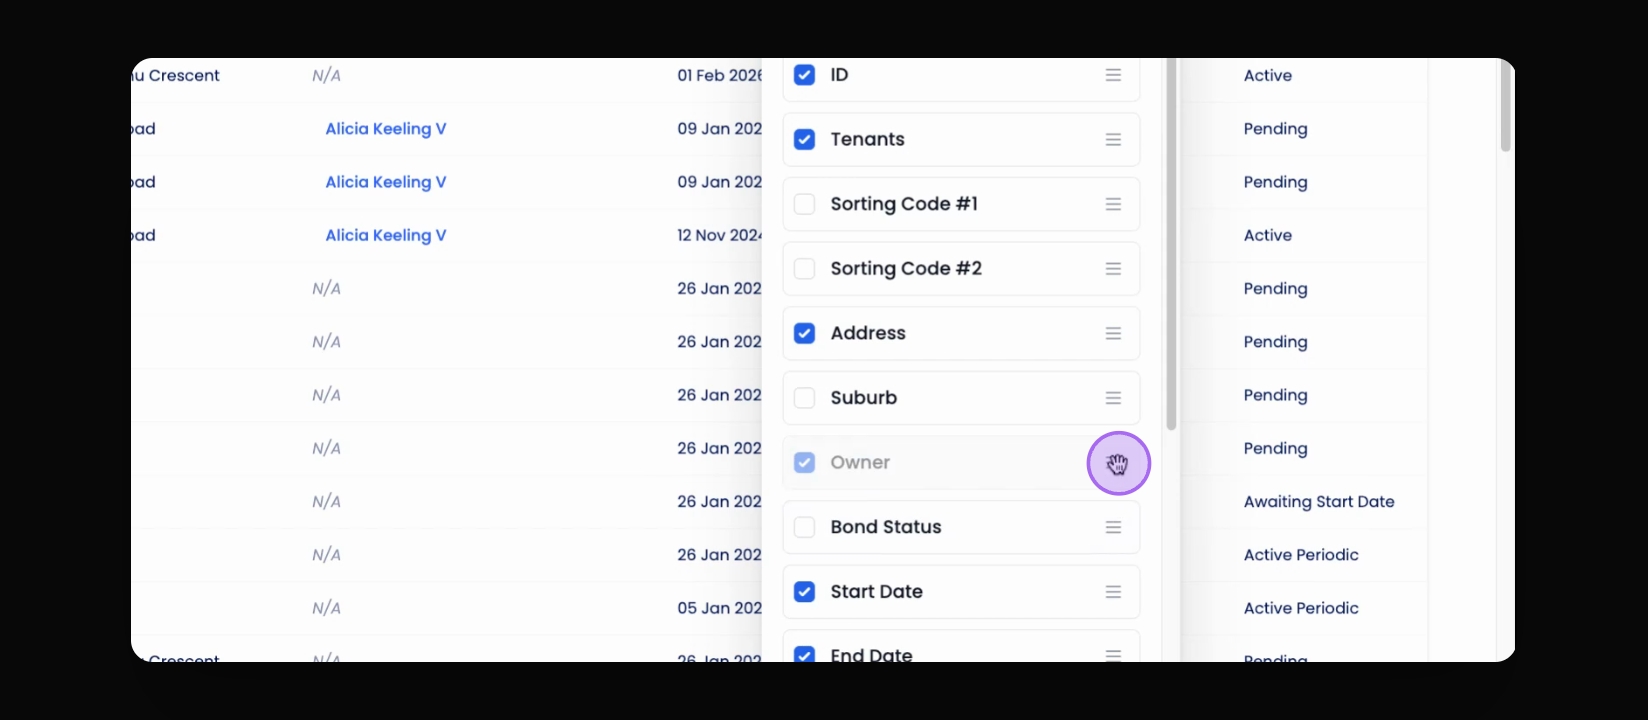
Step 16: Rearrange Columns
Change the order of columns by dragging the Drag or Hamburger icon to your desired position.
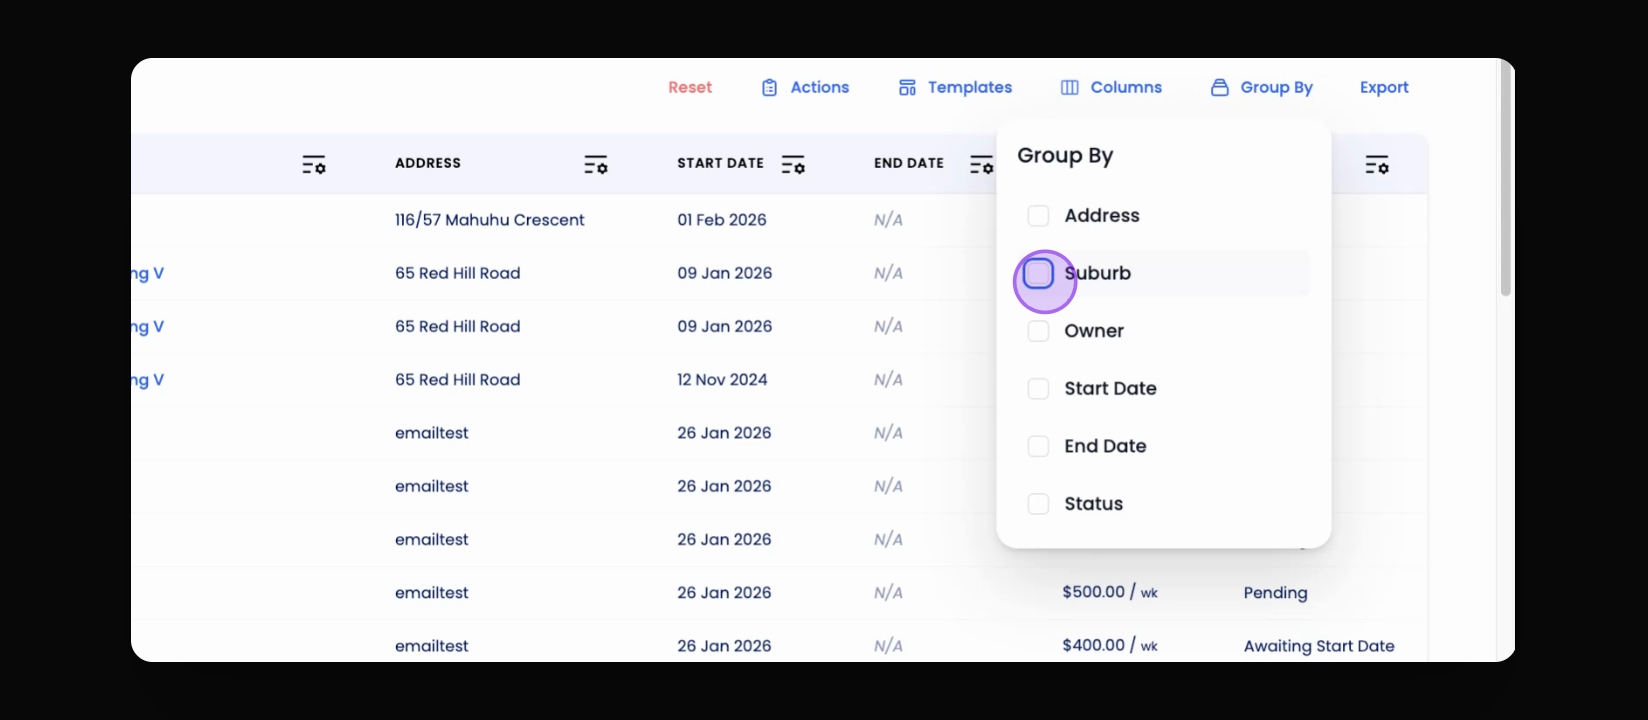
Step 17: Group Data
Use the Group by option to organize table data based on specific fields.
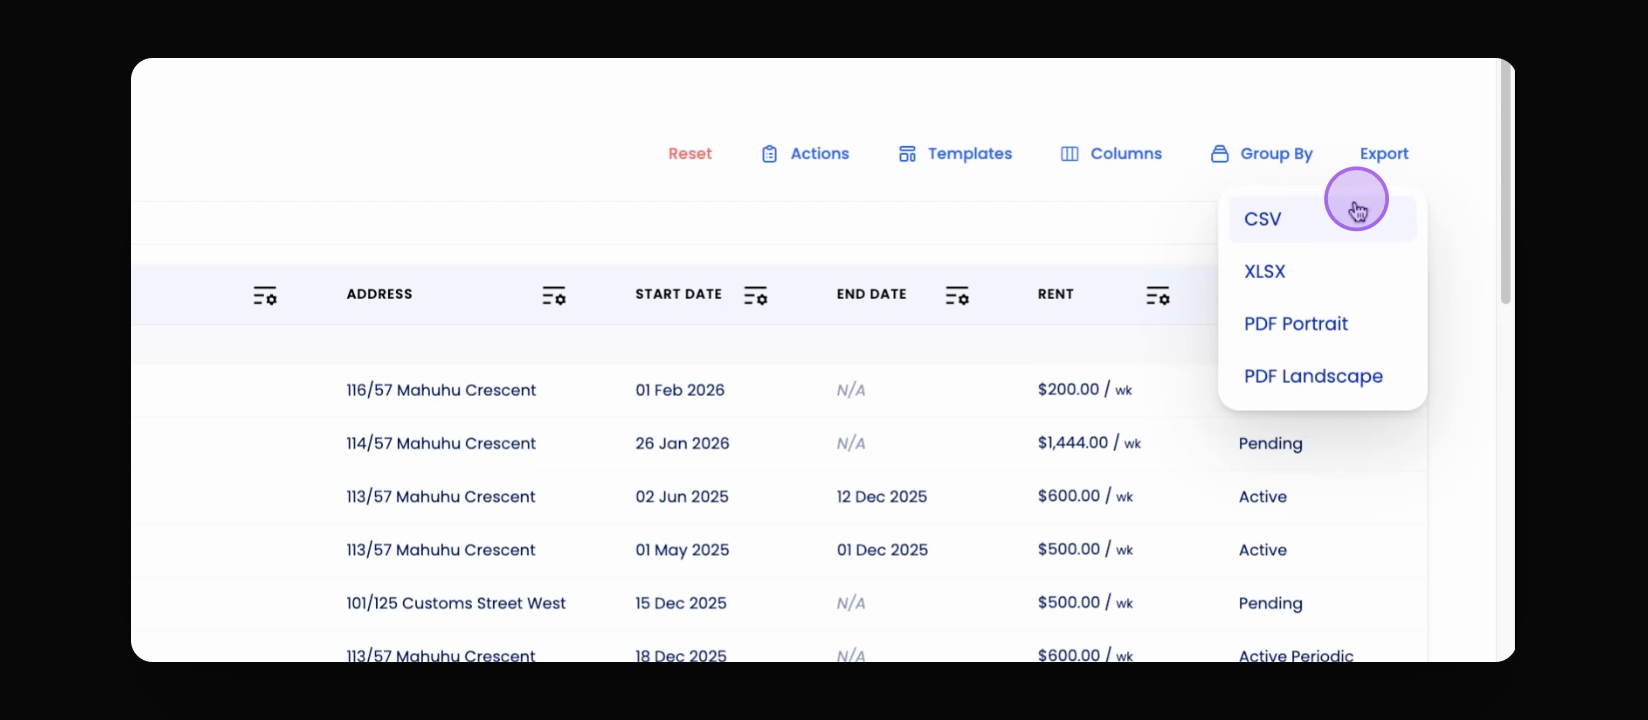
Step 18: Export Data
Once satisfied with the table setup, click the Export button to choose the format for data export.
If you need more help or have any questions, just reach out to us at support@keyhook.com — we're always here to help!