Hi there, welcome to this video where we will look on how to use Keyhook Owner Portal.
Once you login using your credentials, you'll be brought to the dashboard.
At the top of the dashboard you'll see four tiles that provide a quick summary of your account.
Step 1: View Property Summary
The first tile will show you how many properties you own.
The second tile shows you the total rent you're receiving.
The third tile will show you the overall balances and the fourth tile will show you the status of activities around your account.
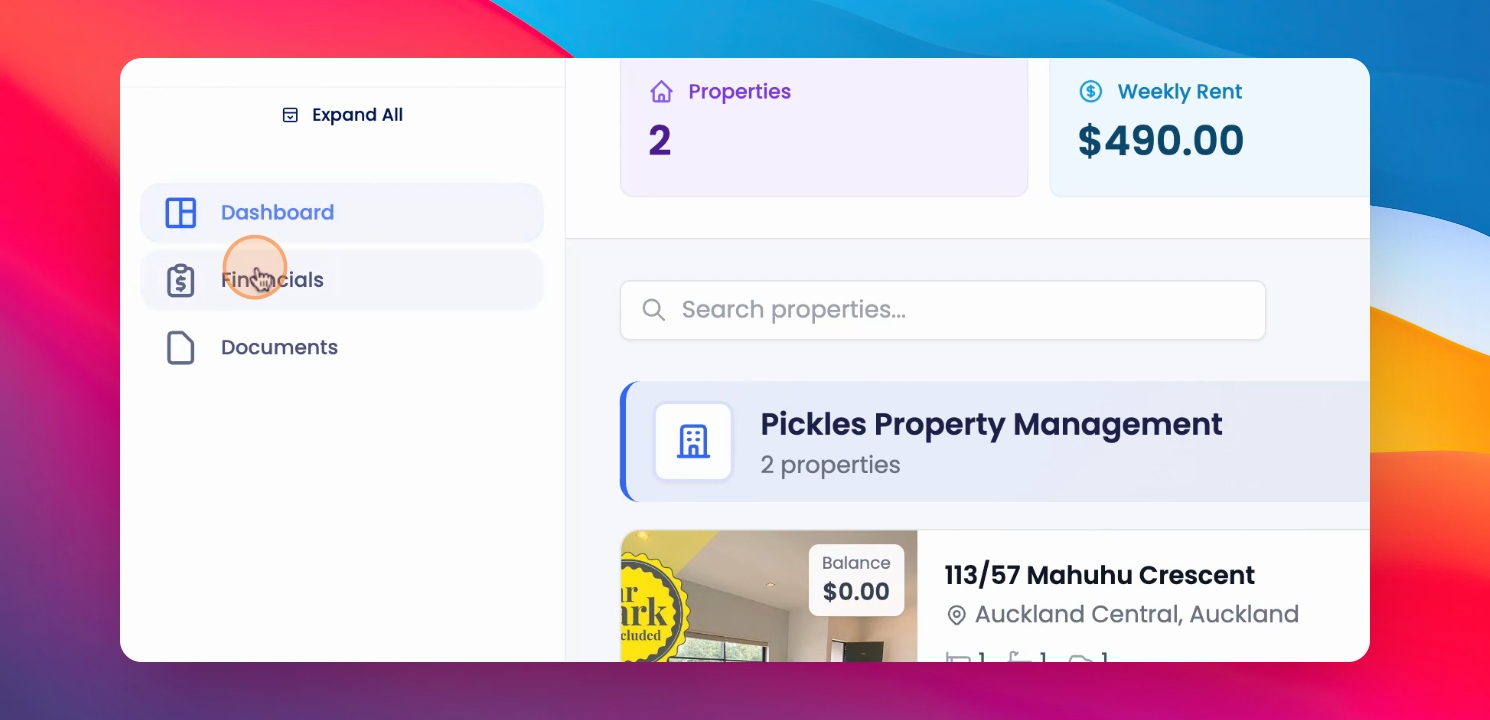
On the left hand side you'll see the navigation bar.
From here you can access Dashboard financials documents.
At the bottom of the navigation bar you will find your profile, where you can navigate to settings.
Step 2: Update Account Information
Account information lets you update your name, email, phone number, and password.
You can also add and update your signature.
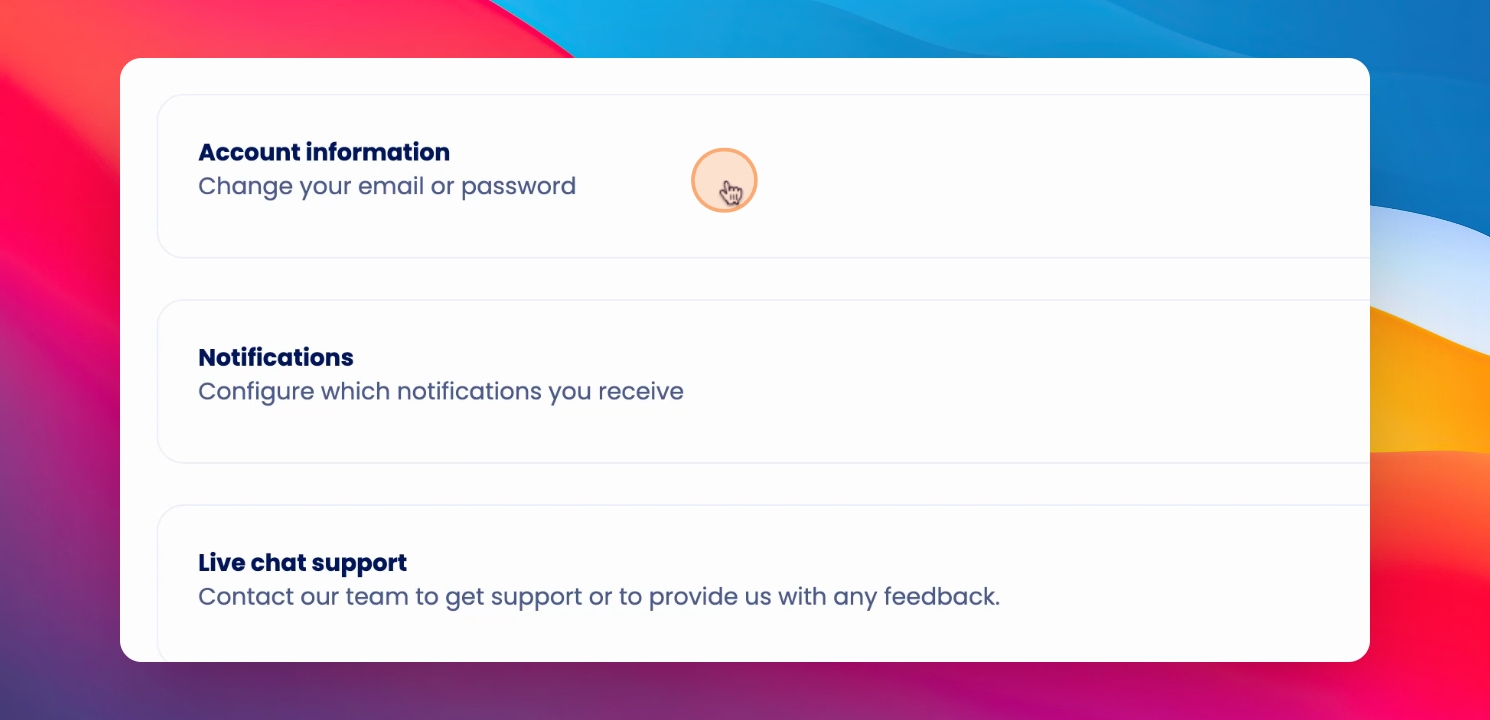
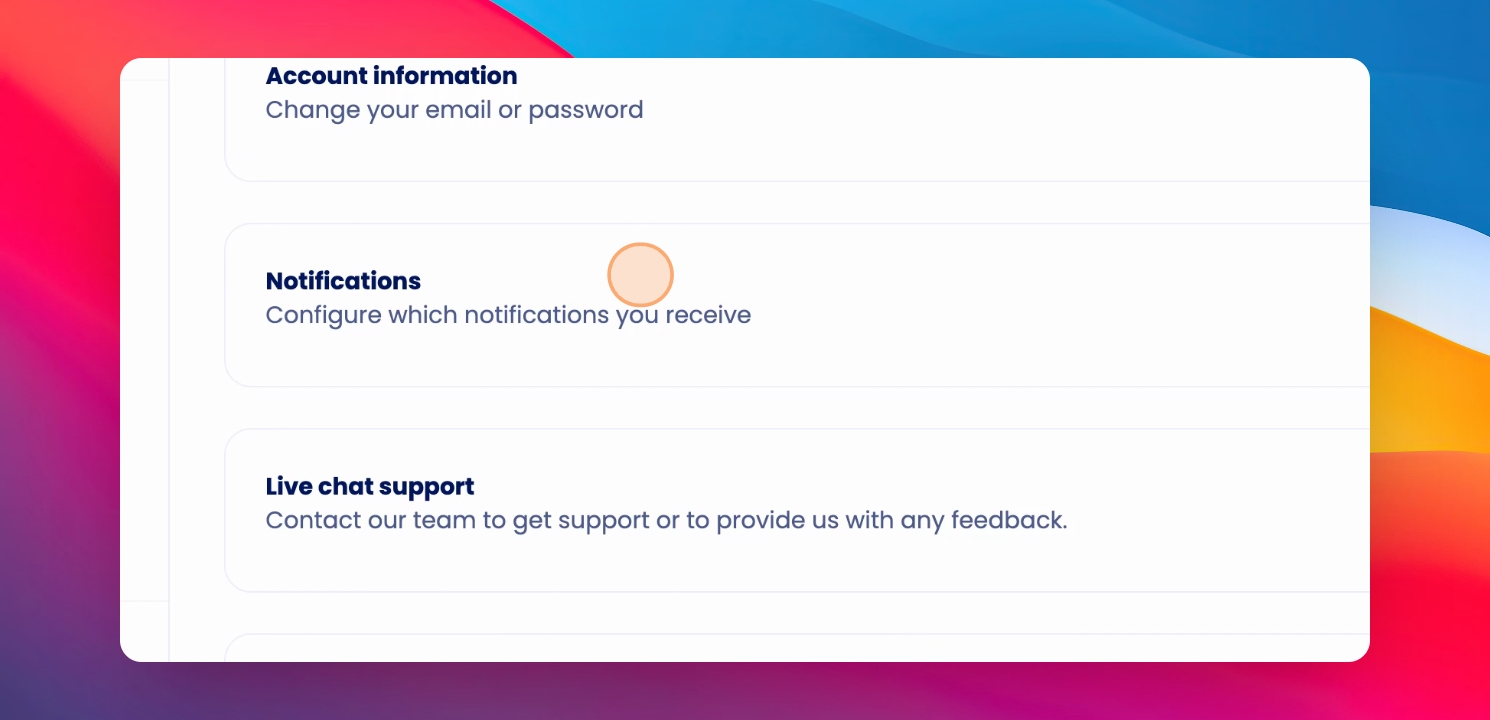
Step 3: Configure Notifications
Notifications let you configure the notification preferences.
You can also contact support if needed.
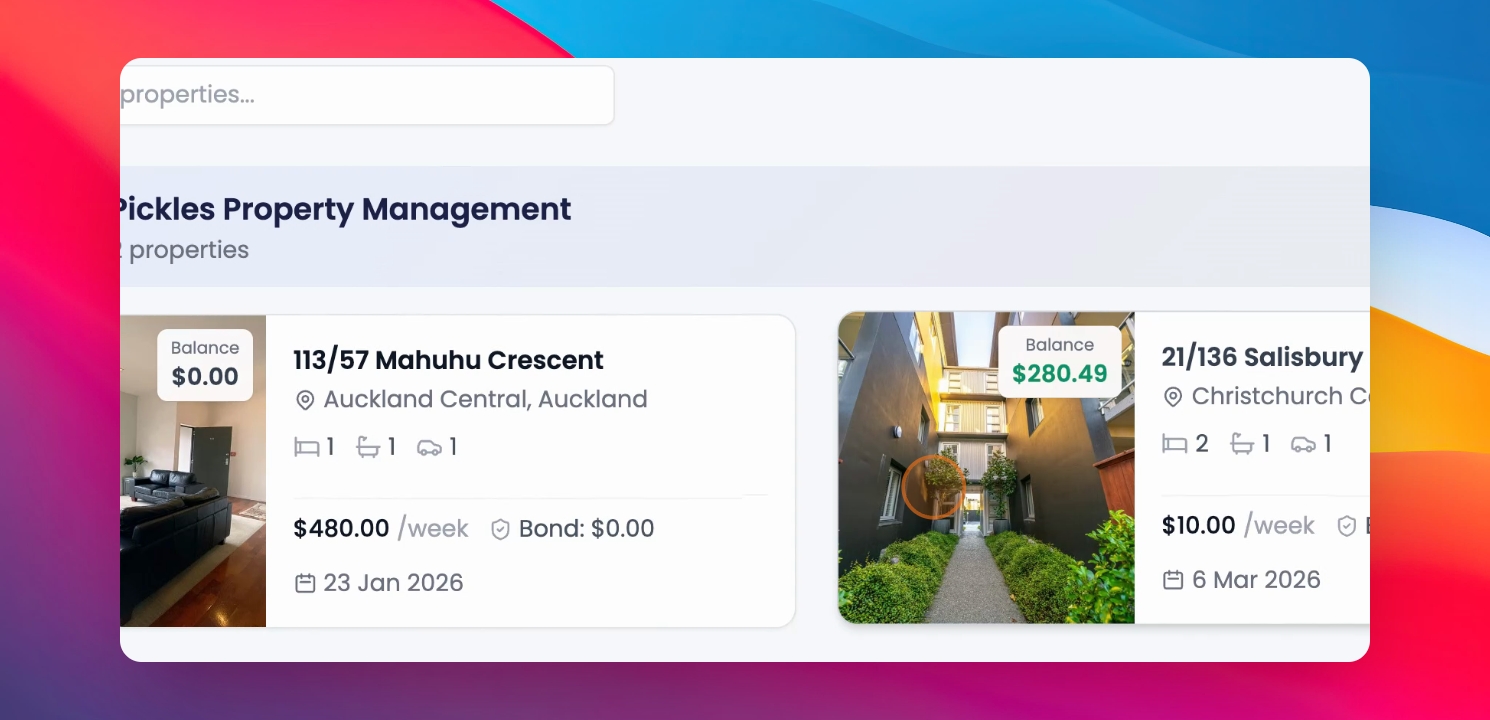
On the dashboard, you'll see the list of all the properties you own and that are managed by your property manager or the property management company.
Clicking on any property will take you to the dedicated dashboard for that specific property.
Step 4: Access Property Dashboard
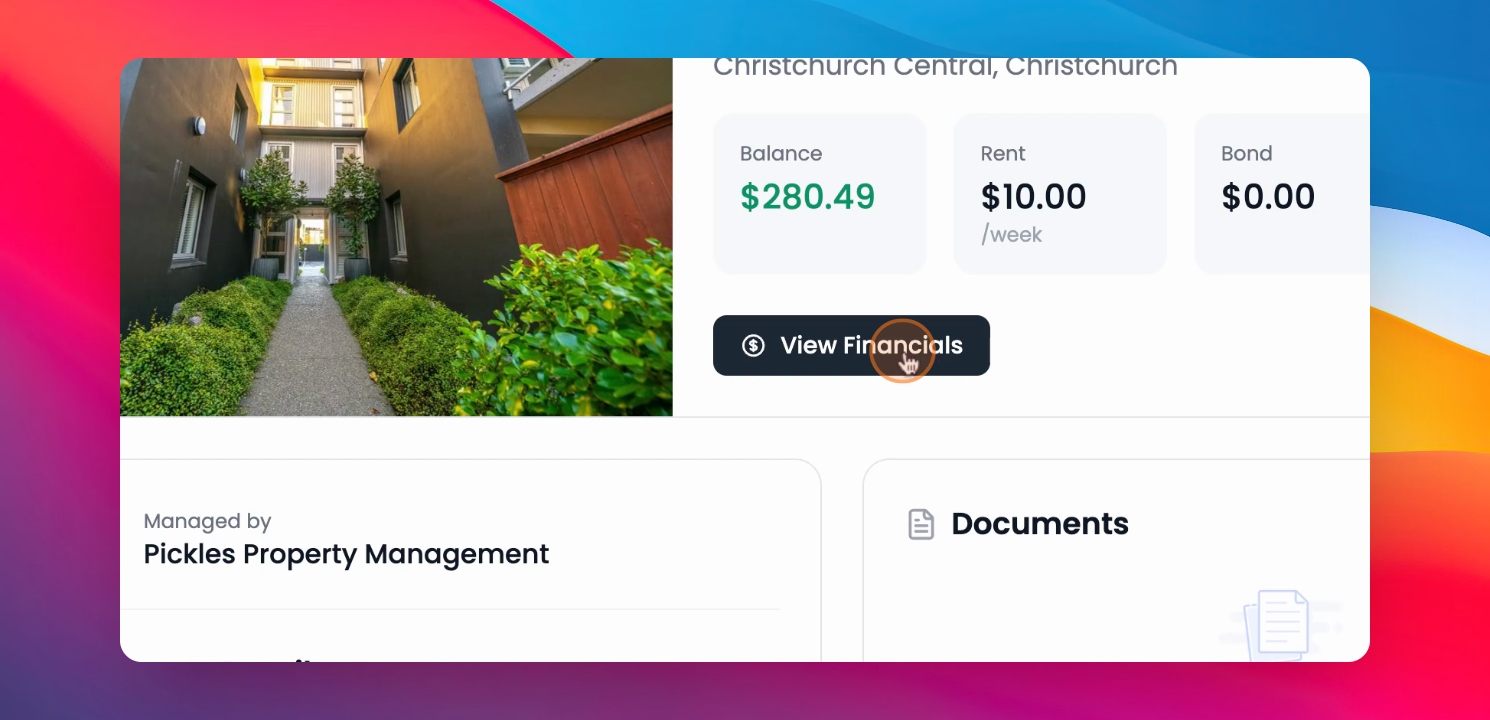
At the top of the property dashboard, you'll see the property address followed by four tiles showing you key details such as balances for this specific property, weekly rent, bond amount, and tenancy status (active or ended).
You'll also see a View Financials button which takes you directly to the financial statement for this property.
Step 5: View Financial Statements
On this page, you'll see the statement for the selected property in live format.
If you click on Past statements, it will show you the past statements that were shared with you by the property manager.
You can also select different properties and choose the specific time period you would like to see the financial statements for. Then click Apply.
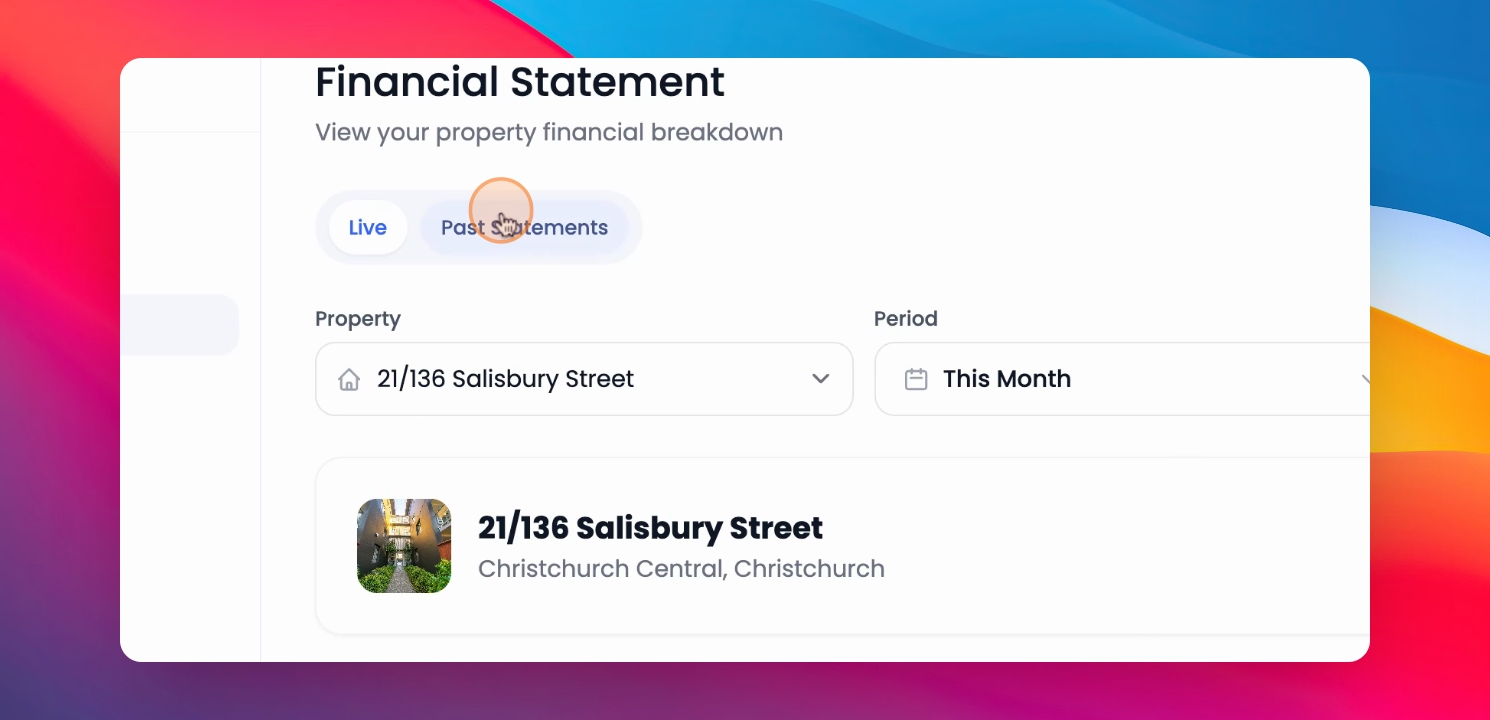
This will update the live view of the financial statement, showing the property address and the selected period.
The statement includes opening balances, income, expense fees, GST payments, keep back, and closing balance.
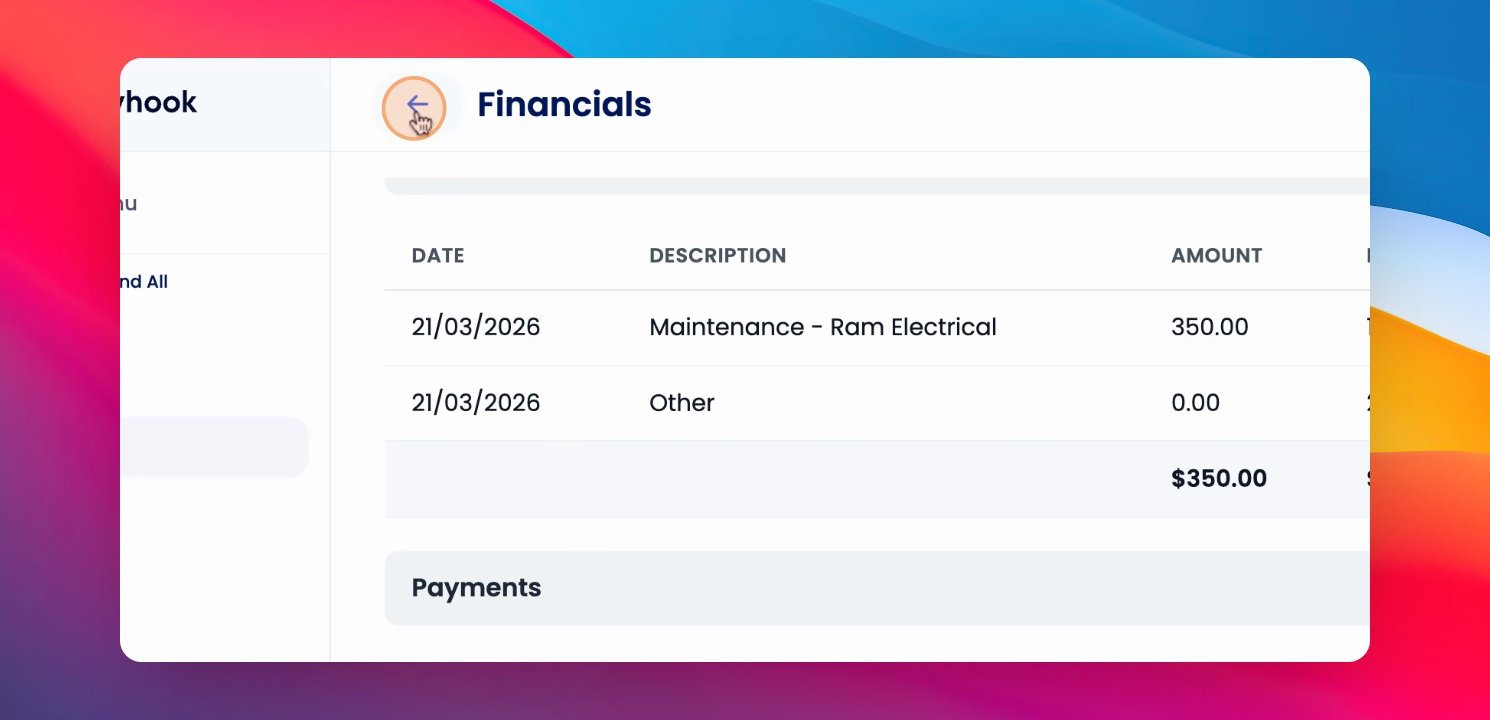
Below this, you'll find the detailed breakdown of rental income for the specific period, expenses, and any additional income as well as any payments.
At the bottom of this page, a summary is also visible.
Step 6: View Property Management Details
On the left-hand side, you'll see the property management company's details such as name, property details, requirements, and the management fee breakdown.
On the right-hand side, you can see all documents related to this property like healthy home reports, etc.
Step 7: Review Inspections
Following that would be inspections, where you can see all the inspections done on this property. Clicking on any inspection will take you to the inspection report where you can review the inspection that has been done.
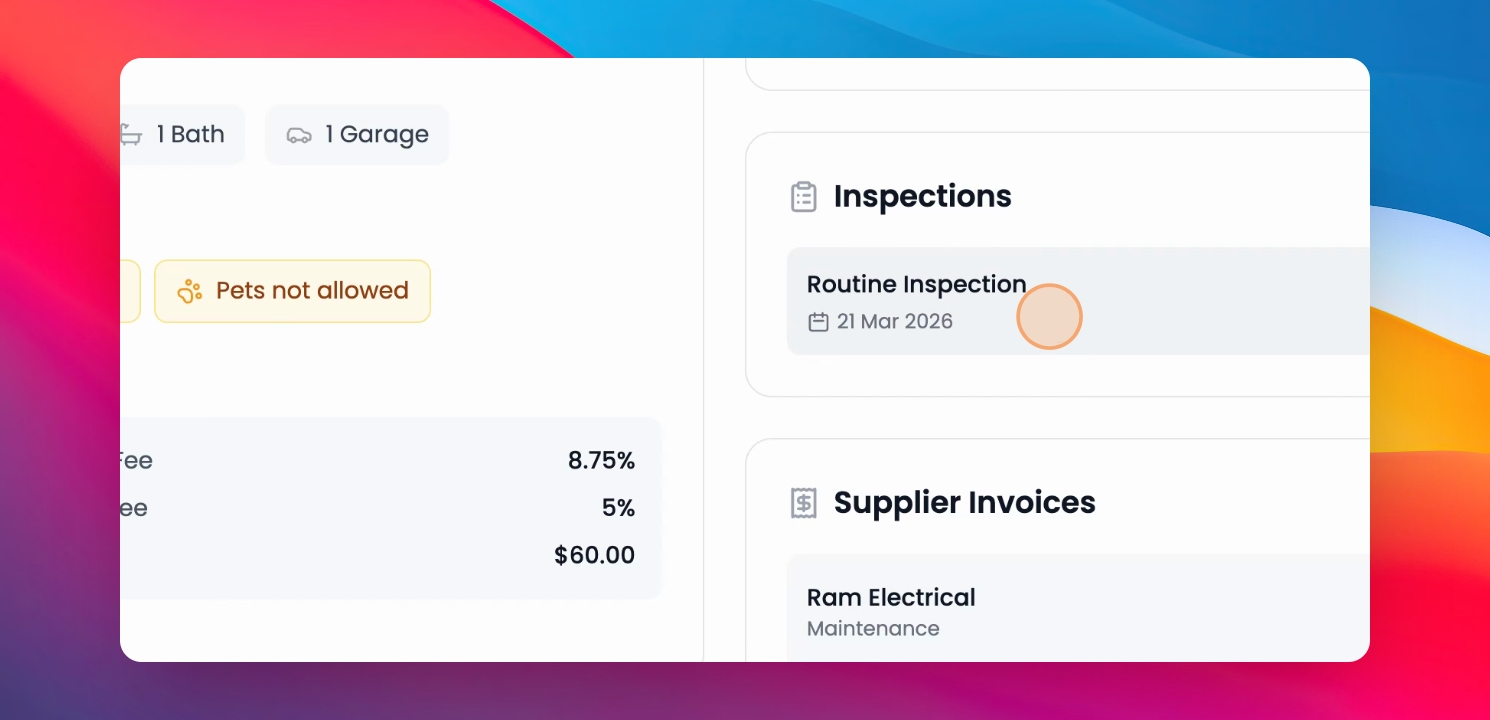
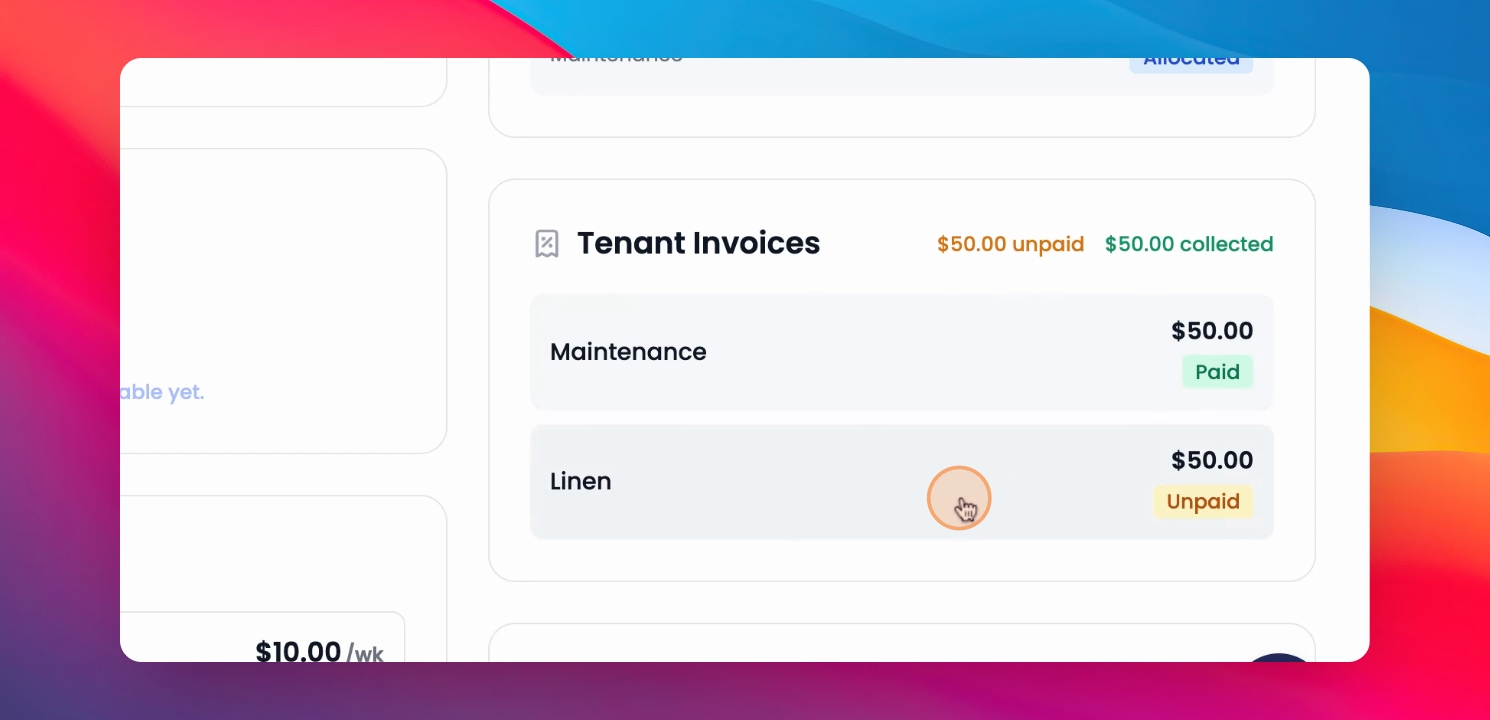
Step 8: Manage Invoices
On the right, you have tenant invoices, any invoices assigned to the tenants, as well as their statuses. If you click on any invoice, you are able to see more information regarding that specific invoice.
You will also see any charges associated with the property along with their status. If you have paid, clicking on it will show you more information.
Step 9: View Tenancy Information
Under tenancies, you'll see information such as current and past tenancies, start dates, end dates, rent amount, and bond details.
Step 10: Check Maintenance Tasks
Finally, at the bottom, the maintenance section will show you all maintenance that needs to be done on this property or is in progress, along with any pending maintenance tasks as well as completed.
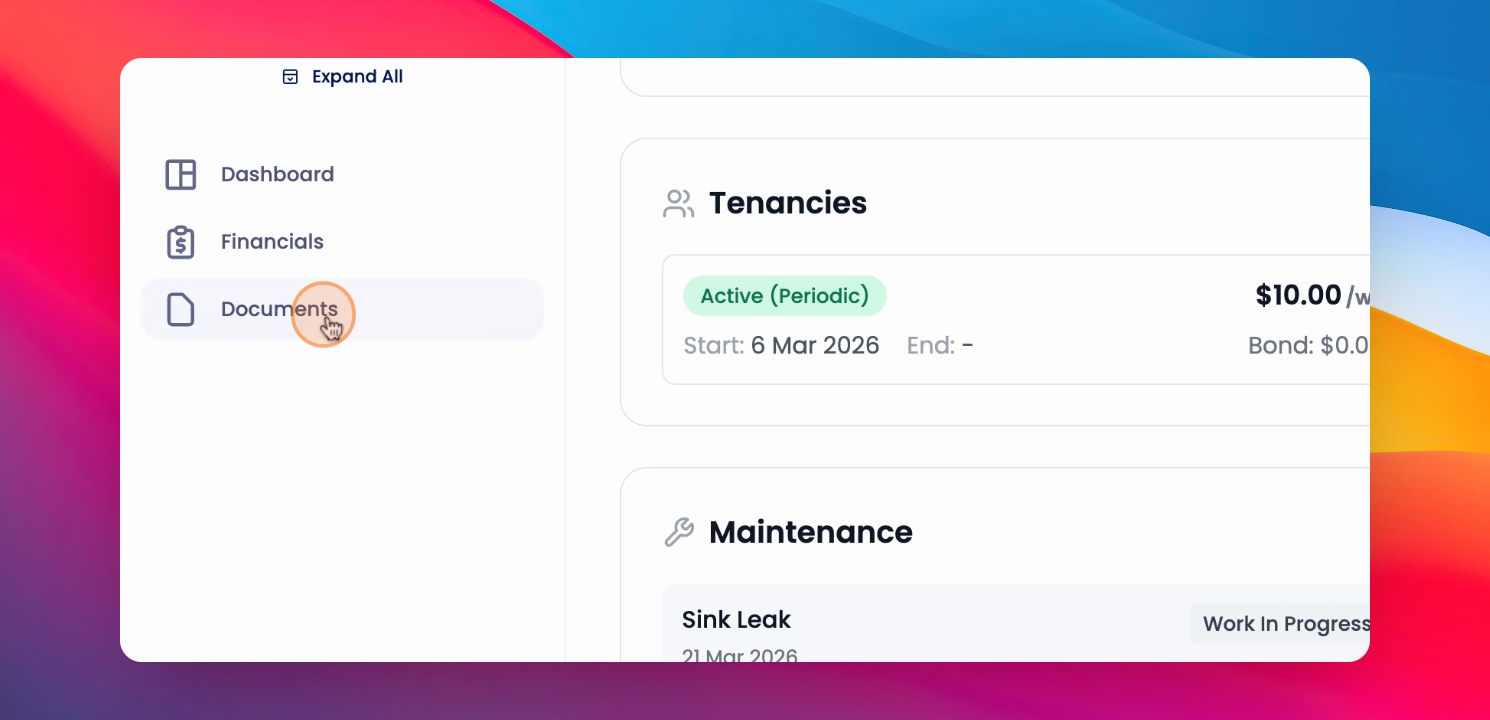
Step 11: Access Documents
From the navigation bar, you can access the Documents page. Here, you can view all shared documents and upload any documents.
At the top, you'll see document statistics including total documents, property documents, owner documents, or any document added in the last 30 days.
At the bottom right corner of the screen, you'll see a chat bubble. You can use this to ask questions about using Keyhook and contact support for help with the platform.
Specifically, it is important to note that for tenancy-related queries, you would need to contact the property manager directly. That is how you use the Owner portal in Keyhook.
Feel free to explore each section and reach out to support if you need any help.
Thank you.
If you cannot find what you are looking for or have any further questions, please feel free to contact us on support at keyhook.com
— we're always here to help!