Let's do it together!
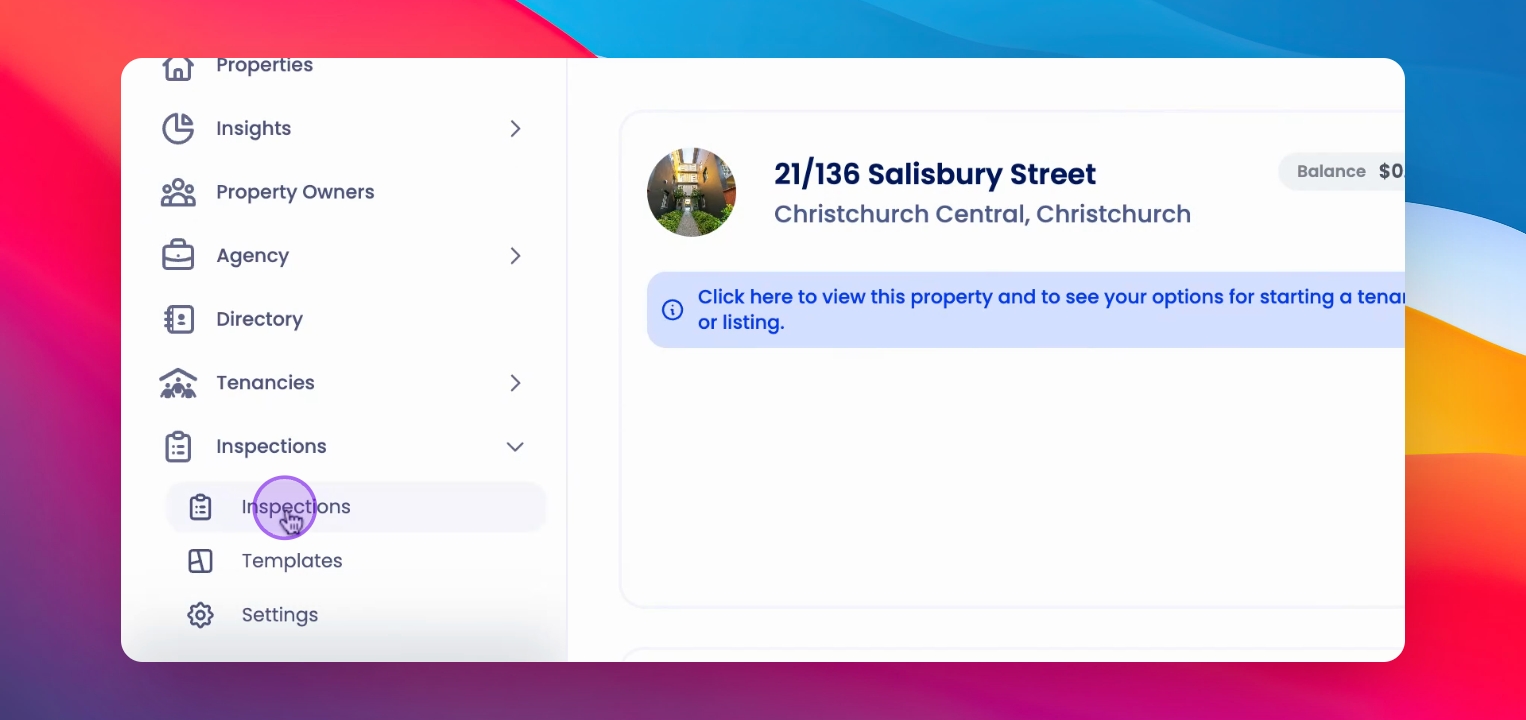
Step 1: Access Inspections
From the left hand side menu, click on Inspections to access the inspection table.
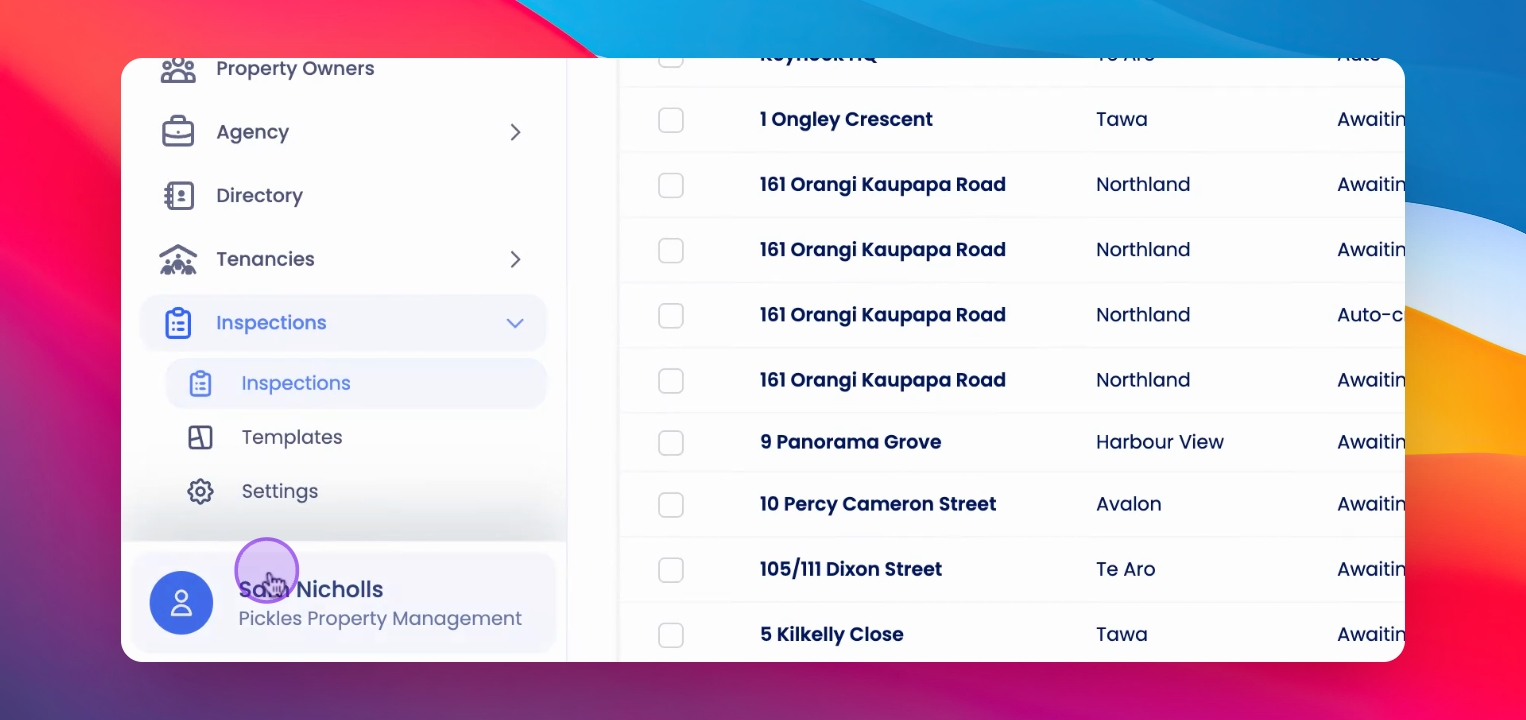
Step 2: Select Portfolio
The inspections displayed depend on your portfolio selection. If All Portfolio is selected, you will see inspections across the agency.
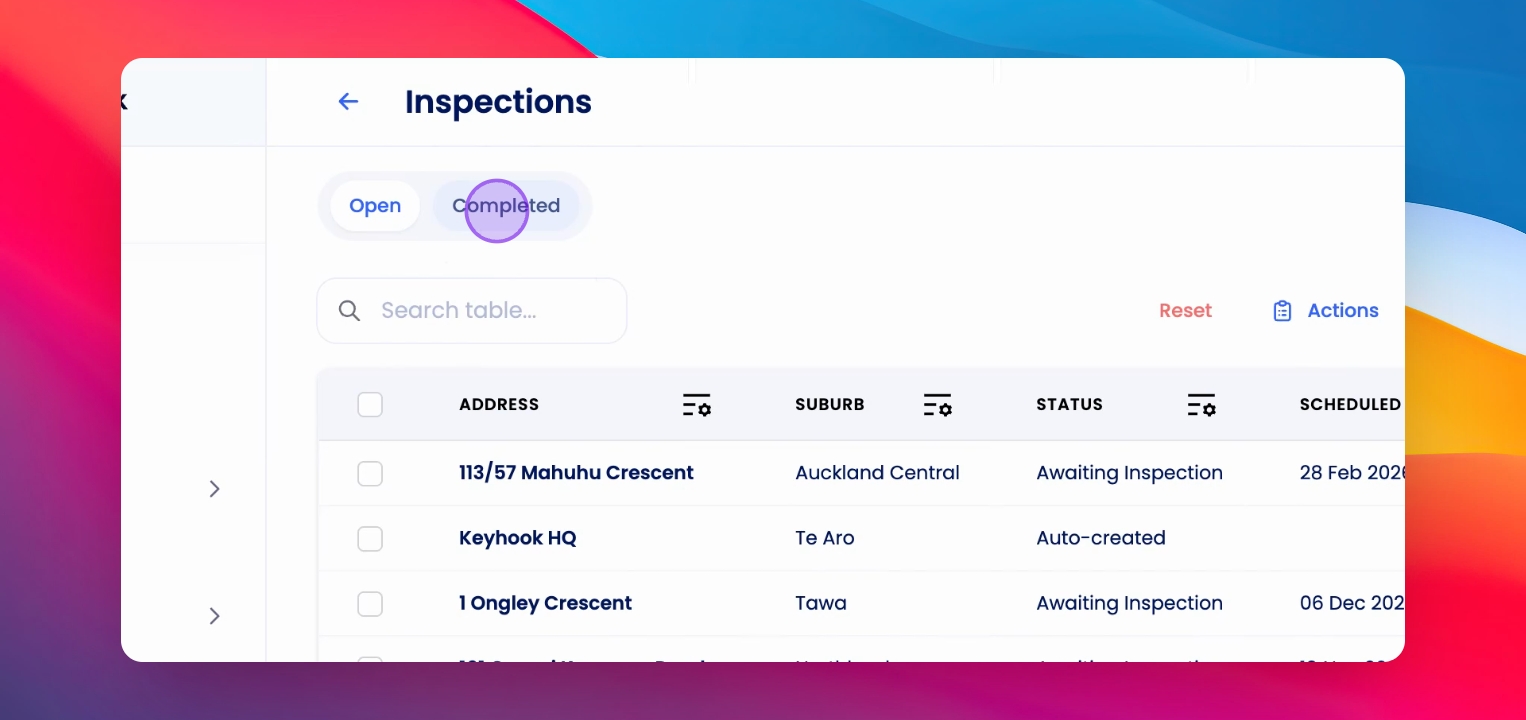
Step 3: Open Tabs
Use the Open and Completed tabs at the top to switch between upcoming and completed inspections.
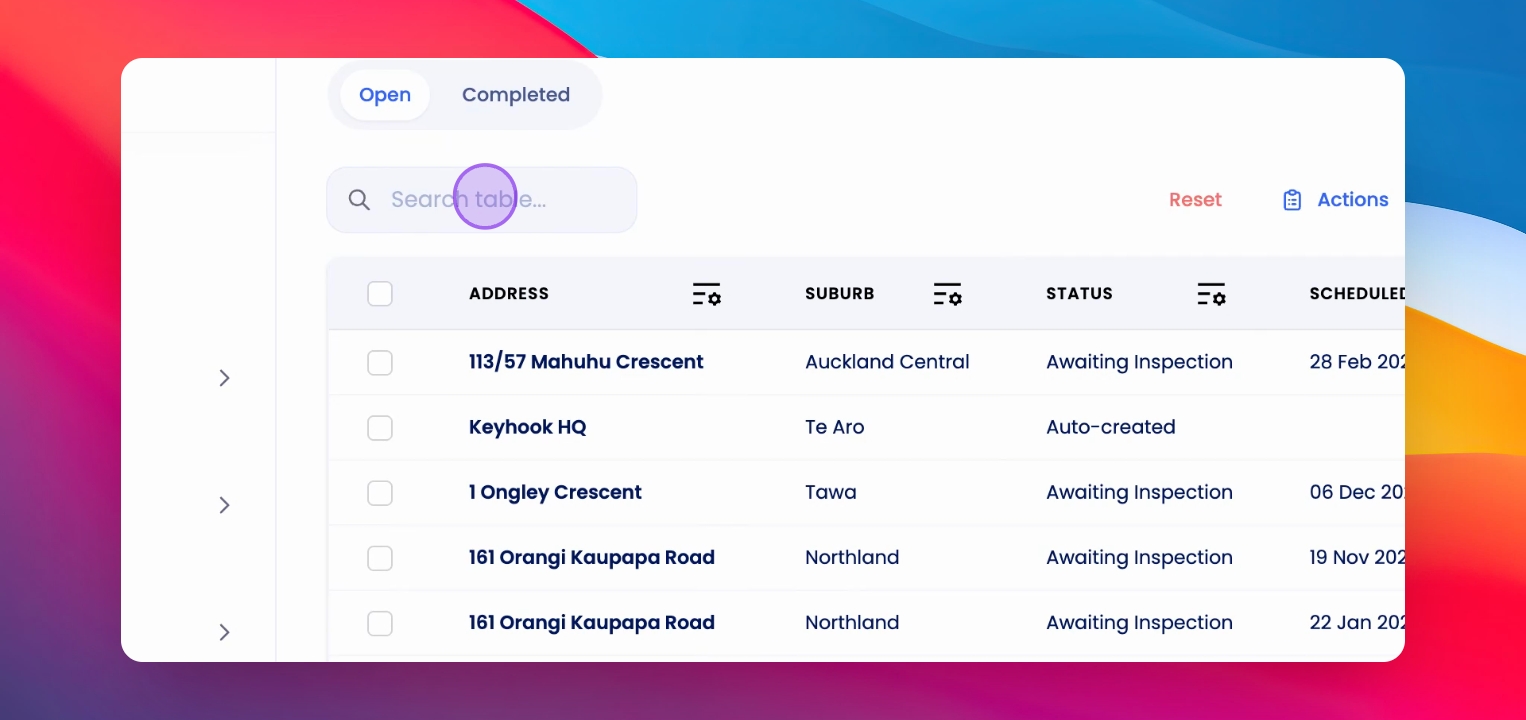
Step 4: Search Inspections
Utilize the search bar just below the tabs to search for specific inspections.
Step 5: Reset Table View
Click Reset to return the table to its default view after searching or applying filters.
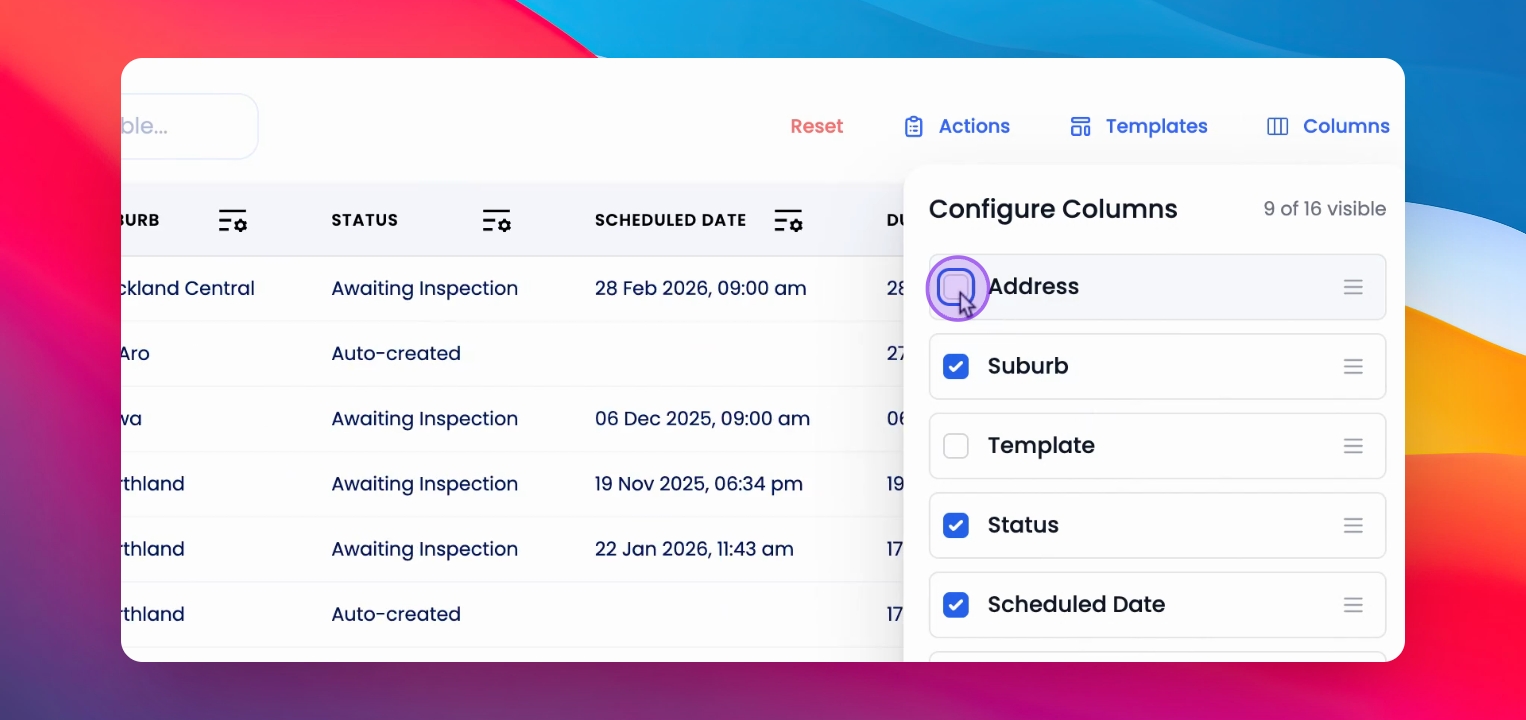
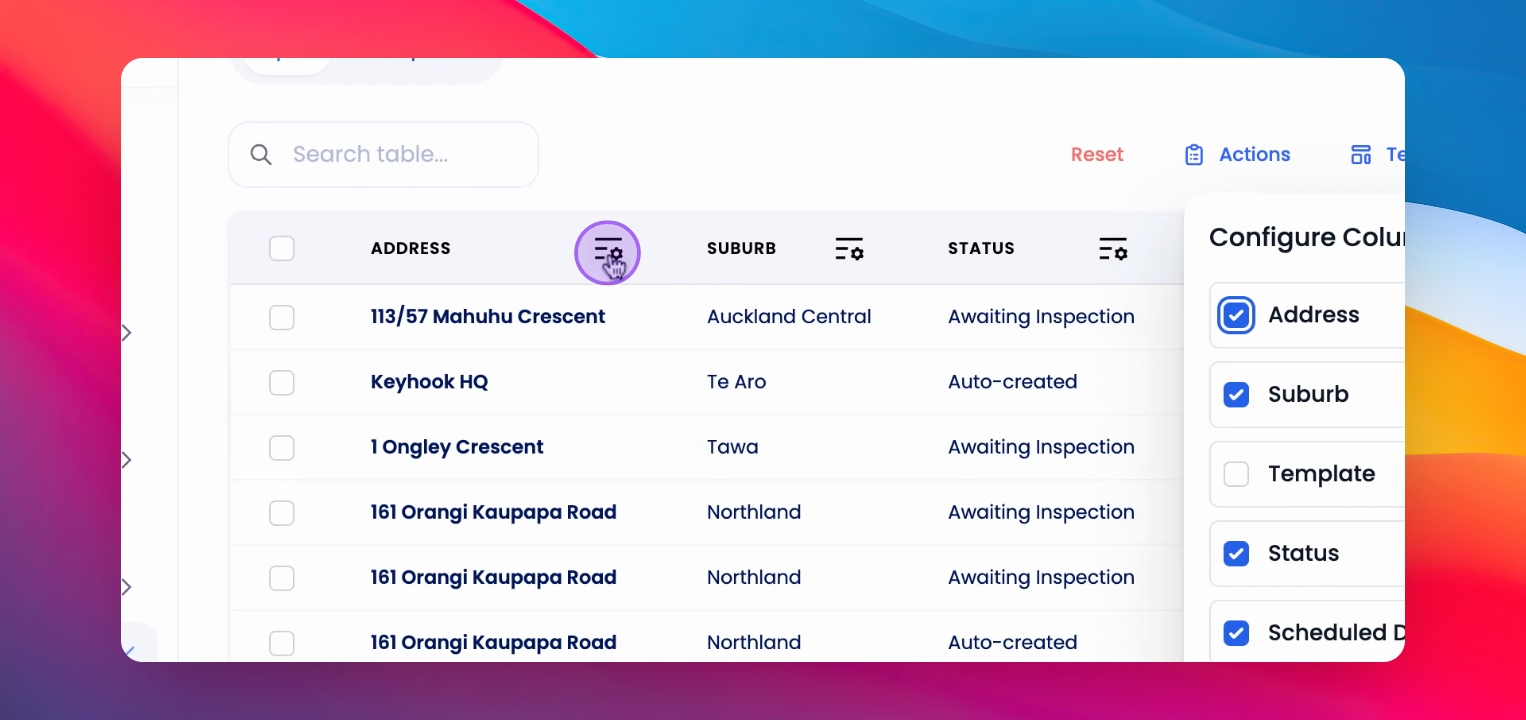
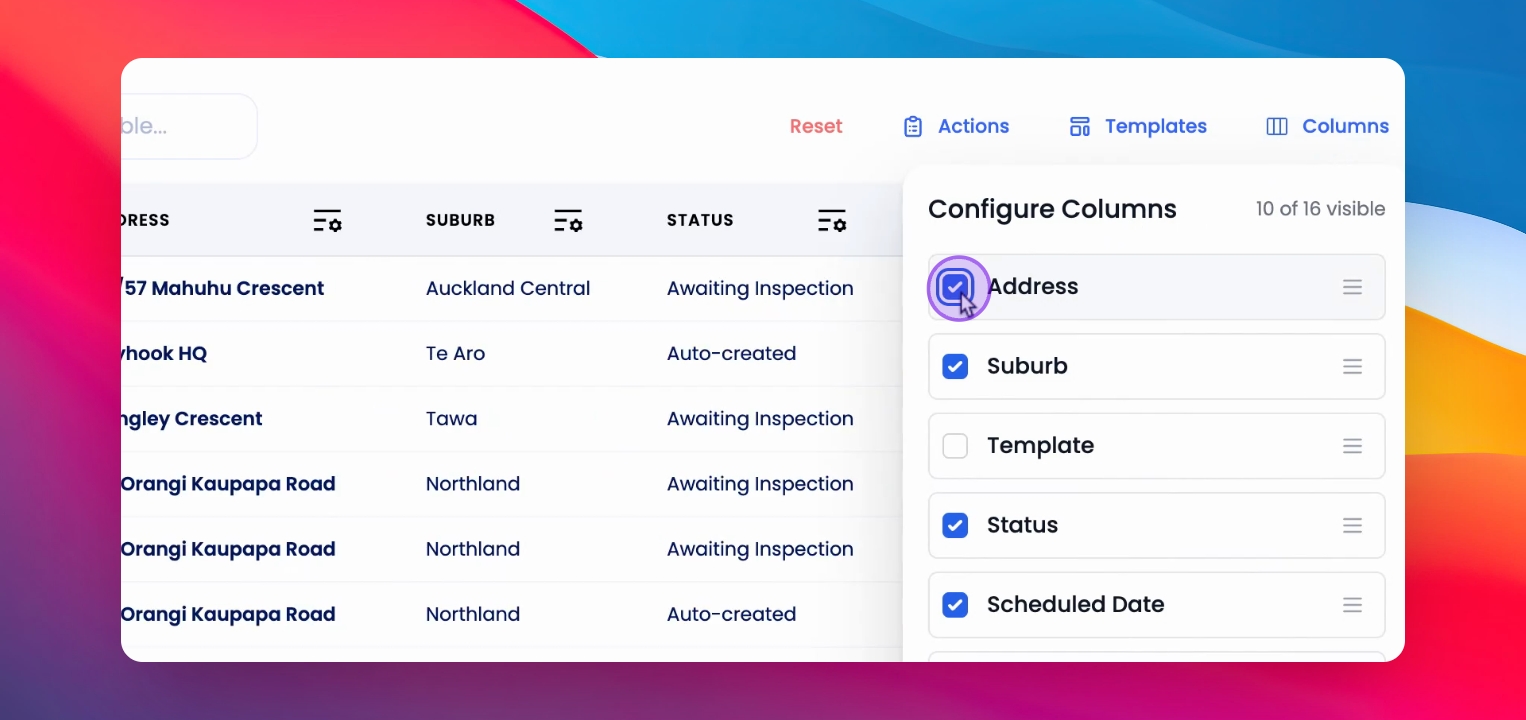
Step 6: Manage Columns
Click on Columns to add or remove columns in the inspection table.
Step 7: Hide Columns
You can hide columns using the Filter options in the table header of each column. Click on Hide to remove it from view.
Step 8: Undo Hide Action
To undo hiding a column, return to the column and select the one you just hid.
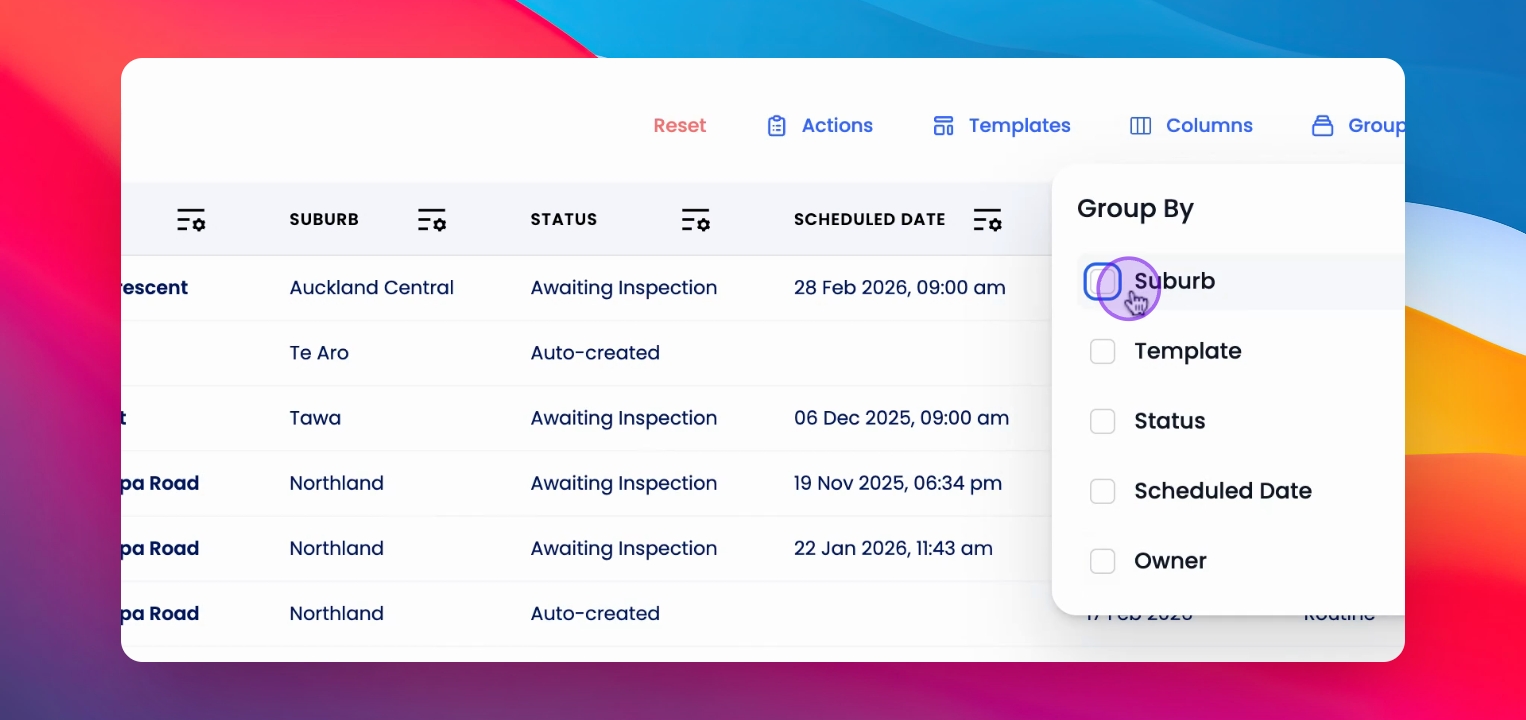
Step 9: Group Inspections
Use Group by to organize inspections by categories. For this example, select Suburb.
Step 10: Export Inspections
Click Export to download the inspection list for reporting or auditing purposes in formats like CSV, xls, or PDF.
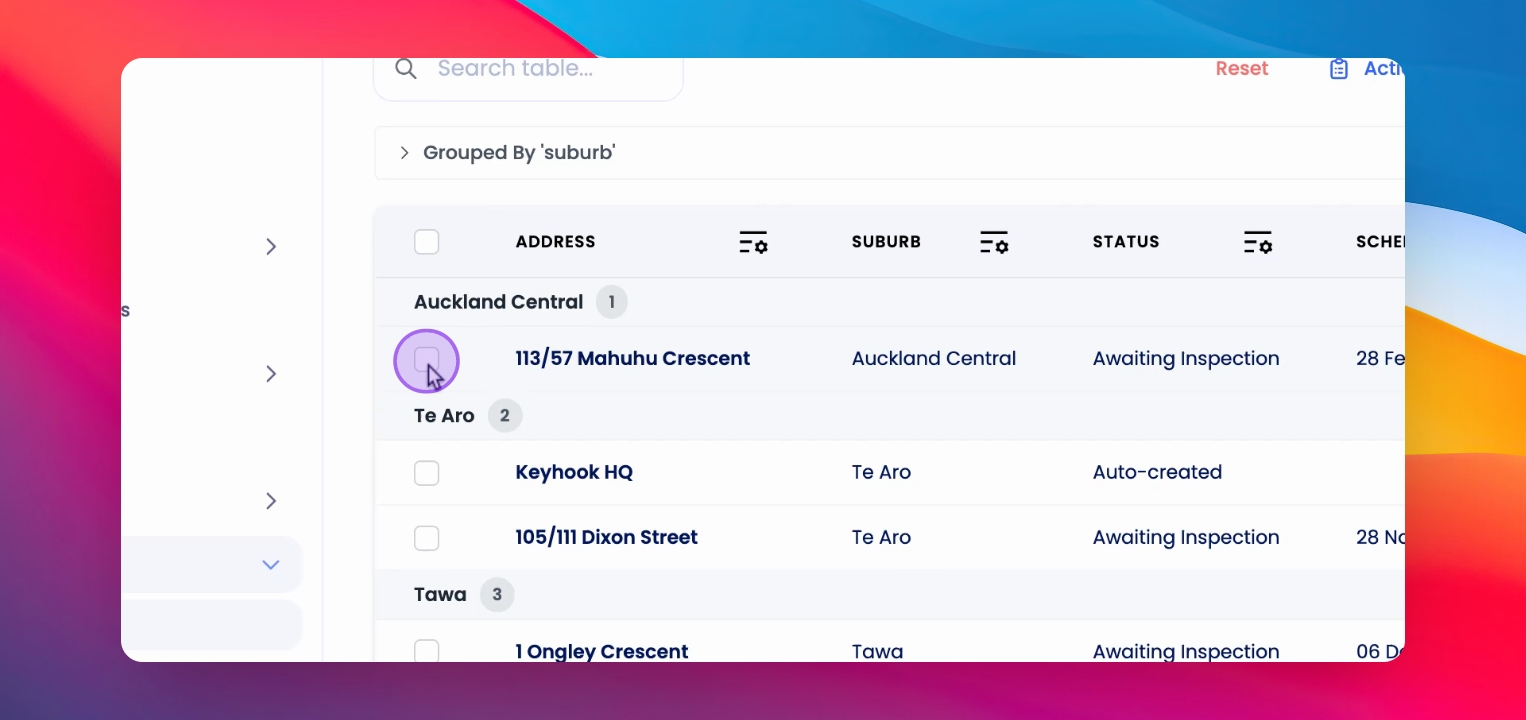
Step 11: Select Inspections
Each row in the inspection table has a checkbox on the left side. Use this to select individual inspections.
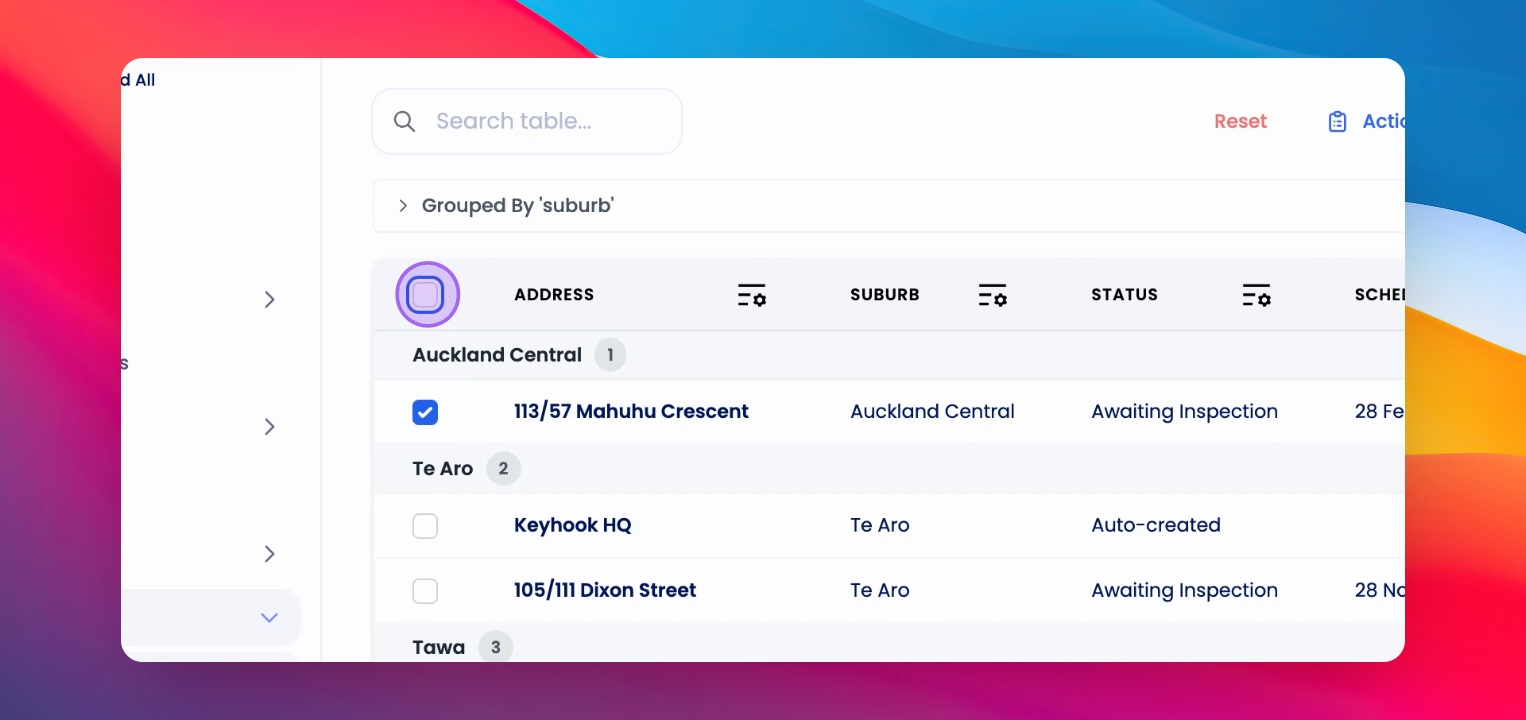
Step 12: Select All Inspections
You can also use the checkbox in the table header to select all inspections.
Step 13: Perform Bulk Actions
After selecting one or more inspections, click on the Actions button to perform bulk actions like setting inspection times or notifying tenants.
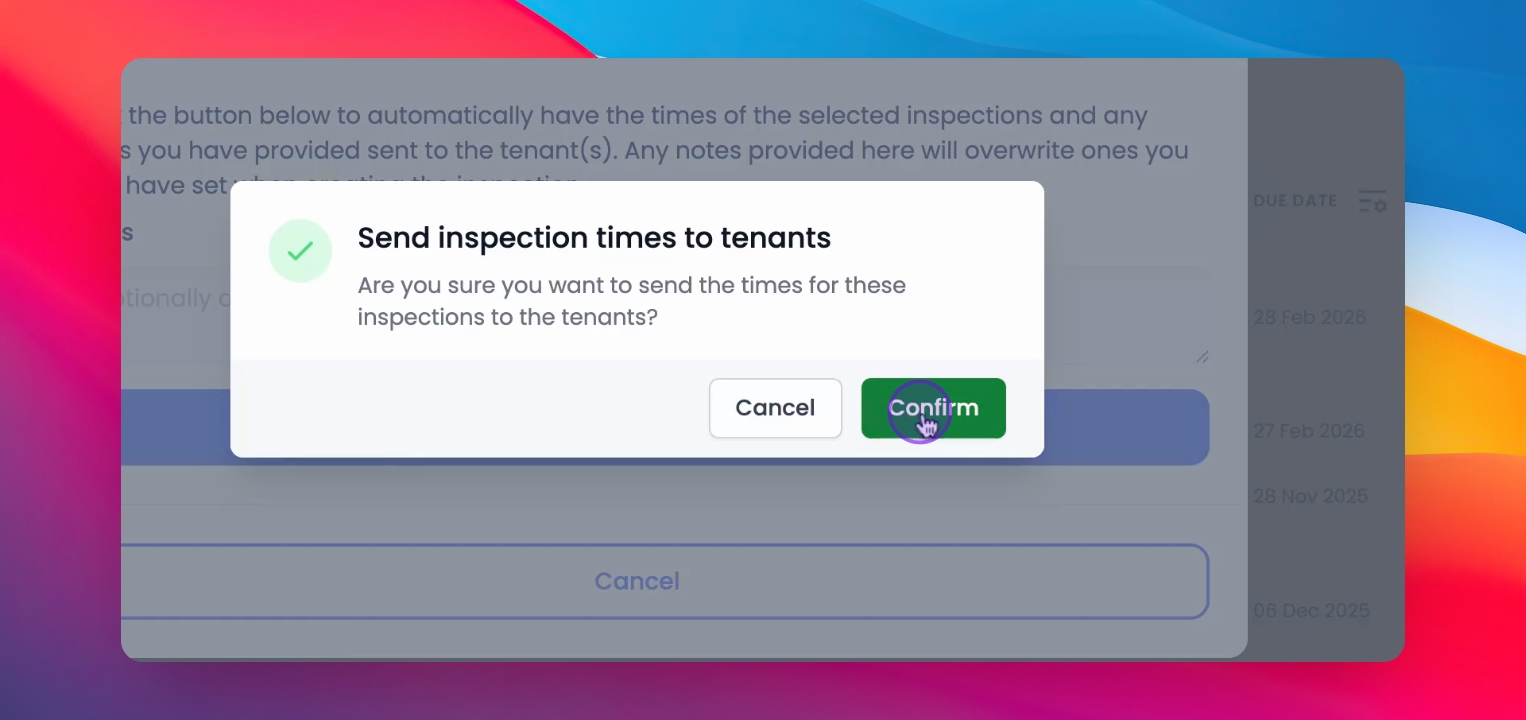
Step 14: Execute Action
Click on the action to perform the bulk action you selected.
If you need more help or have any questions, just reach out to us at support@keyhook.com — we're always here to help!