To process water invoices that have been ingested from your bill or invoice dedicated email, click on Water and Invoices. Let's look at the steps:
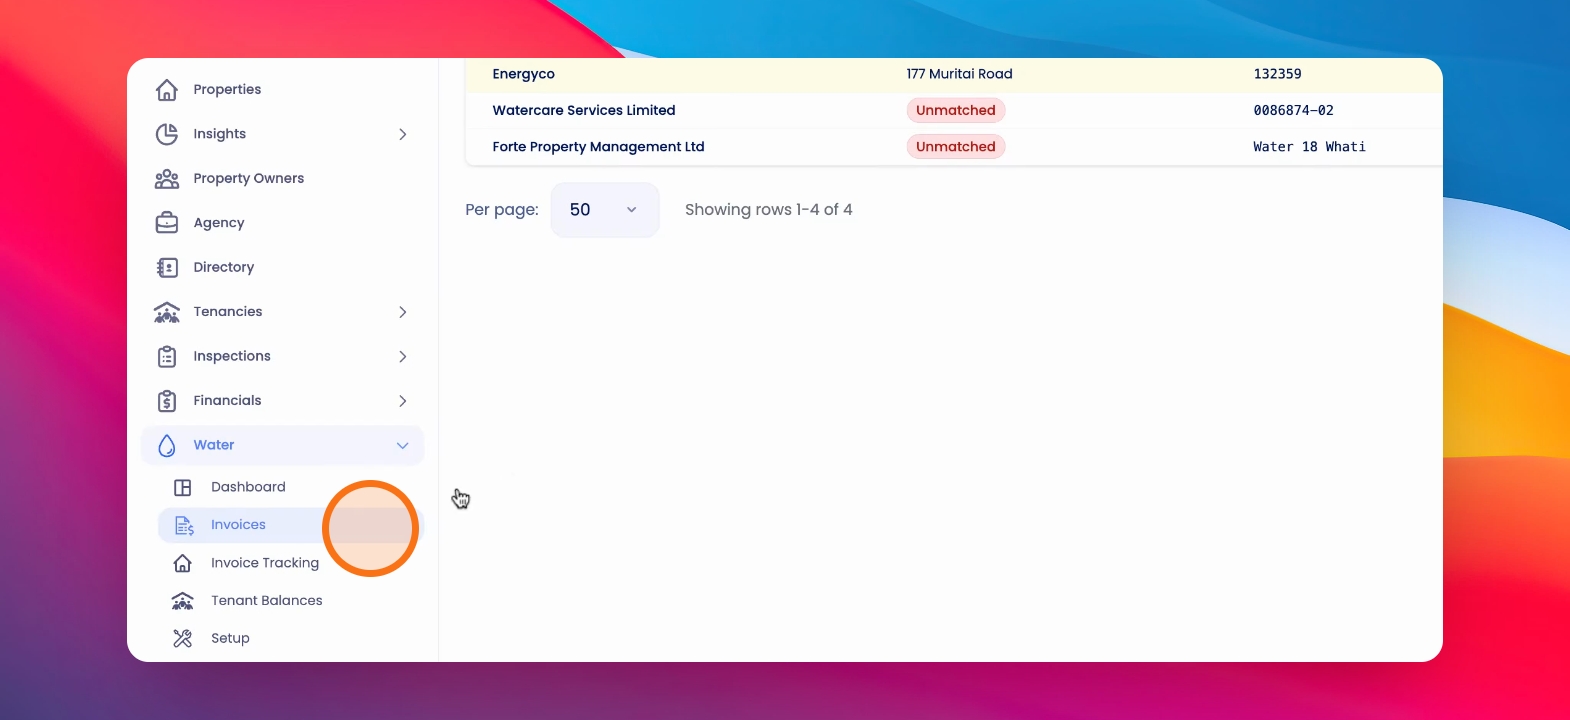
Step 1: View Invoices
Here you'll see the invoices that have come in.
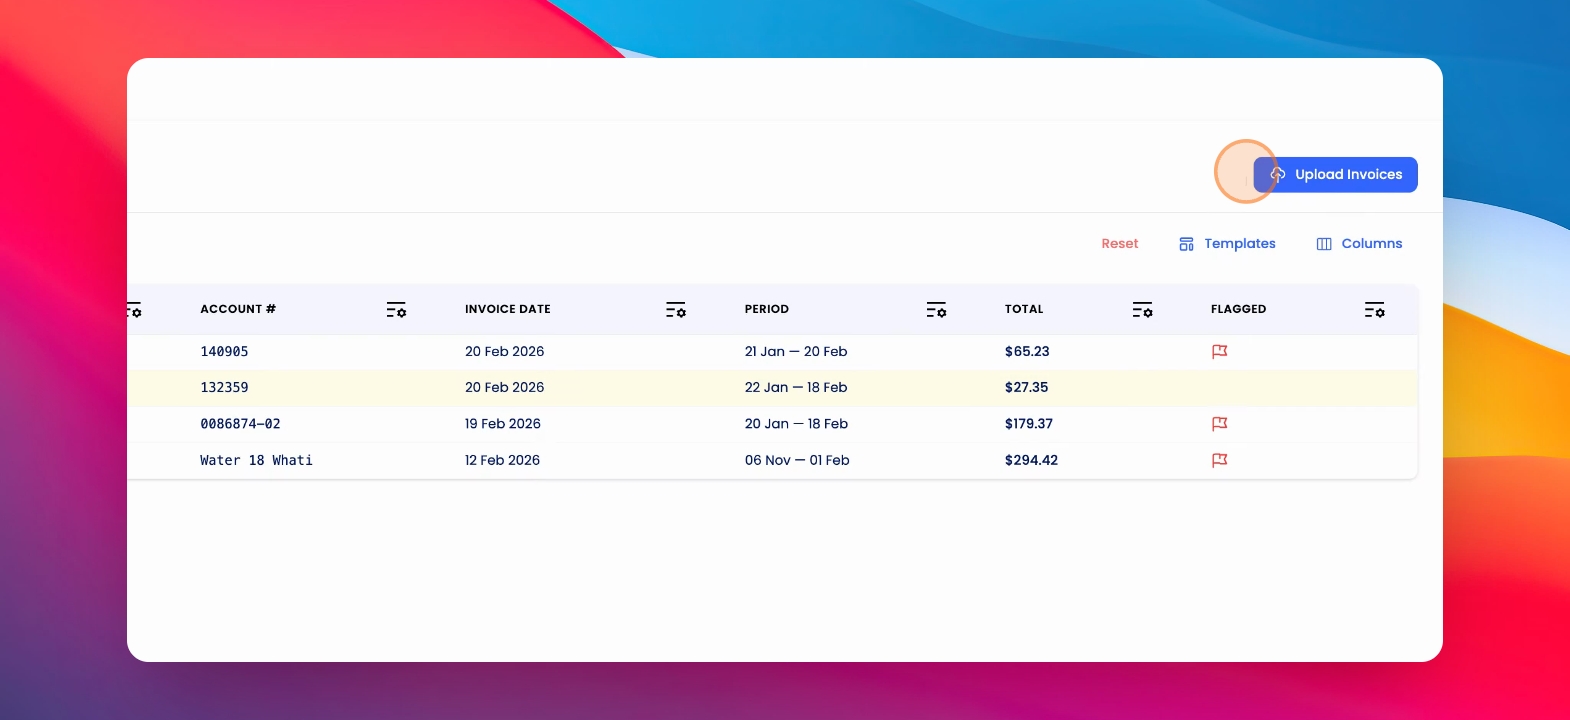
Step 2: Upload Invoices
You can upload any invoices manually.
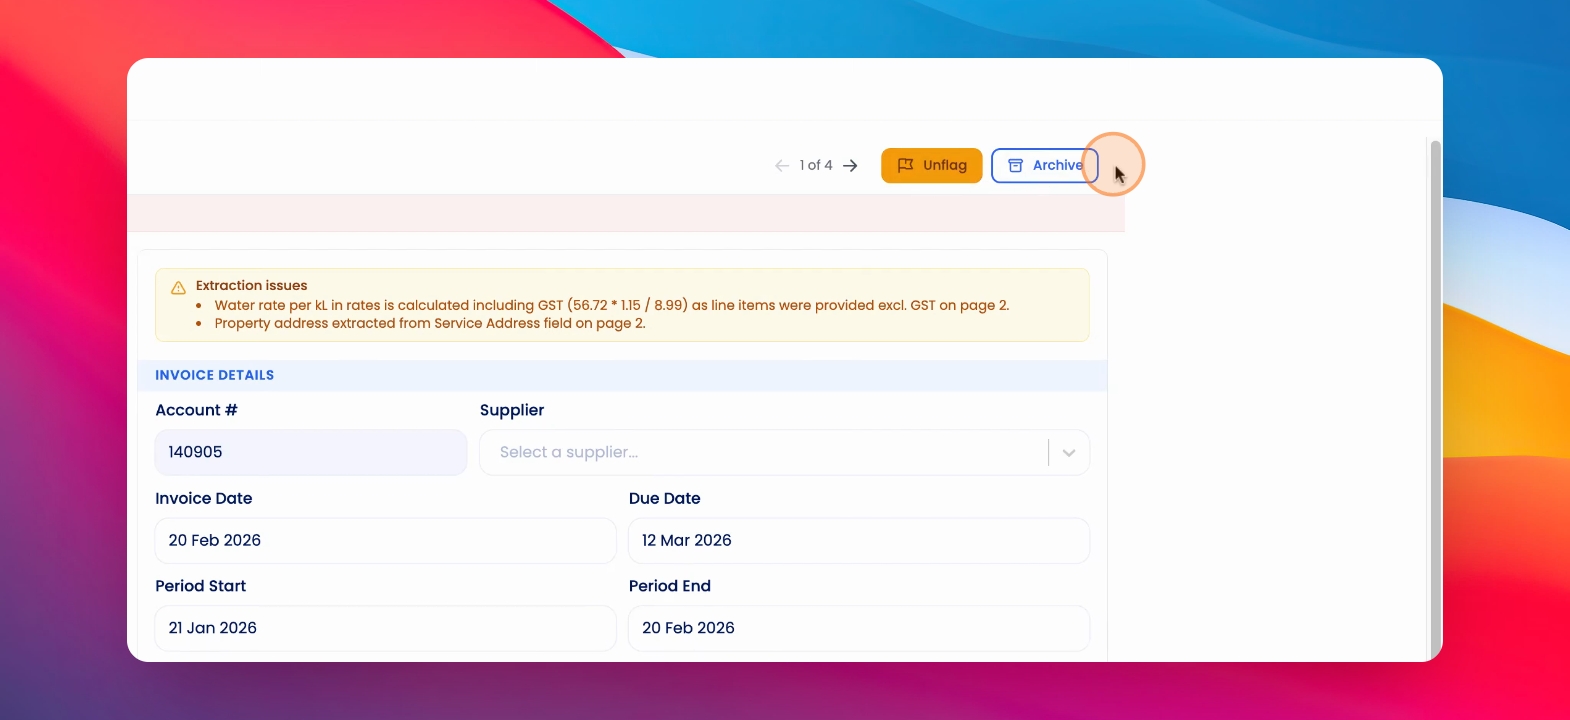
Step 3: Select Invoice
To process an invoice, click on the line item.

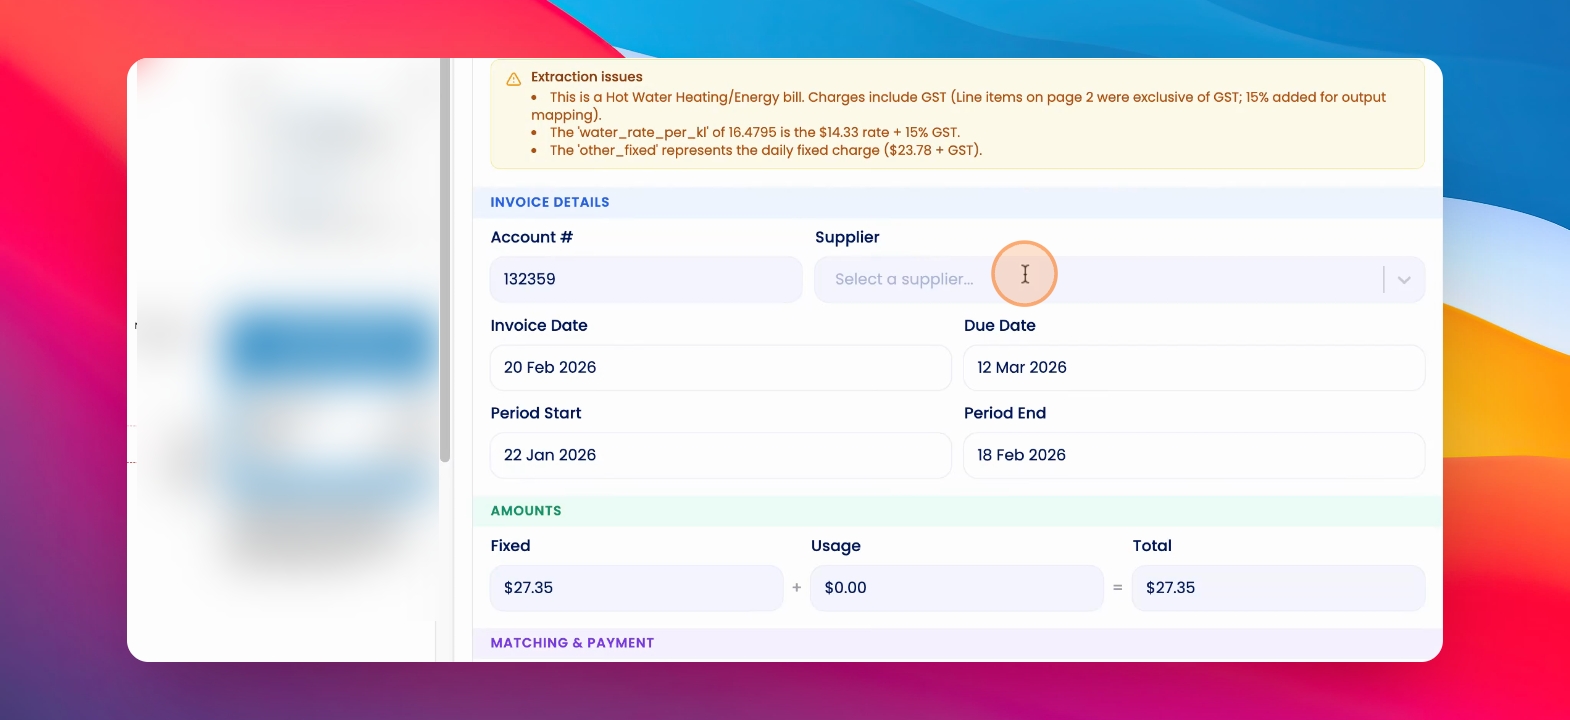
Step 4: Review Extraction Issues
You'll see extraction issues will be flagged.
Step 5: Select Supplier
Make sure you select a supplier and review all the relevant information.
Step 6: Edit Property
You can change or edit the property selected.
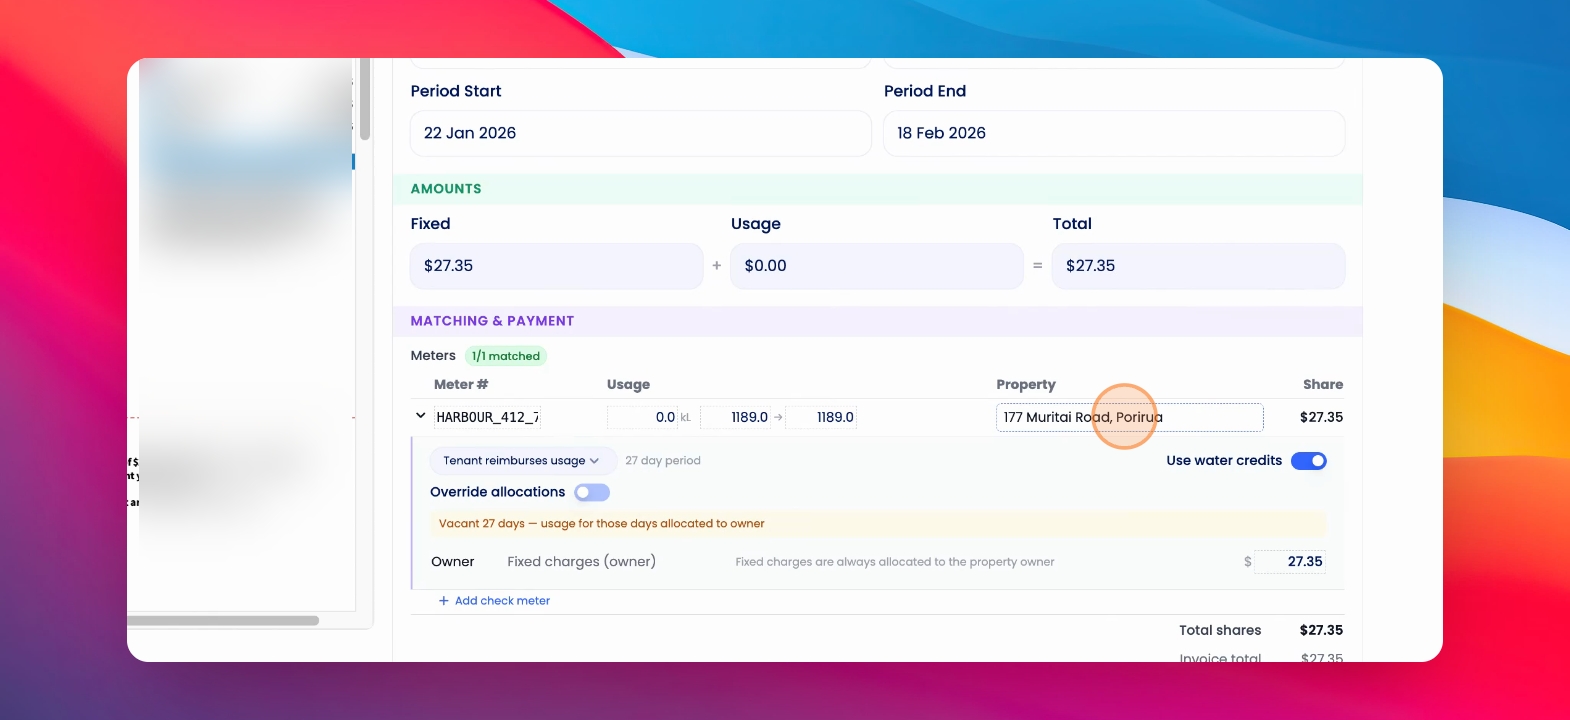
Step 7: Review Tenancies
The AI will review active tenancies for the period specified in the water invoice and allocate costs based on those periods.
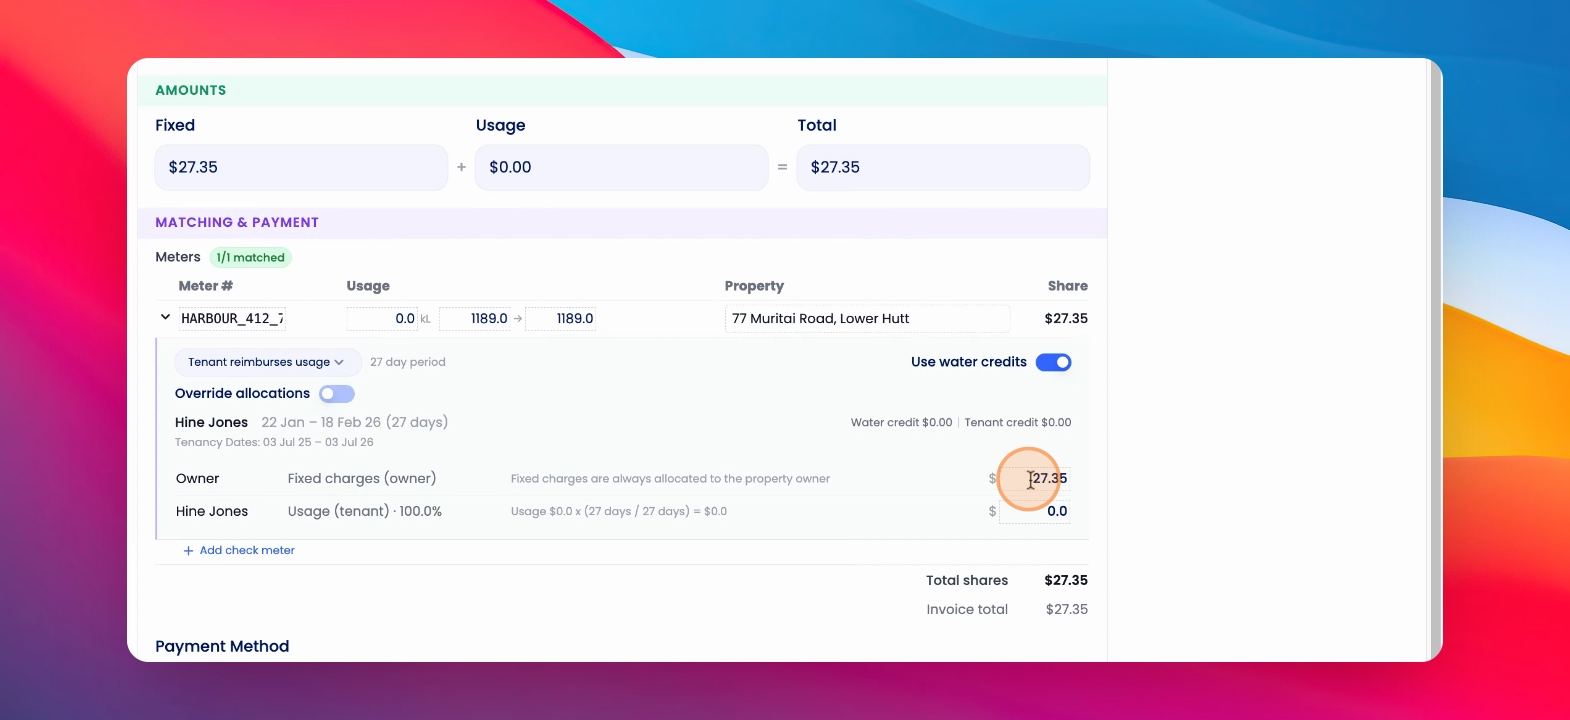
Step 8: Override Allocations
You can edit any of the costs to override the allocation and select a different tenancy different to the tenancy that has been selected by the AI.
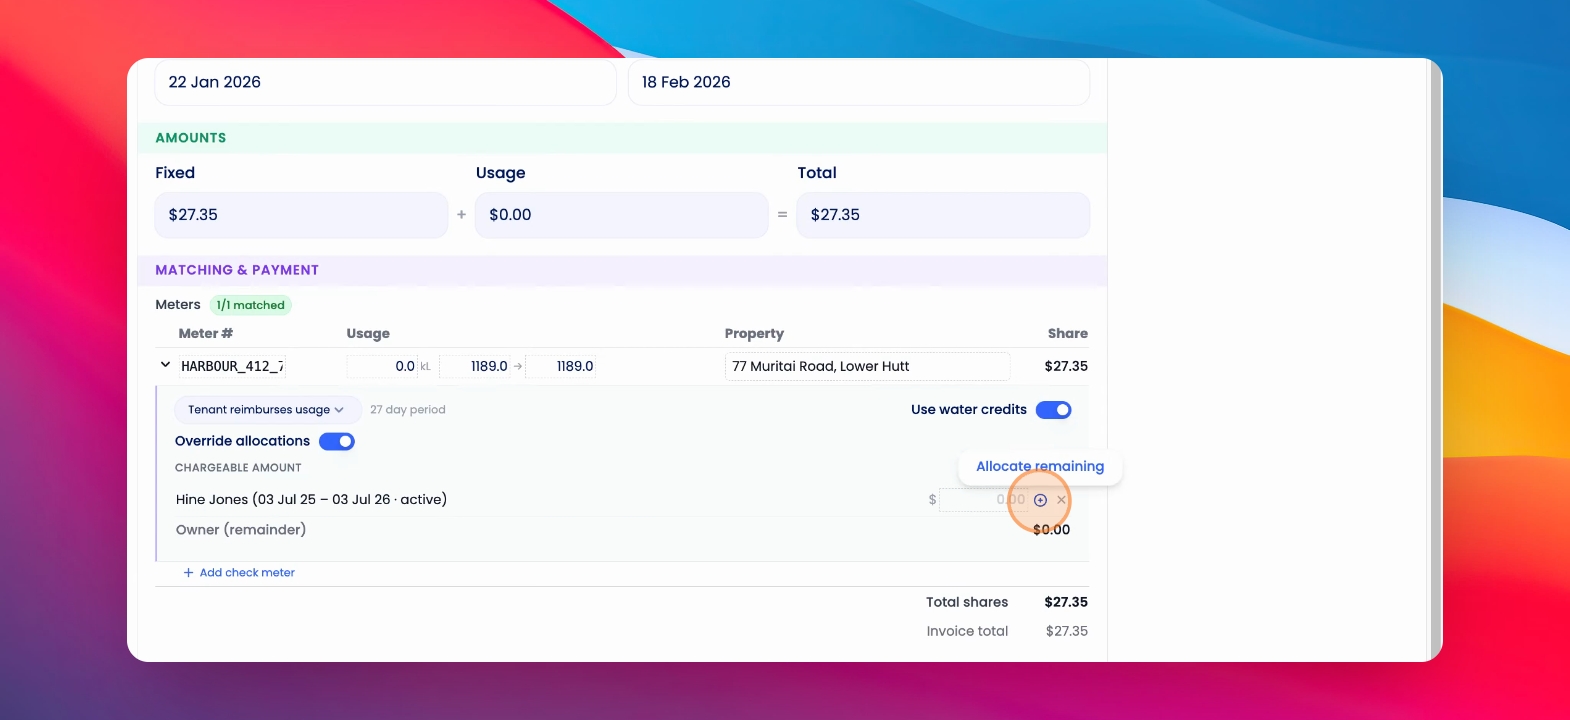
Step 9: Toggle Allocations
You can toggle on override allocations and select the relevant tenancy.

Step 10: Allocate Remaining Costs
Use the plus button to quickly allocate remaining costs.
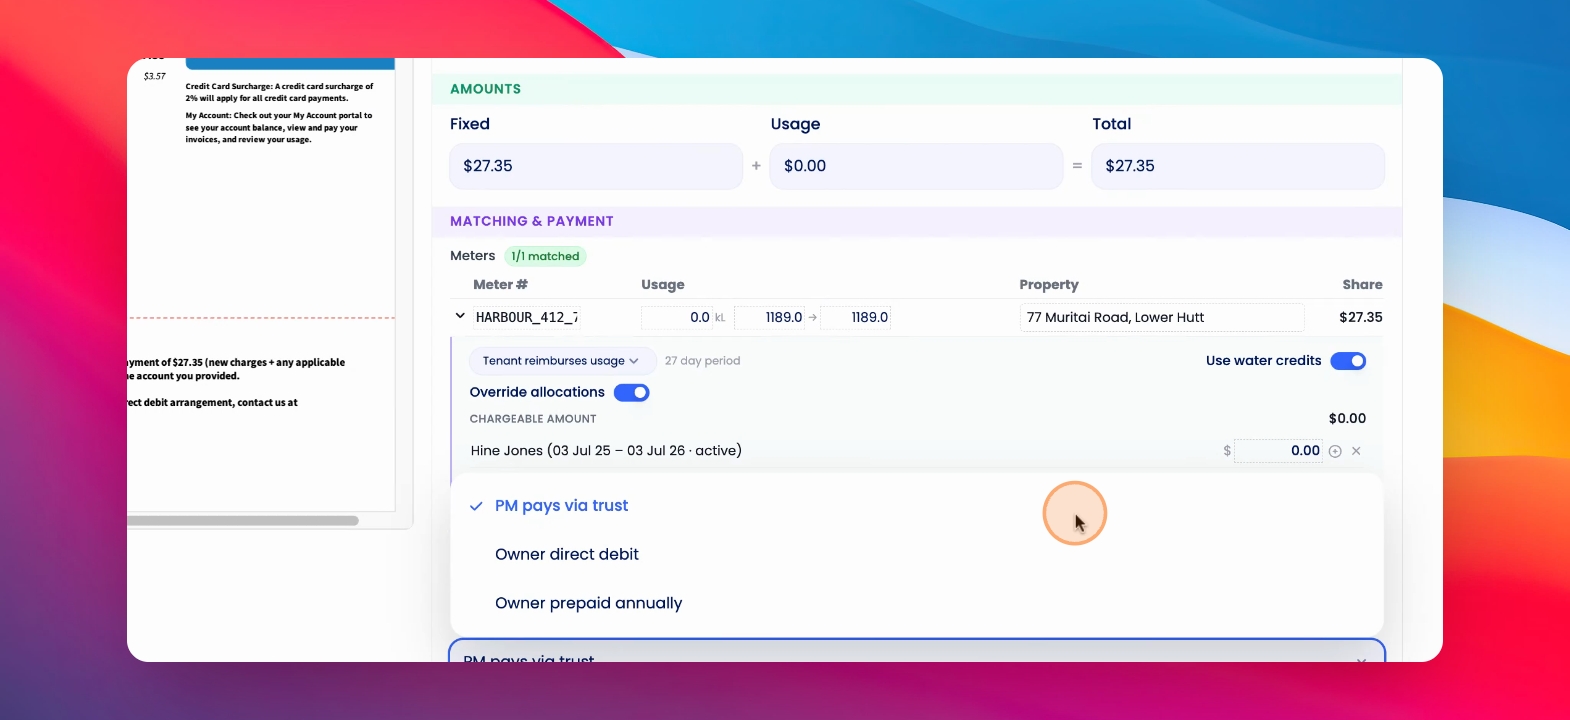
Step 11: Save Invoice
Once I've reviewed the payment method, I can save and approve this invoice.
Step 12: Send Invoice to Tenant
If the tenant is due to reimburse usage, the tenant will be sent an invoice that will include the original water invoice.
Step 13: Process Next Invoice
The system will then automatically take me on to the next invoice I have to process.
Step 14: Manage Invoices
I can flag invoices, archive invoices, or scroll through the invoices I view to process at the top of the page.