TL:DR
How to instructions
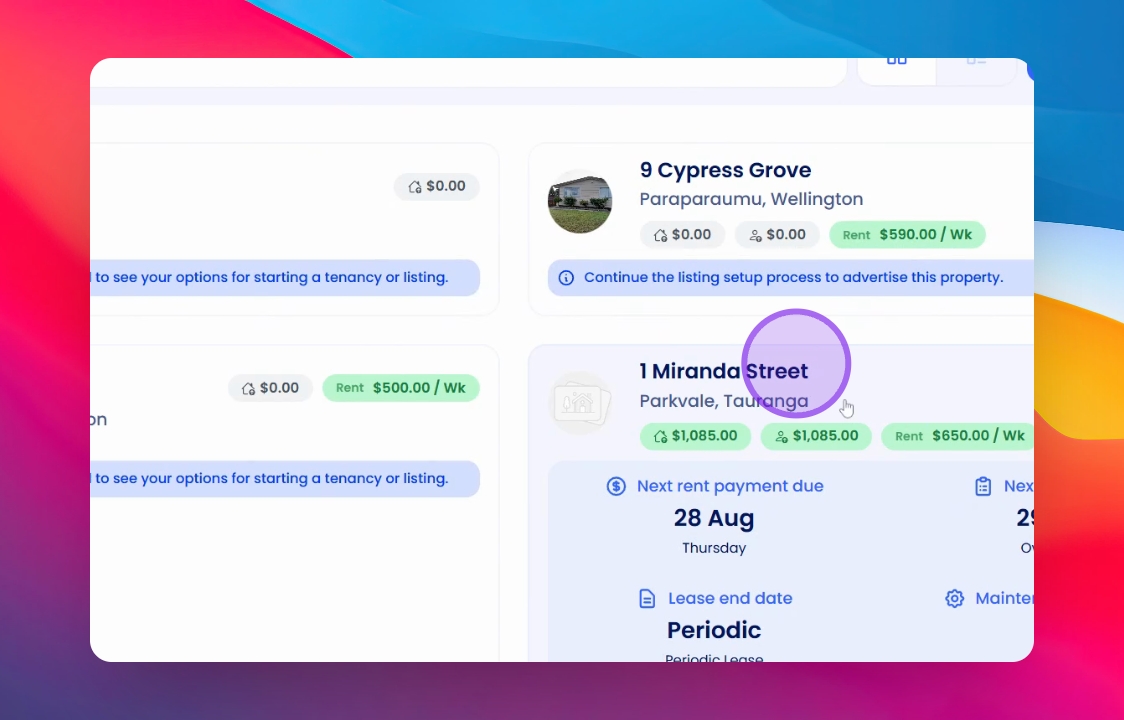
1. Locate the Property
To access the owner timeline, start by finding the property you wish to manage.
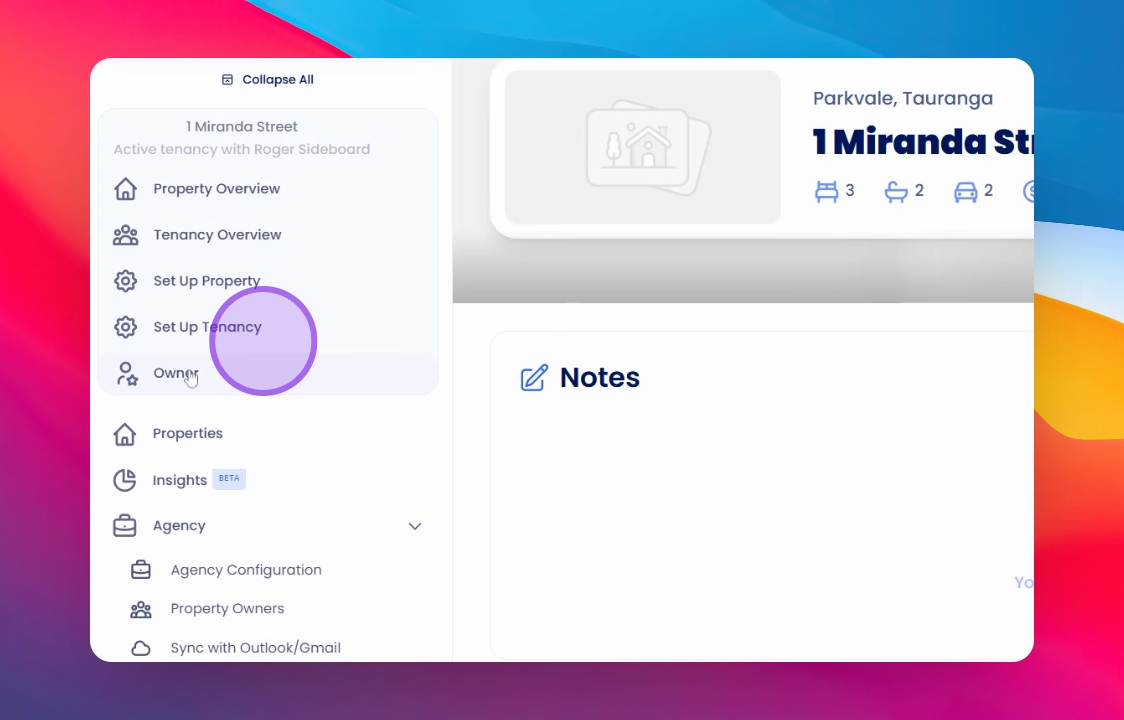
2. Access the Owner Area
Once you've selected the property, navigate to the bottom where you'll find the Owner section. Here, you can view basic details such as the properties owned and their associated bank accounts.
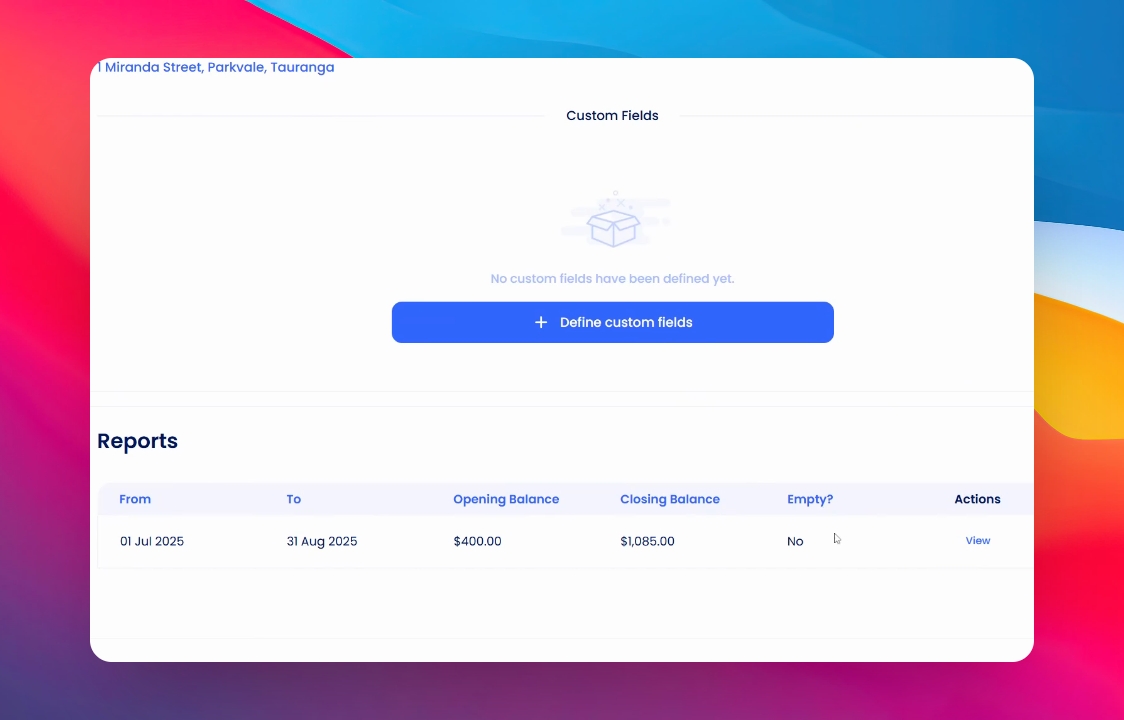
3. Review Statements
If you scroll down slightly, you will see all the statements that the owner has received from you.
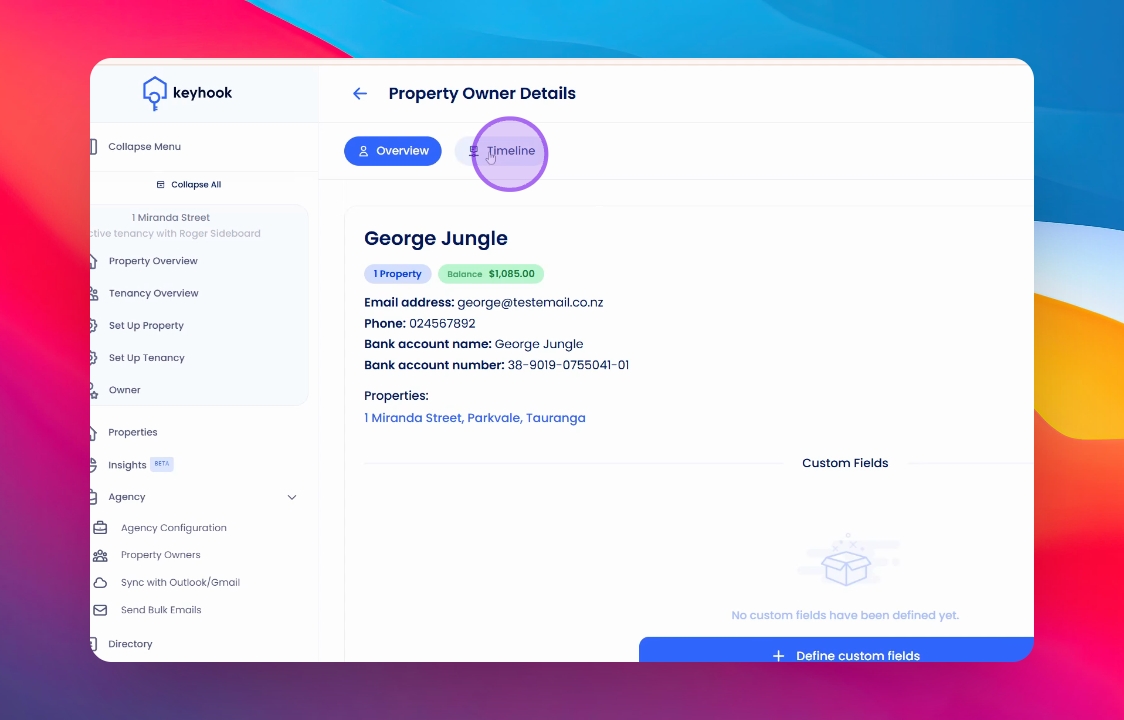
4. Explore the Timeline Tab
At the top of the owner area, you will find a tab labeled Timeline. Click on it to access the timeline where you can view all entries related to this owner.
5. Add Notes and Events
Within the timeline, you can add various items such as notes, reminders, and events—customising it to suit your management needs.
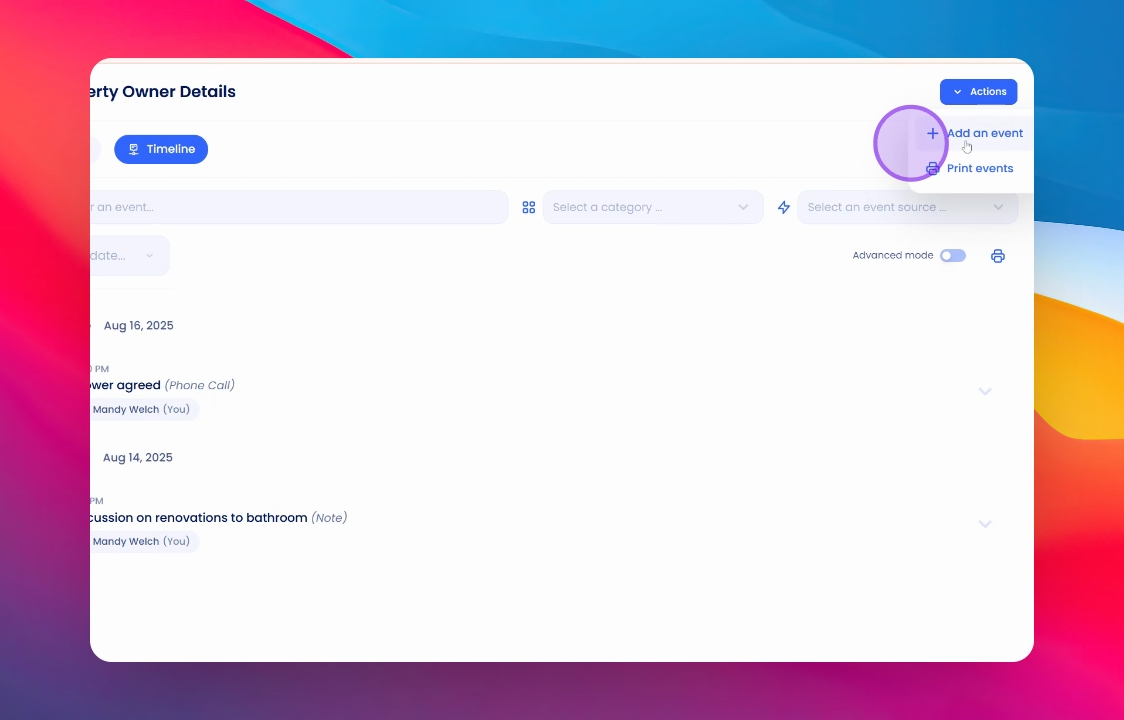
6. Add an Action
To add an action, navigate to Actions and click on Add an Action. Here, you can choose the category of the action you wish to record.
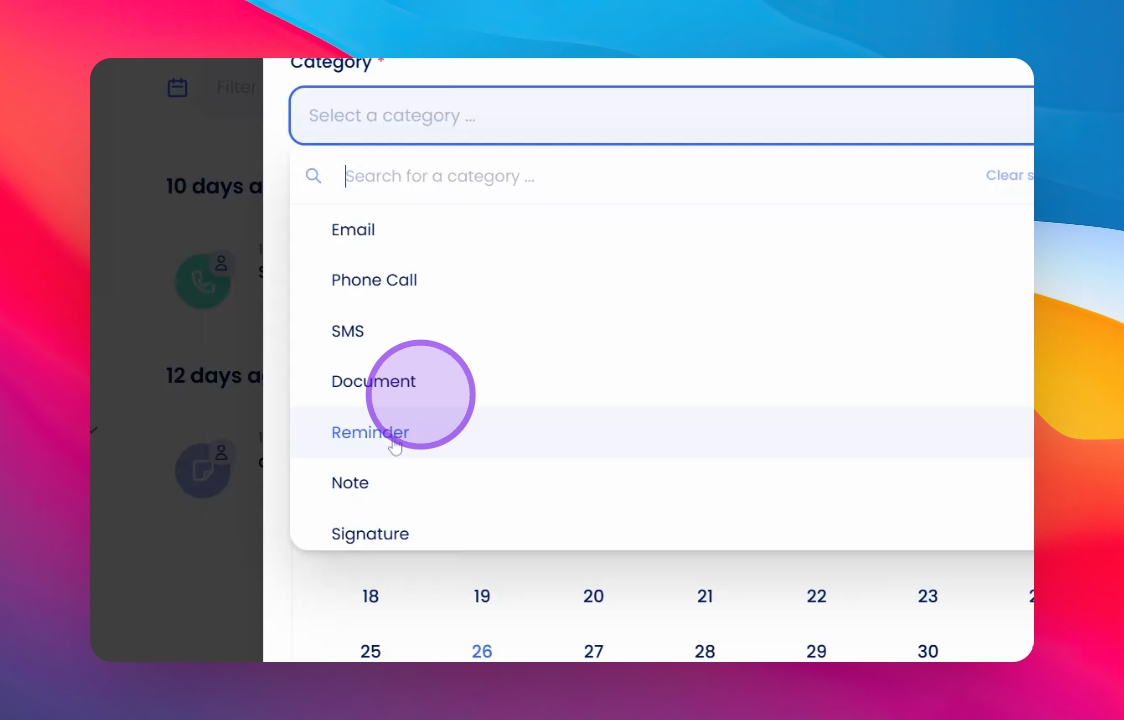
7. Choose Event Category
Select the type of event you want to add, such as an email, phone call, or SMS.
8. Set Up the Event
Once you have decided on the event, you can proceed to set it up as per your requirements.
9. Create a Reminder
For example, if you want to set a reminder, you might note down an event like calling John regarding his bathroom.
10. Specify Date
You can schedule the reminder for a specific date.

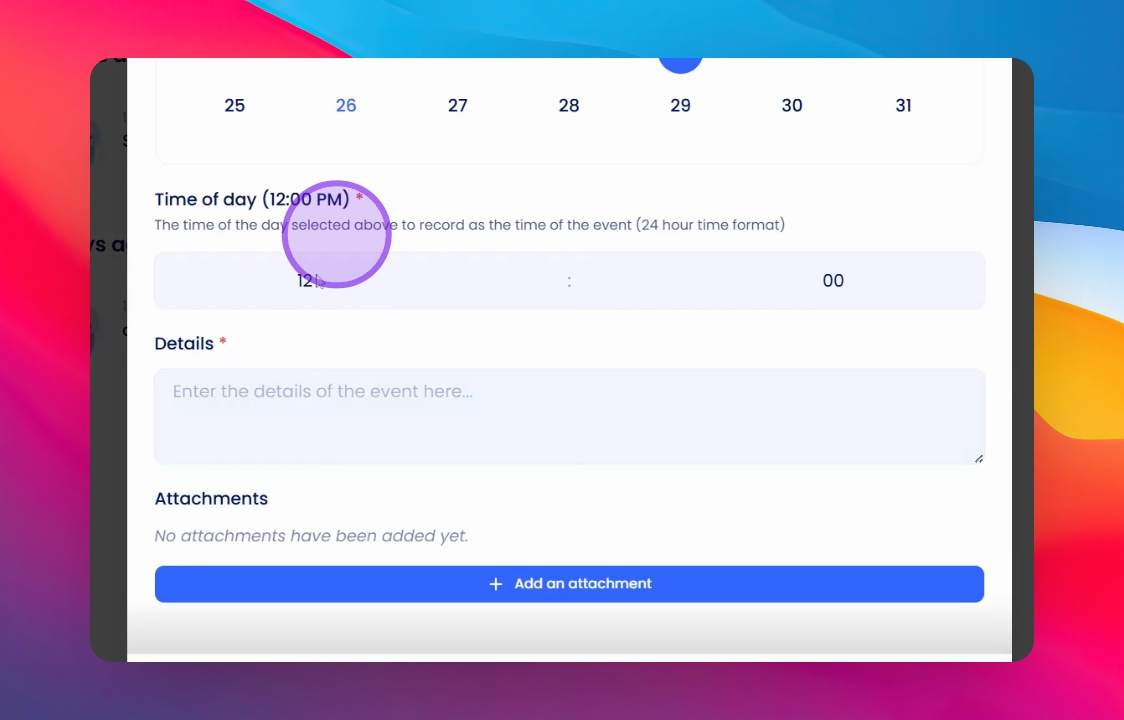
11. Attach Additional Information
Furthermore, you can select a time of day for the reminder and attach any relevant files, such as photographs, to keep a record.
12. Save the Event
After entering all the necessary details, don't forget to save the event to ensure it is recorded in the timeline.
Conclusion
By following these steps, you can effectively manage the owner timeline, ensuring that all relevant activities and events are accurately recorded and easily accessible.