Let's do it together!
Step 1: Access Property
Go to the property where the inspection was conducted.
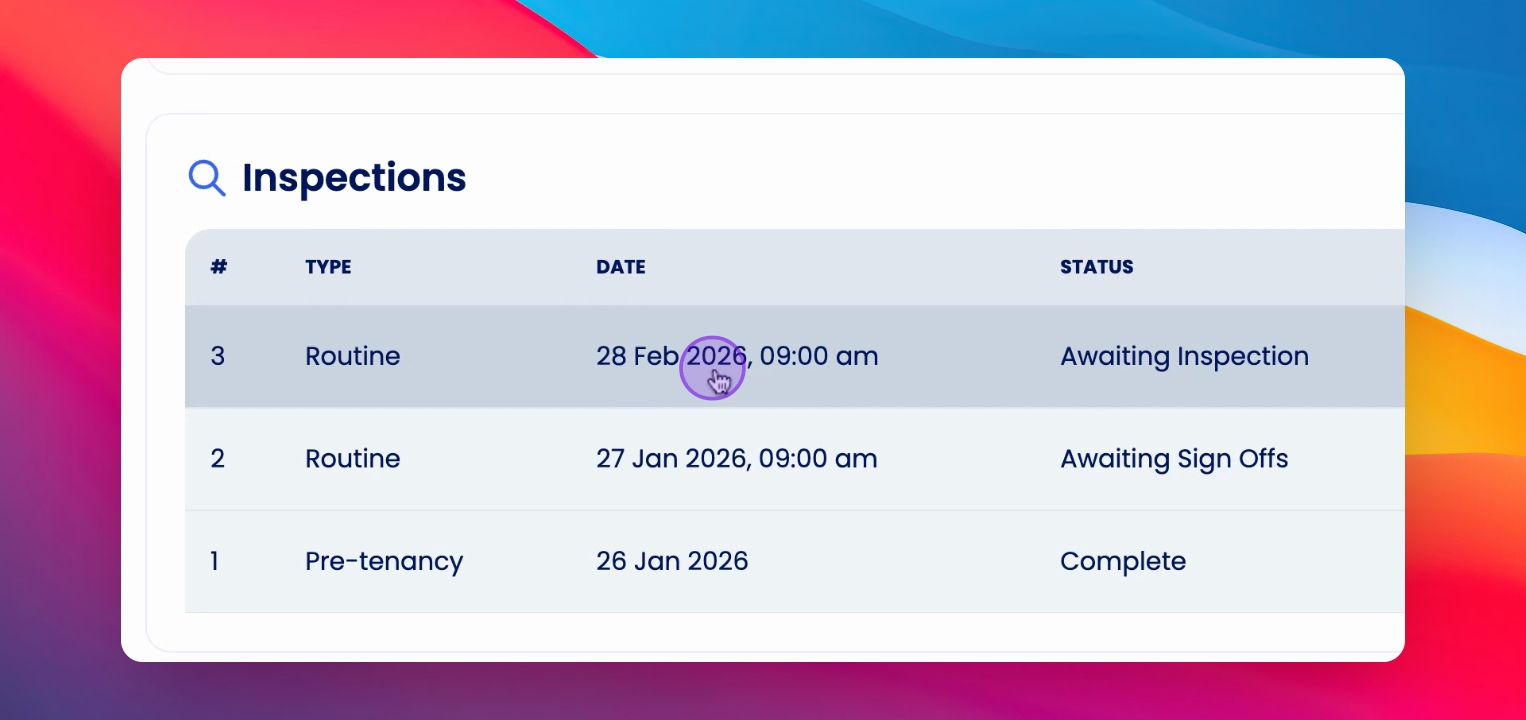
Step 2: Locate Inspection
Scroll down to find the specific inspection and open it for review.
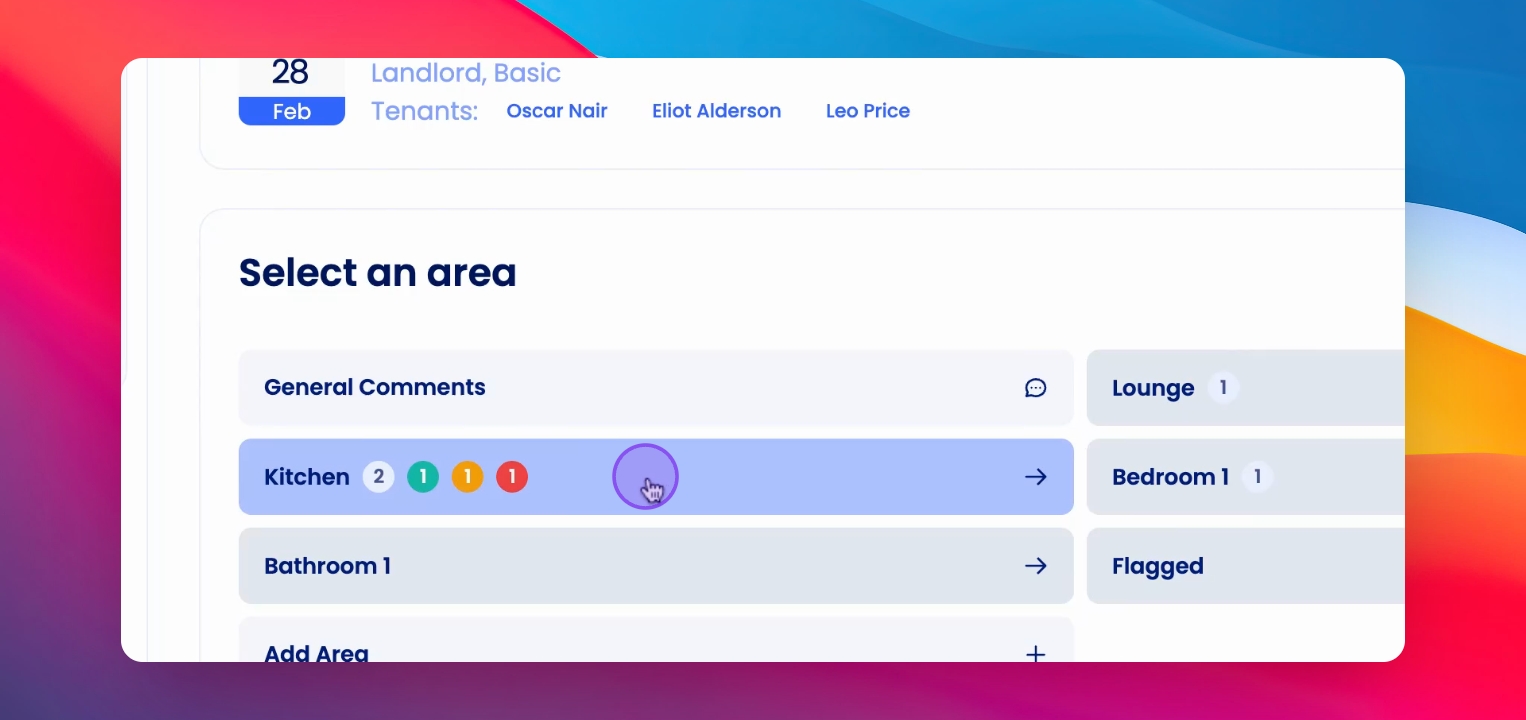
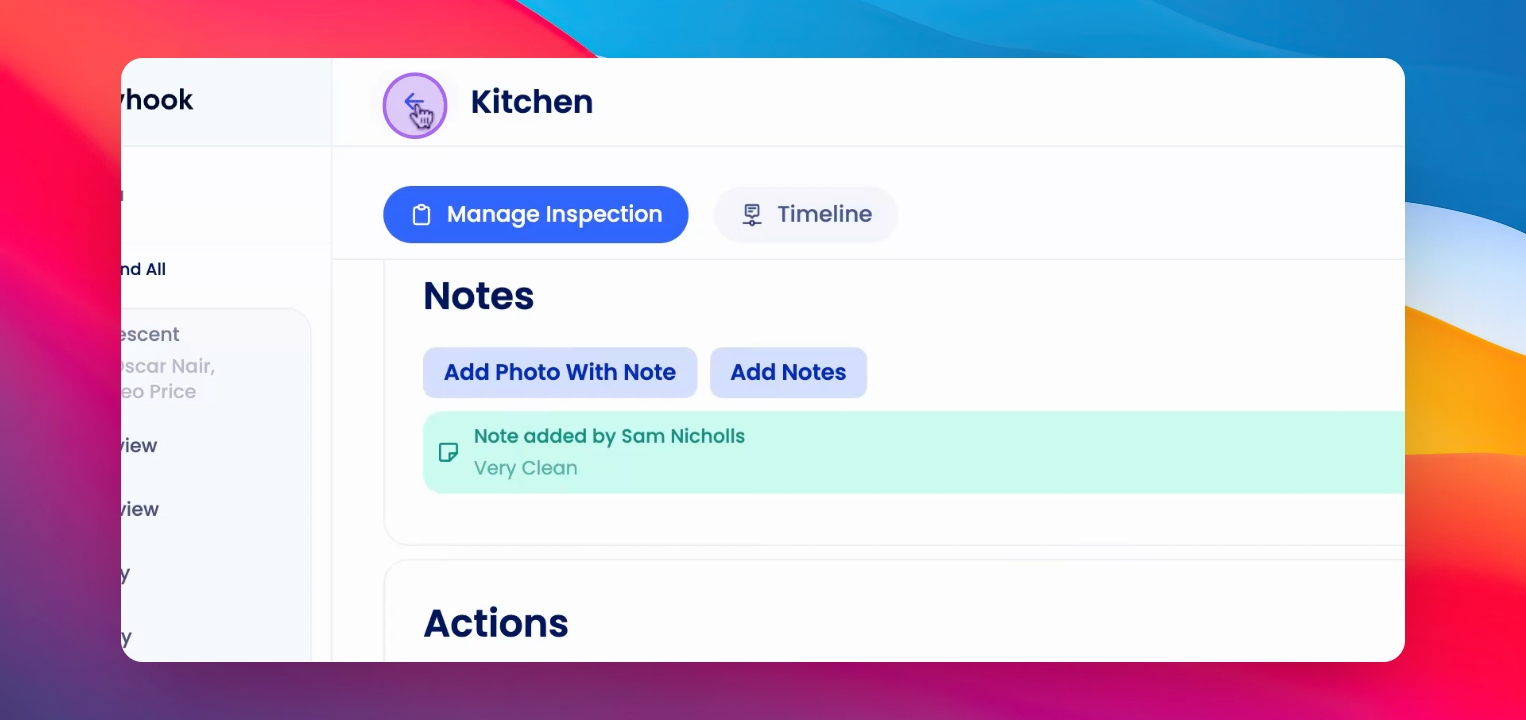
Step 3: Select Image Area
Click on the area where the photo is currently located.
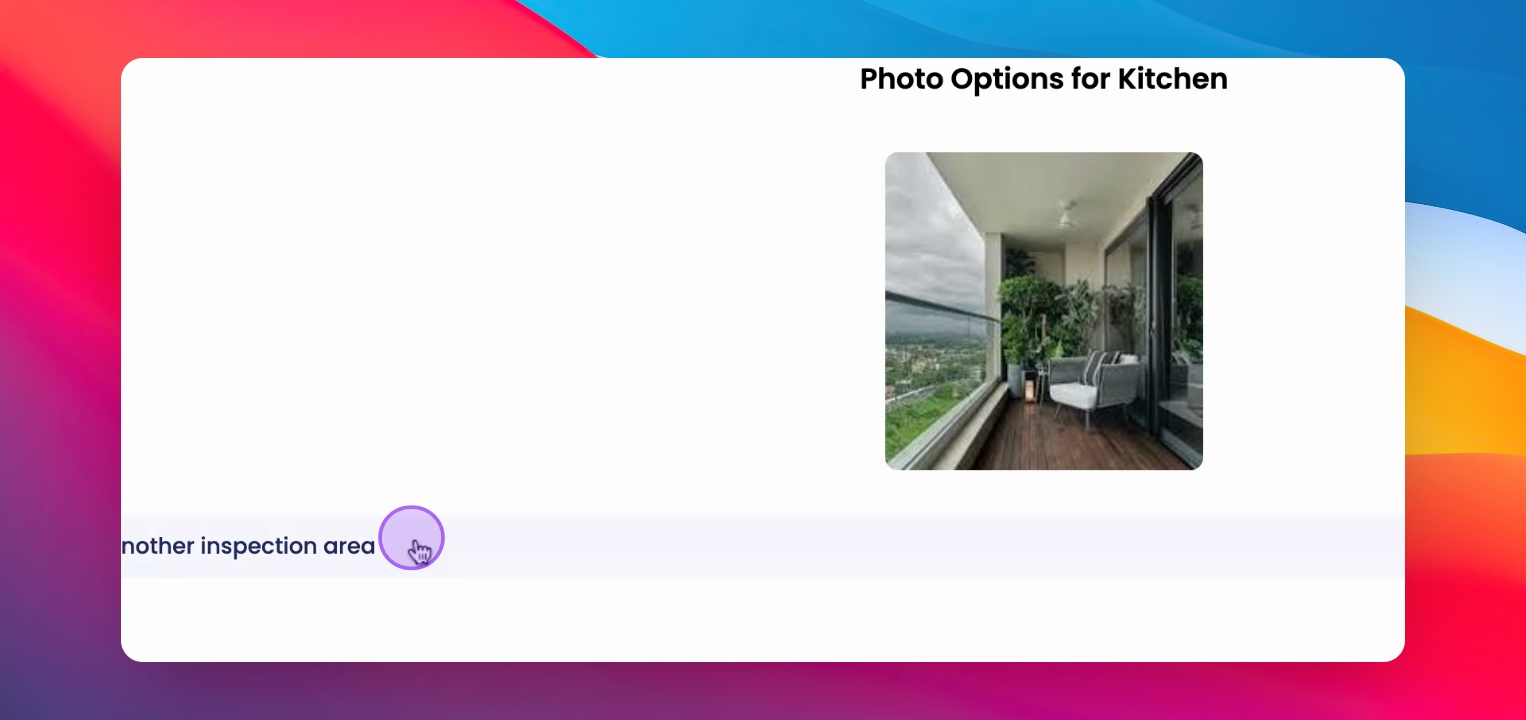
Step 4: Initiate Move
Right-click on the image you wish to move to reveal a list of actions.
Step 5: Choose Move Option
Select Move photo to another inspection area from the list.
Step 6: Select Destination
Choose the correct destination area for the photo.
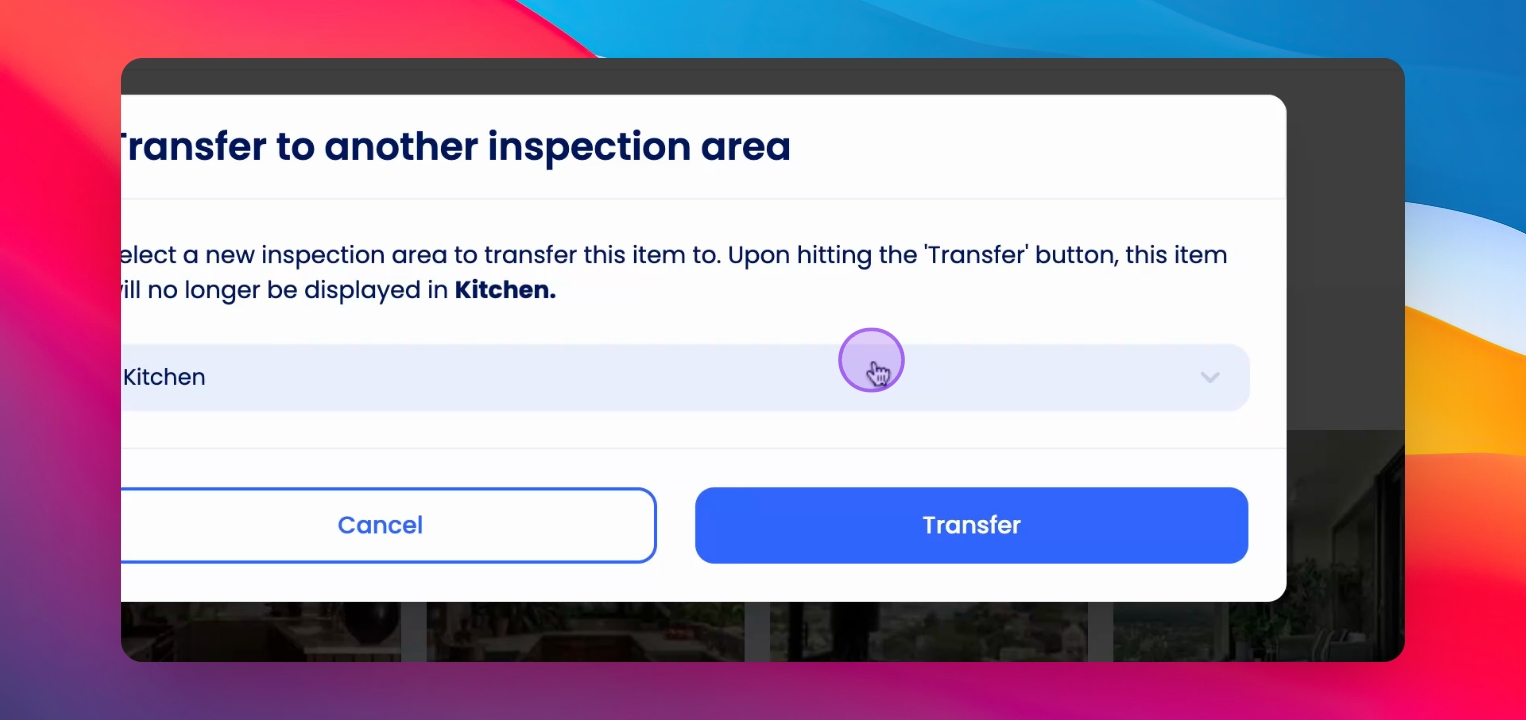
Step 7: Transfer Image
Click Transfer to move the image to the selected area.
Step 8: Confirm Move
The photo will now appear under the selected inspection area.
If you need more help or have any questions, just reach out to us at support@keyhook.com — we're always here to help!