TL;DR
1
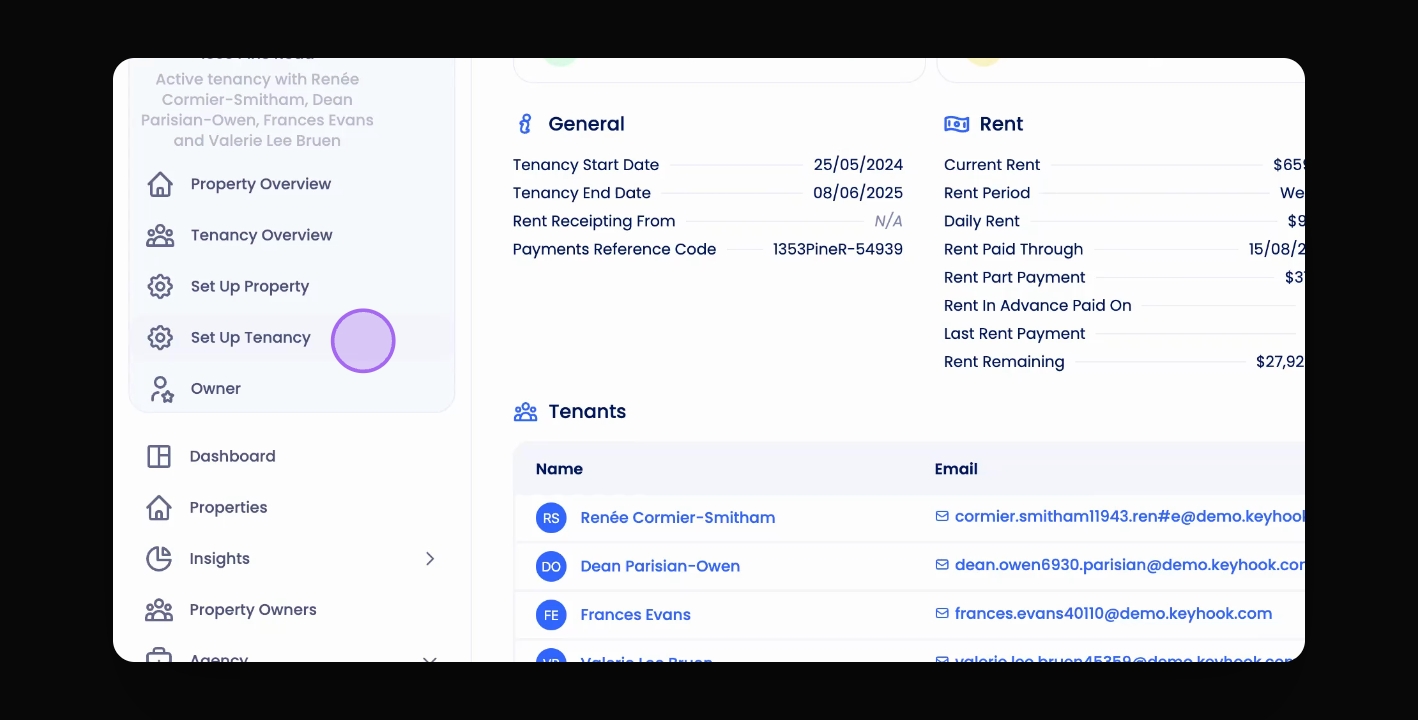
Set Up Tenancy
Fill relevant fields by clicking Set Up Tenancy.
2
Access Custom Fields
Navigate to the Custom Fields section.
3
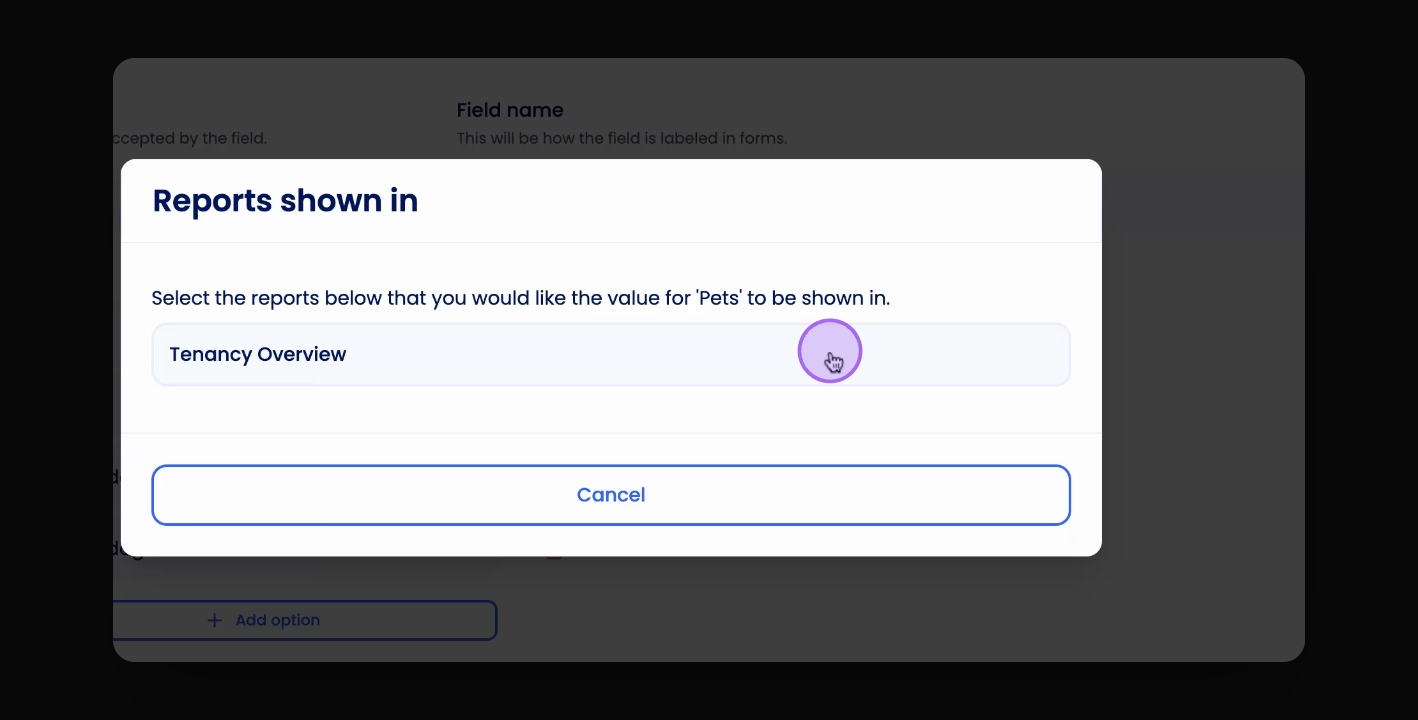
Display in Overview
Click icon next to Trash can and select Tenancy Overview.
4
Save Changes
Click Save Changes to update the display.
Let's Do It Together!
Step 1: Set Up Tenancy
Click Set Up Tenancy to fill relevant fields.
Ensure all required fields are completed.
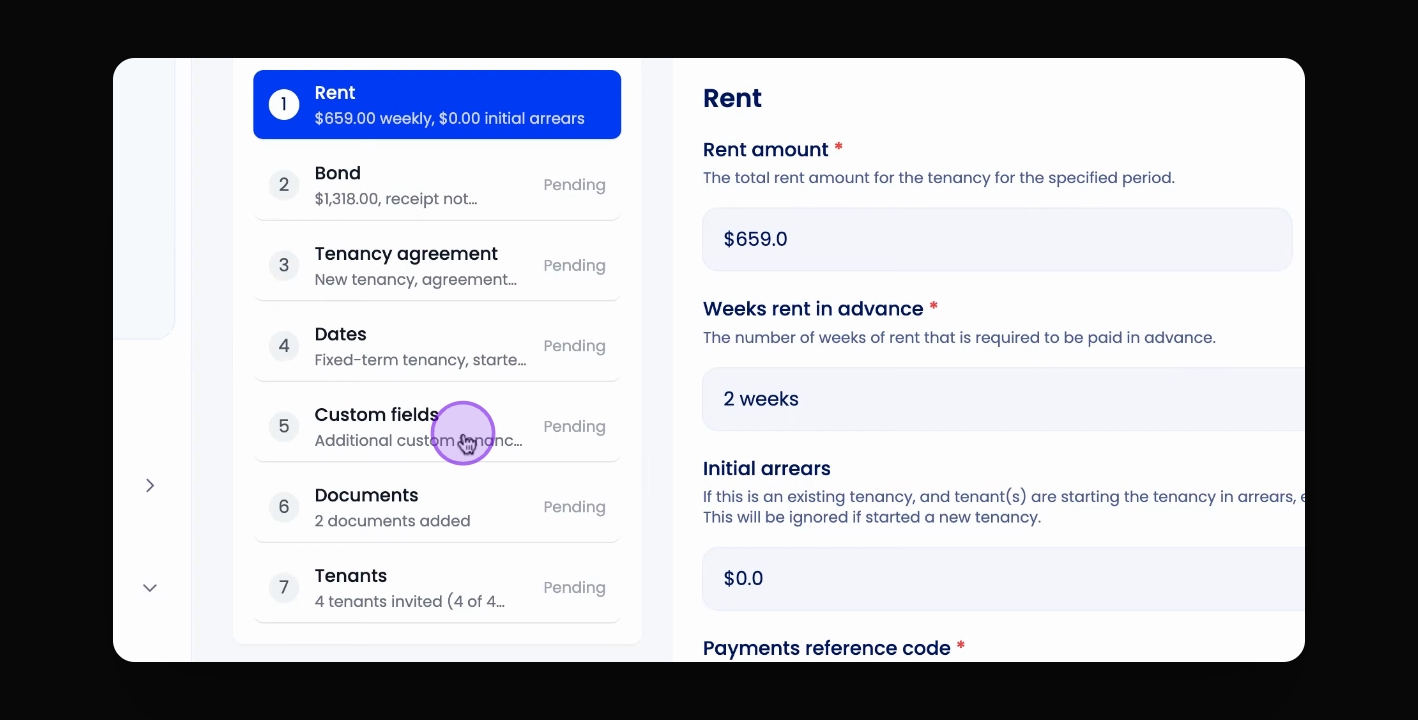
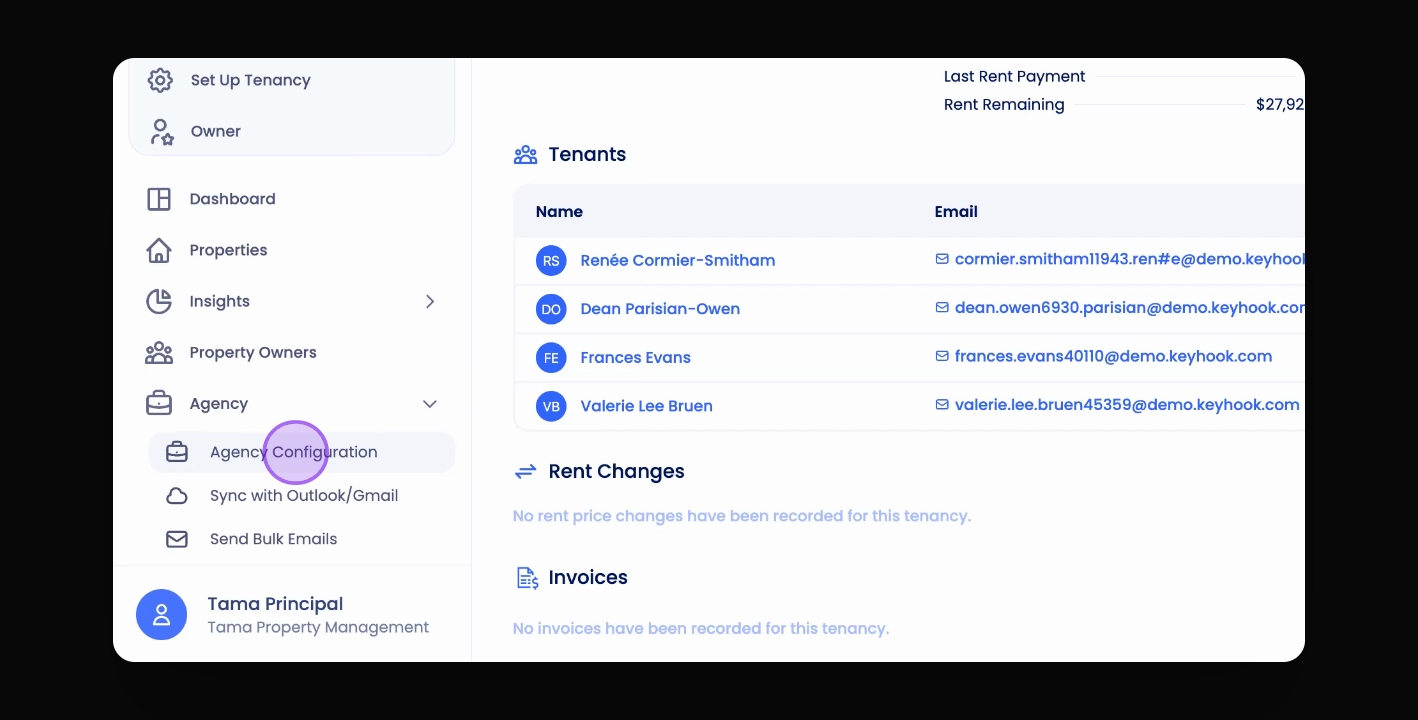
Step 2: Access Custom Fields
Click on the Custom Fields section.
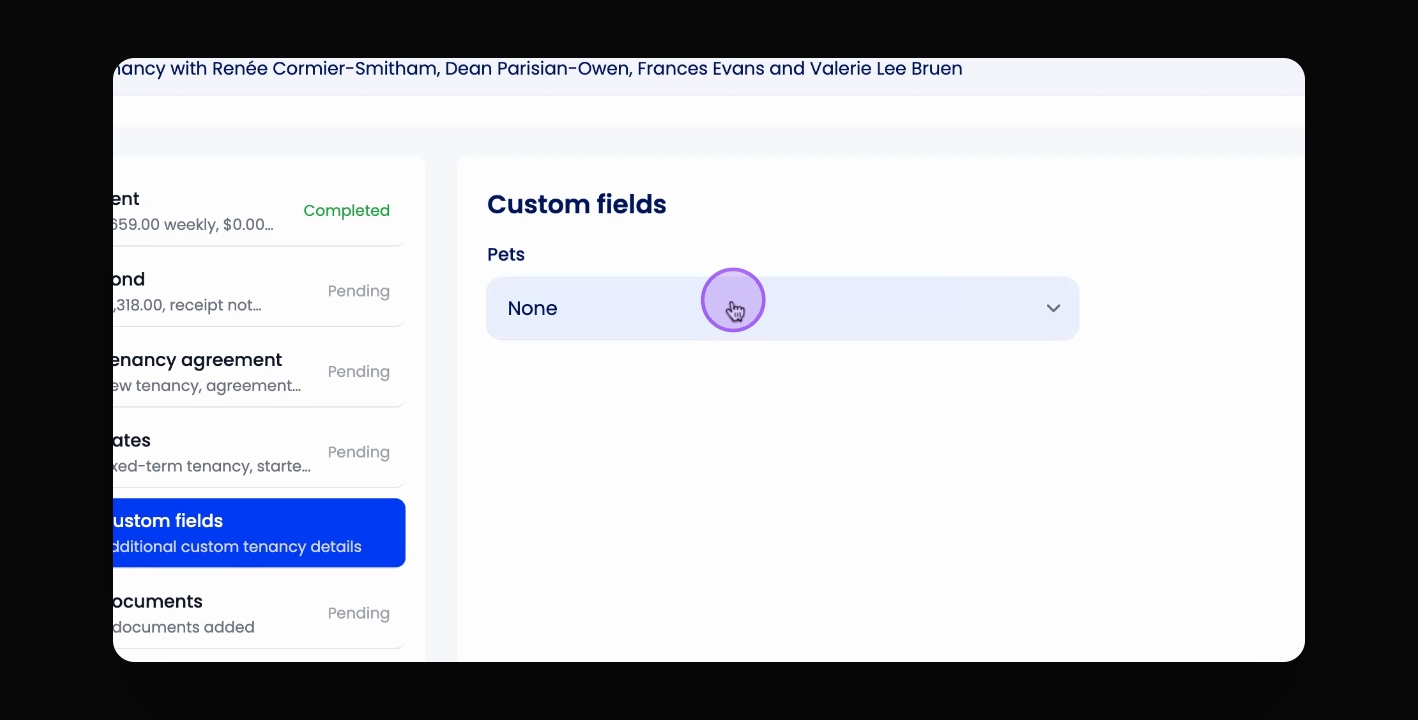
Step 3: Fill Custom Field
Ensure the Custom field has been filled.
Step 4: Save Changes
Click Save to apply the changes.
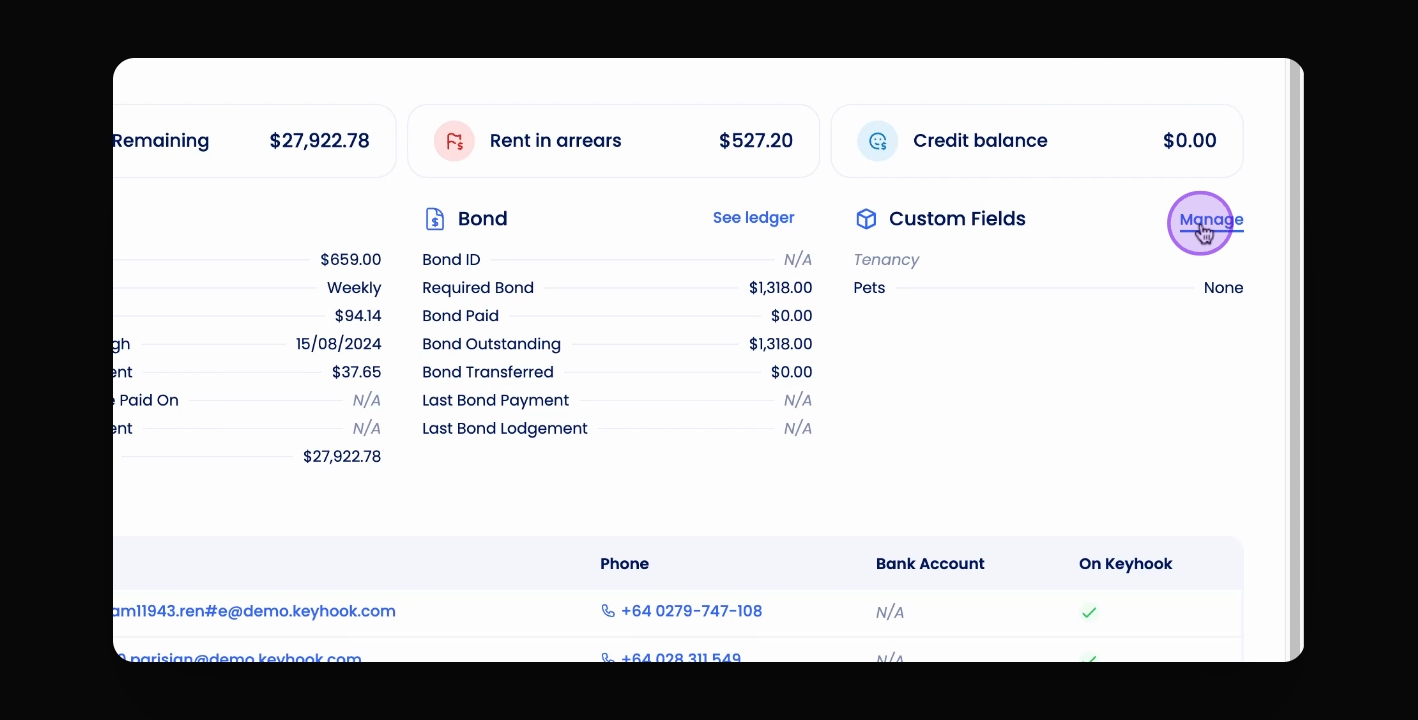
Step 5: Manage Custom Fields
If created, click Manage Custom Fields or visit the Custom Fields section.
This allows you to manage existing custom fields.
Step 6: Scroll to Tenancy Fields
Under Agency Configuration Custom Fields, scroll down to the Tenancy fields.
Step 7: Display Custom Fields
Click the icon next to the Trash can to display fields.
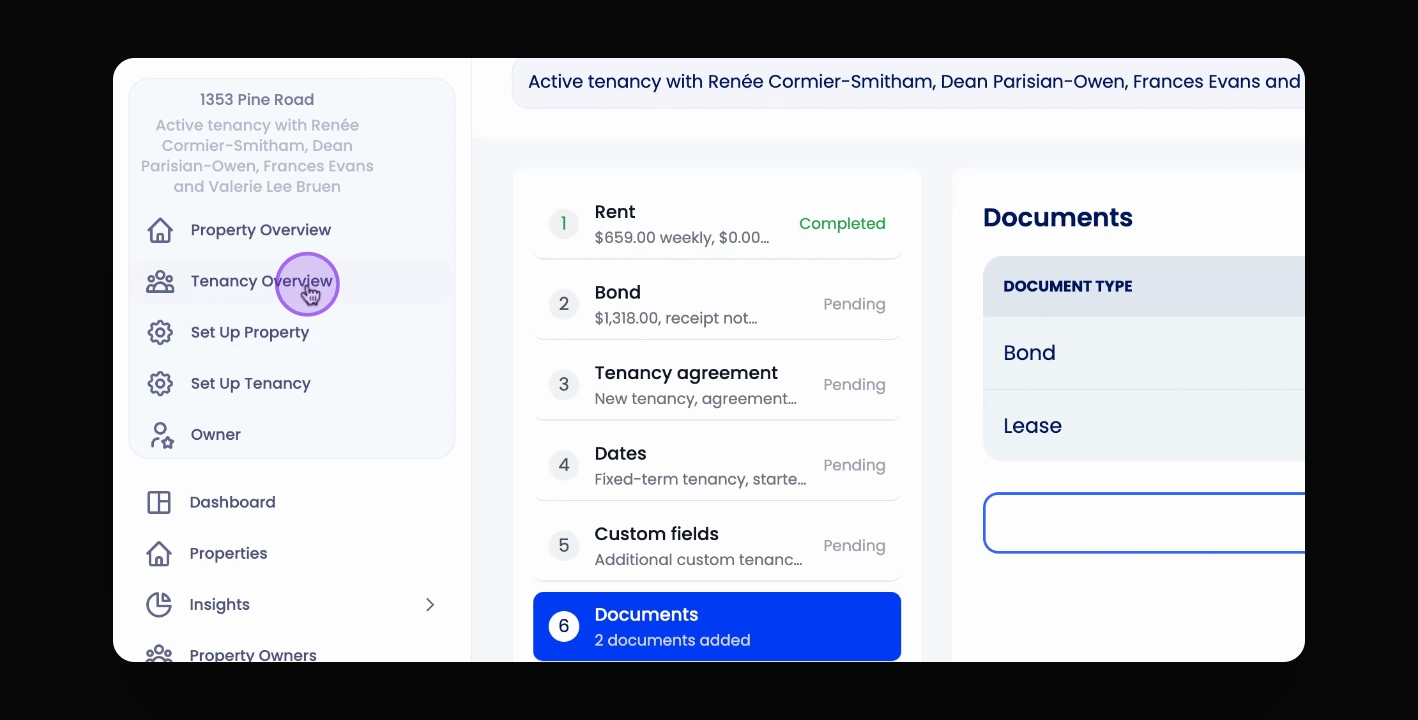
Step 8: Select Tenancy Overview
Select the Tenancy Overview option.
Step 9: Save Changes Again
Click Save Changes to finalise the display settings.
Step 10: Verify Display
Check that the field now shows in the Tenancy Overview.
The custom field is now visible in the Tenancy Overview.
Troubleshooting
Custom fields not visible
Ensure you have selected the Tenancy Overview option.
FAQ
How to manage custom fields?
Click Manage Custom Fields in the Custom Fields section.