Lets Do it Together!
Step 1: Accessing Agency Configuration - Custom Fields
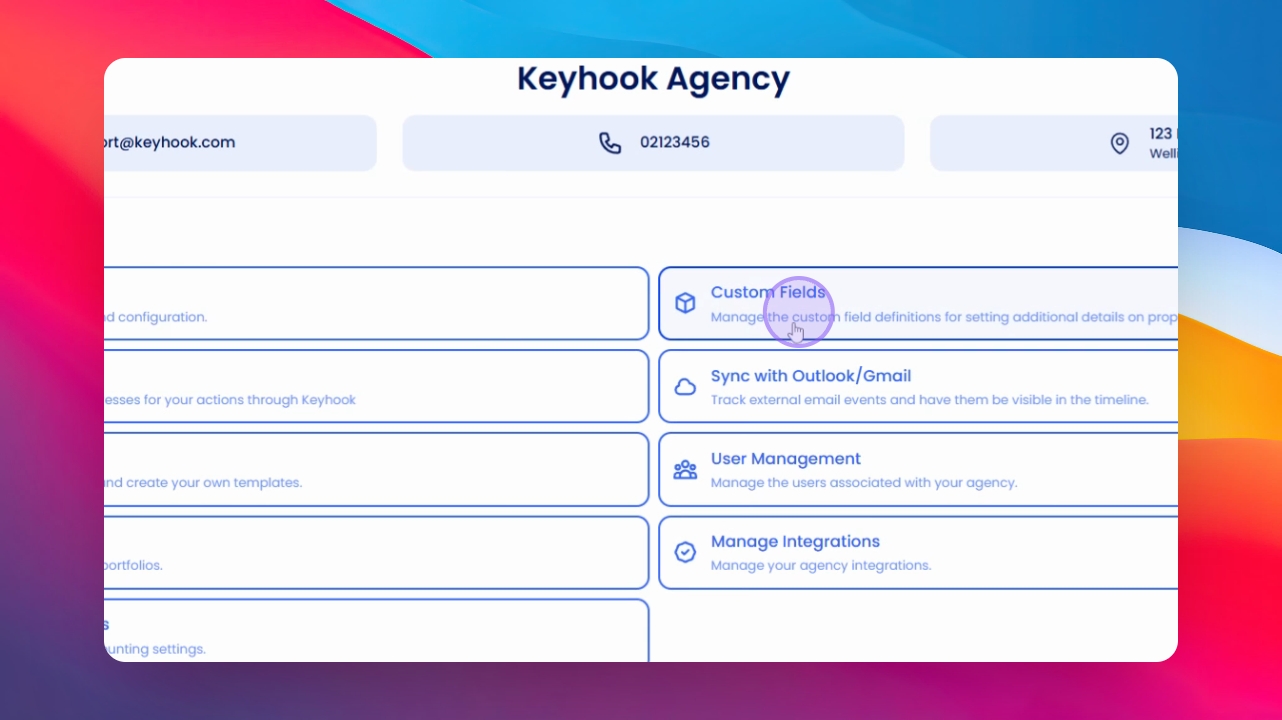
To begin the process, navigate to Agency.
Next, select Agency Configuration.
Proceed by clicking on Custom fields.
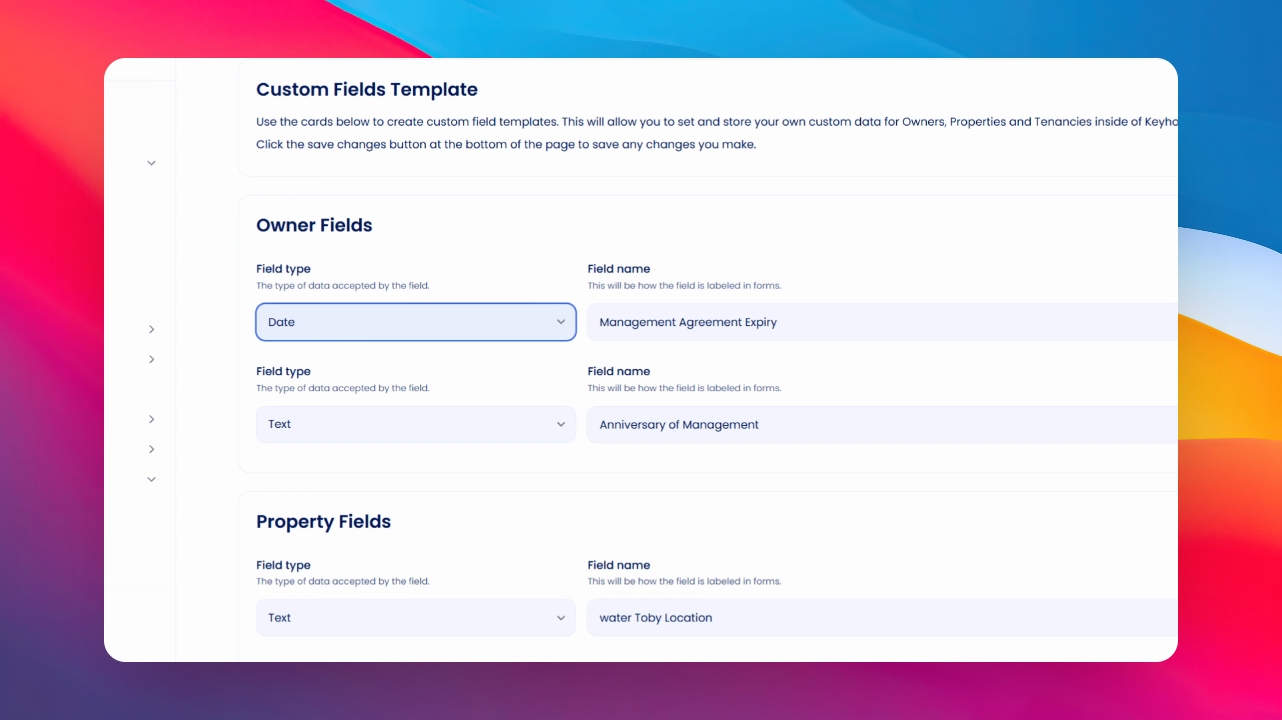
Step 2: Choosing the Entity
You can enter custom fields against an owner, a property, a tenant, or a supplier.
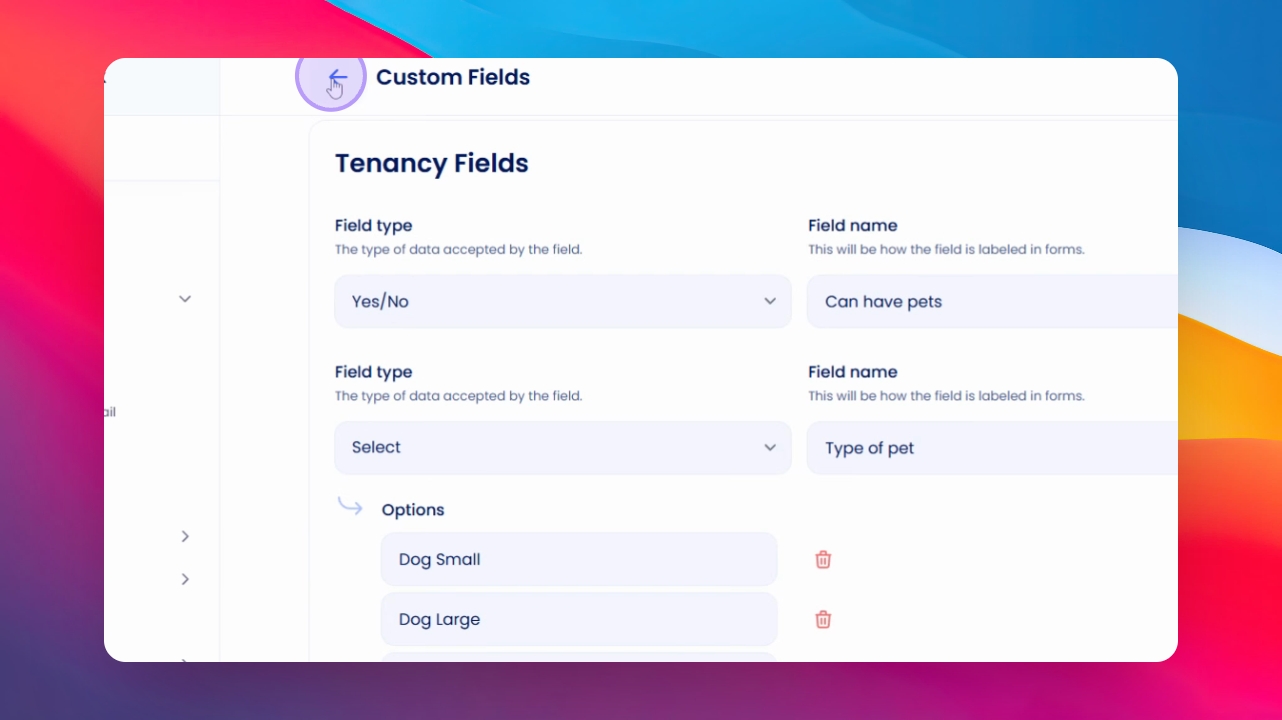
Step 3: Adding Individual Tenant Fields
Additionally, you have the ability to add fields against individual tenant entries.
Step 4: Selecting Field Type
You will see a variety of field types to choose from.
Step 5: Field Type Options
Your options include text fields, date fields, and yes/no fields.
Step 6: Setting Field Constraints
Select the desired field type; this will restrict input to the chosen format.
Step 7: Choosing Text Field When Unsure
If uncertain about the field's content, it's advisable to use a text field.
Step 8: Creating a Select Field
For a select field, you will be prompted to enter the options you wish to include.
Step 9: Viewing the Drop Down Selection
This will then present as a drop-down selection field against the various records.
Step 10: In a Owner, Property, Tenant or Supplier record
Go to the custom field area and If you wish to add a new custom field, click on Manage Custom fields. This will return you to the custom field page in Agency Configuration.
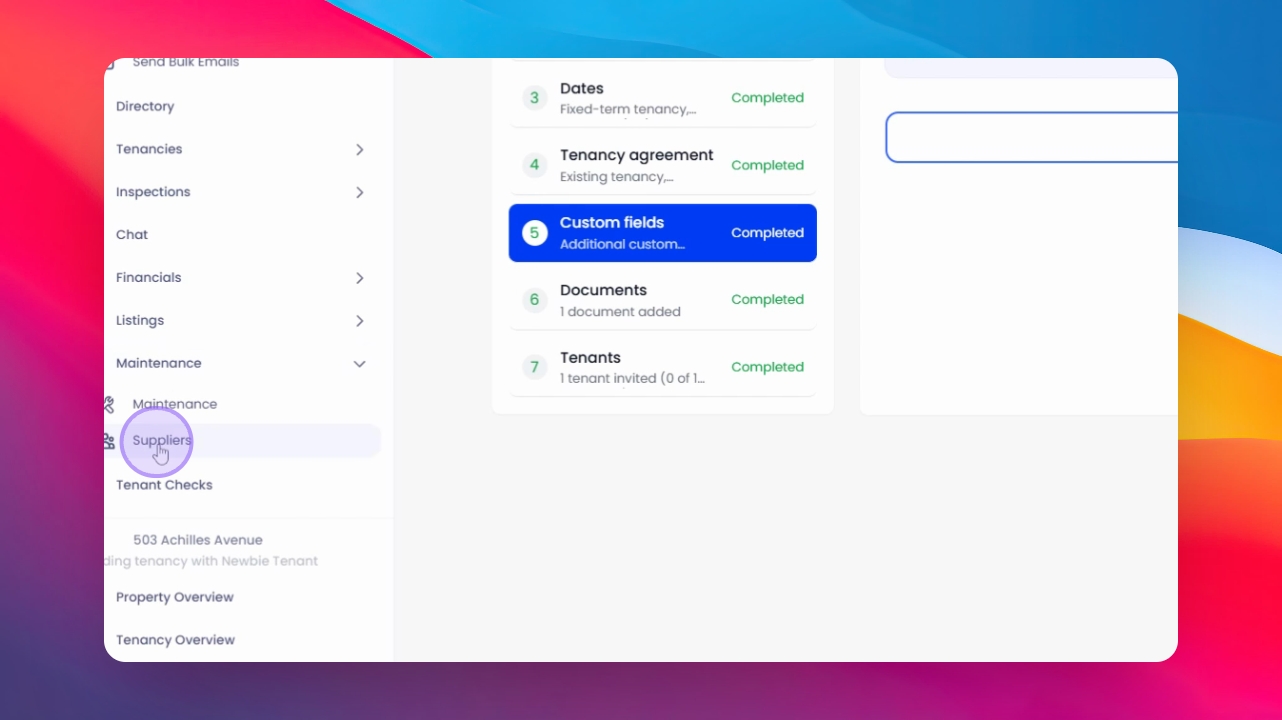
Step 12: Finding Supplier Custom Fields
For supplier custom fields, scroll down to the Suppliers section.
Step 18: Accessing Custom Fields for Suppliers
Here, you can select a supplier from the list, then scroll down to find the Custom fields for suppliers.
Step 19: Filling in Required Information
Now, you can fill in the necessary information you require.
Step 20: Saving Your Changes
Always remember to save your changes to ensure that your custom fields are recorded.
If you need more help or have any questions, just reach out to us at support@keyhook.com — we're always here to help!
Click on this link to give a feedback: Support Article Feedback Form