Introduction
Modifying inspection templates for properties on Keyhook is a straightforward process.This tutorial will guide you on how to change the inspection templates, whether you are looking to add new areas or update existing items.
How to Instructions
1. Select a Property
First, navigate to the property of your choice.

2. Access Inspection Template Options
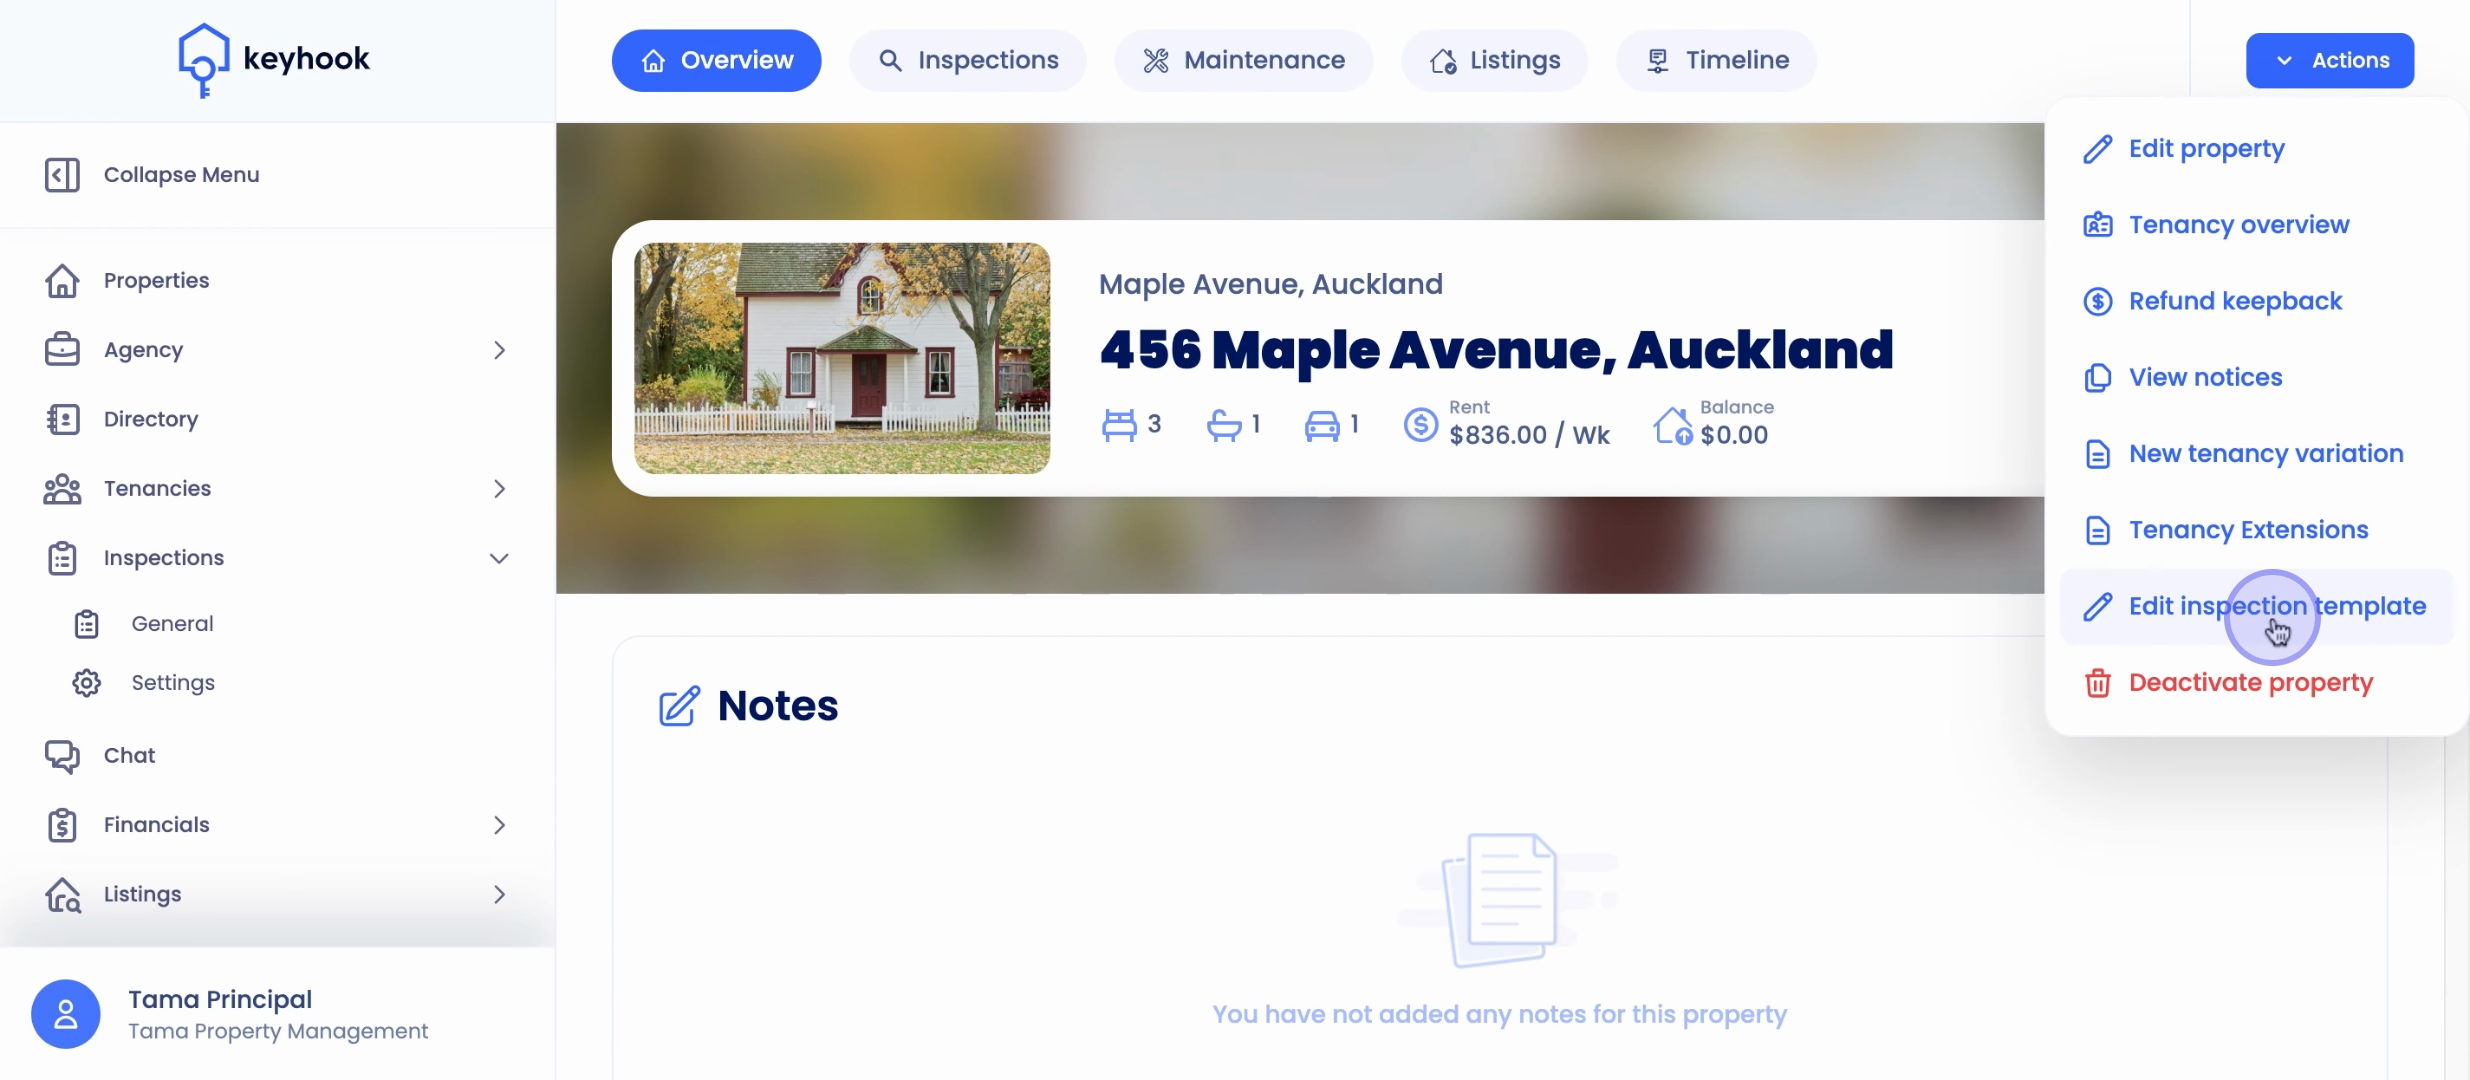
From the Property Overview, click Actions on the top right of the page.
Select Edit Inspection Template.
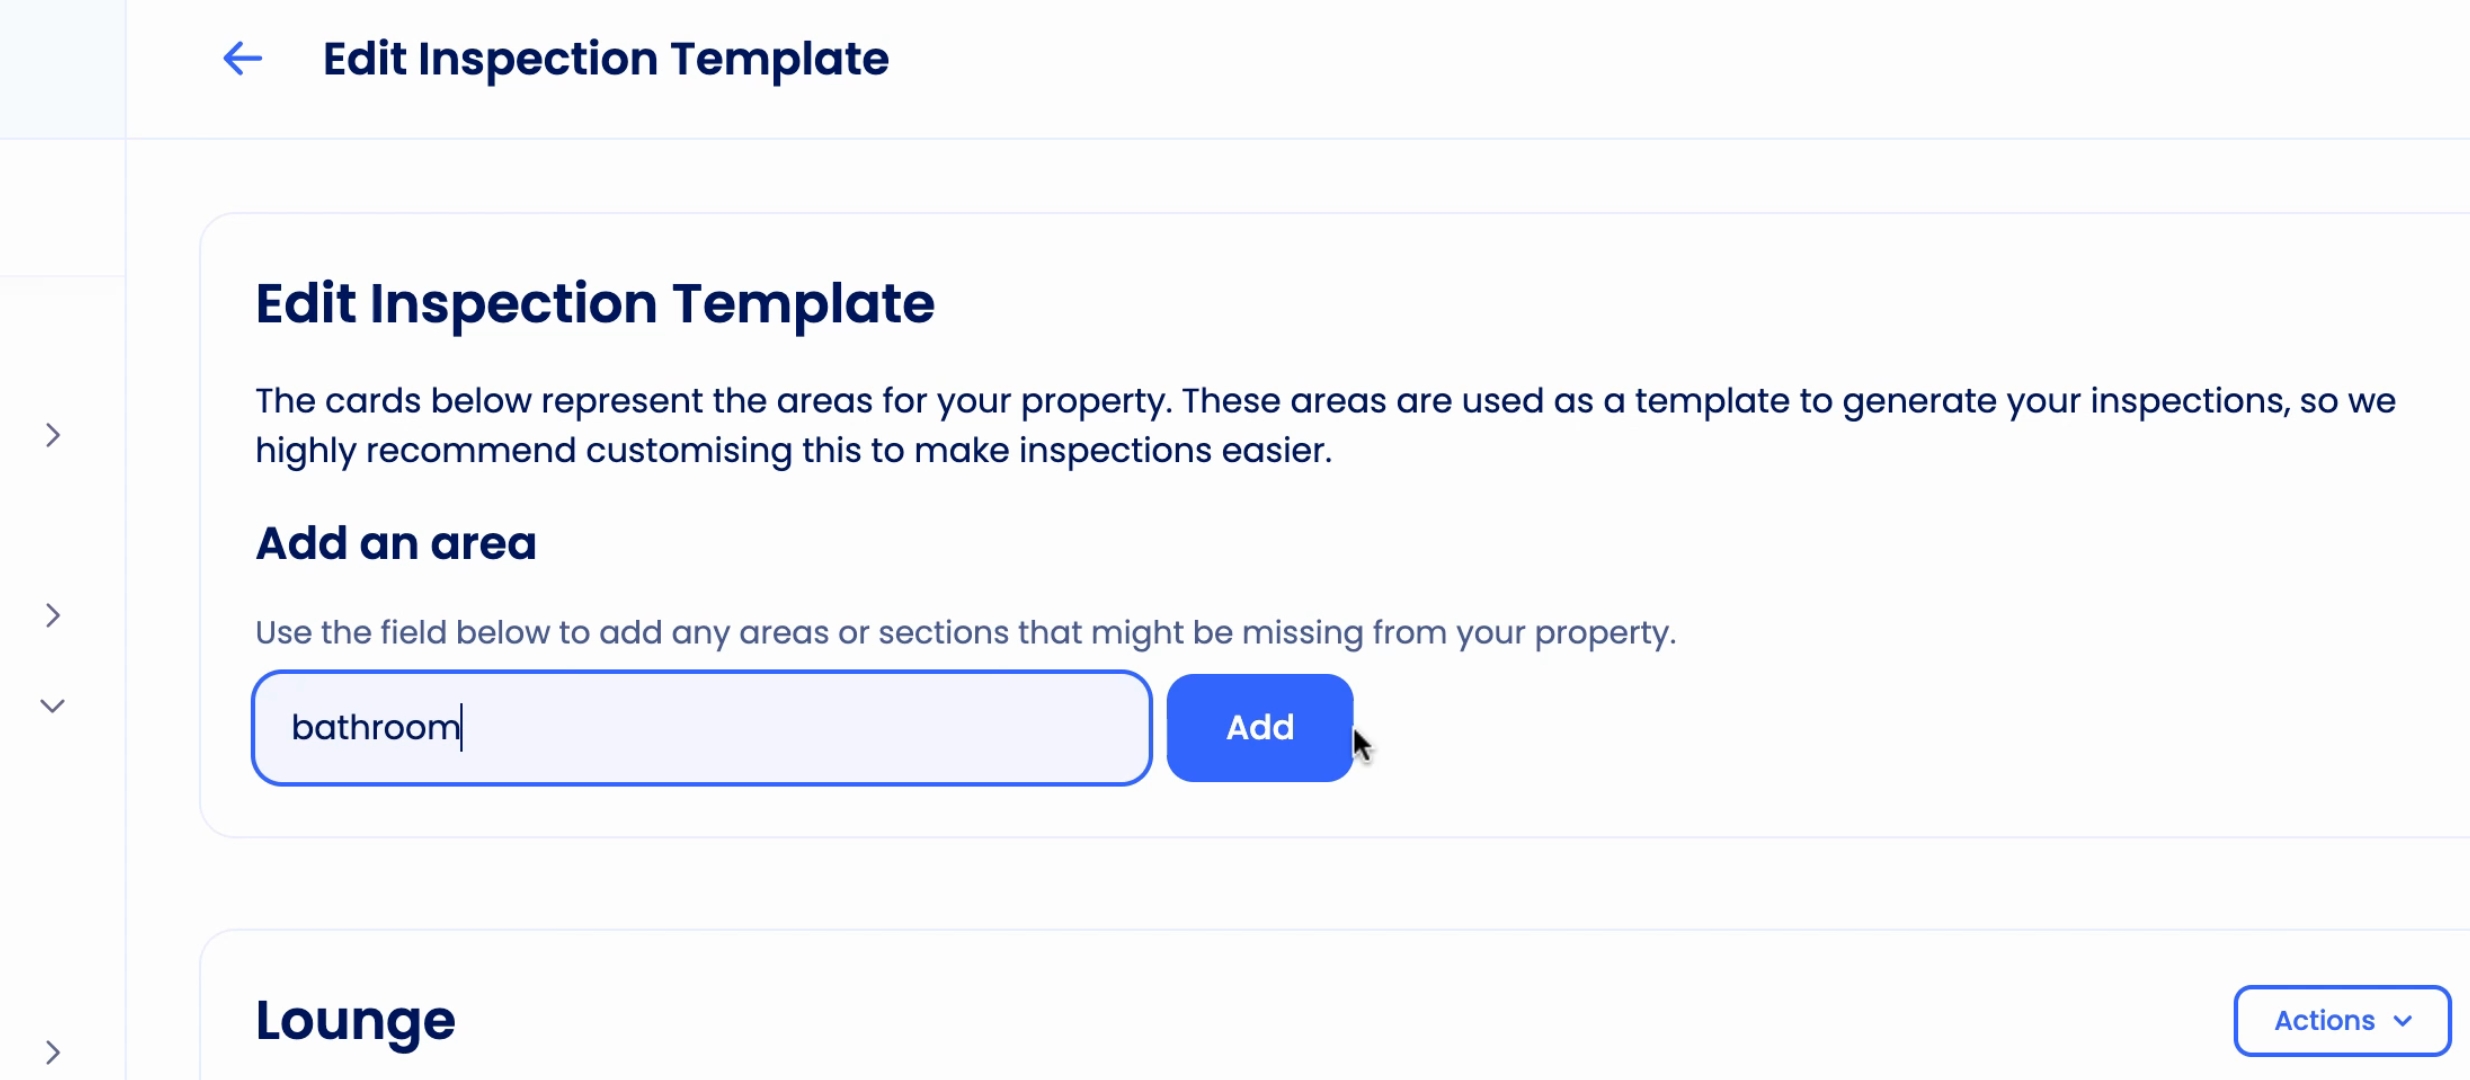
3. Add New Areas
You can add new property areas using the field at the top of the page.
The new area will be added to the bottom of the list.
5. Edit and Customise
From here, you can edit the name of the area.
You can also edit, add, or delete parts of the new area.

6. Save Your Changes
Once you're happy with your changes, click Update. This will save for all future inspections.
Conclusion
By following these steps, you can successfully change inspection templates to properties on Keyhook, ensuring that your property inspections are tailored to meet your needs.