Let's do it together!
Step 1: Log in
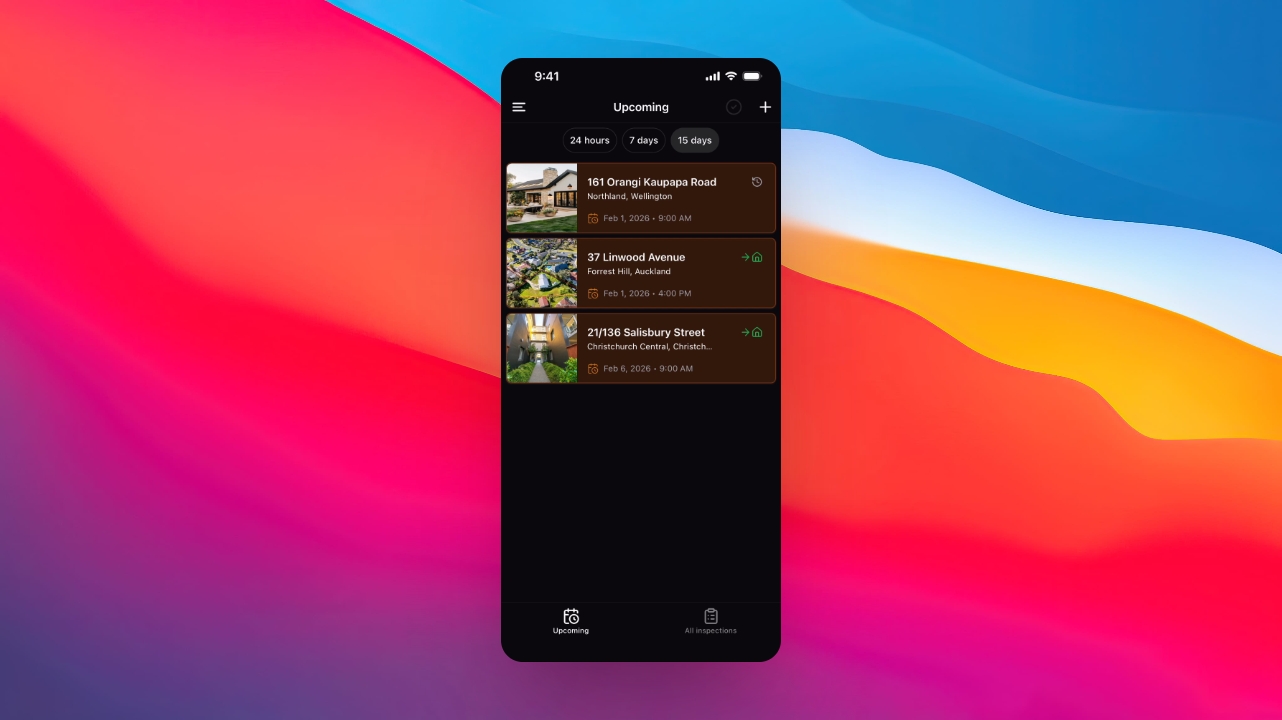
Login to the Keyhook Inspections app to access the Home screen.

Step 2: View inspections
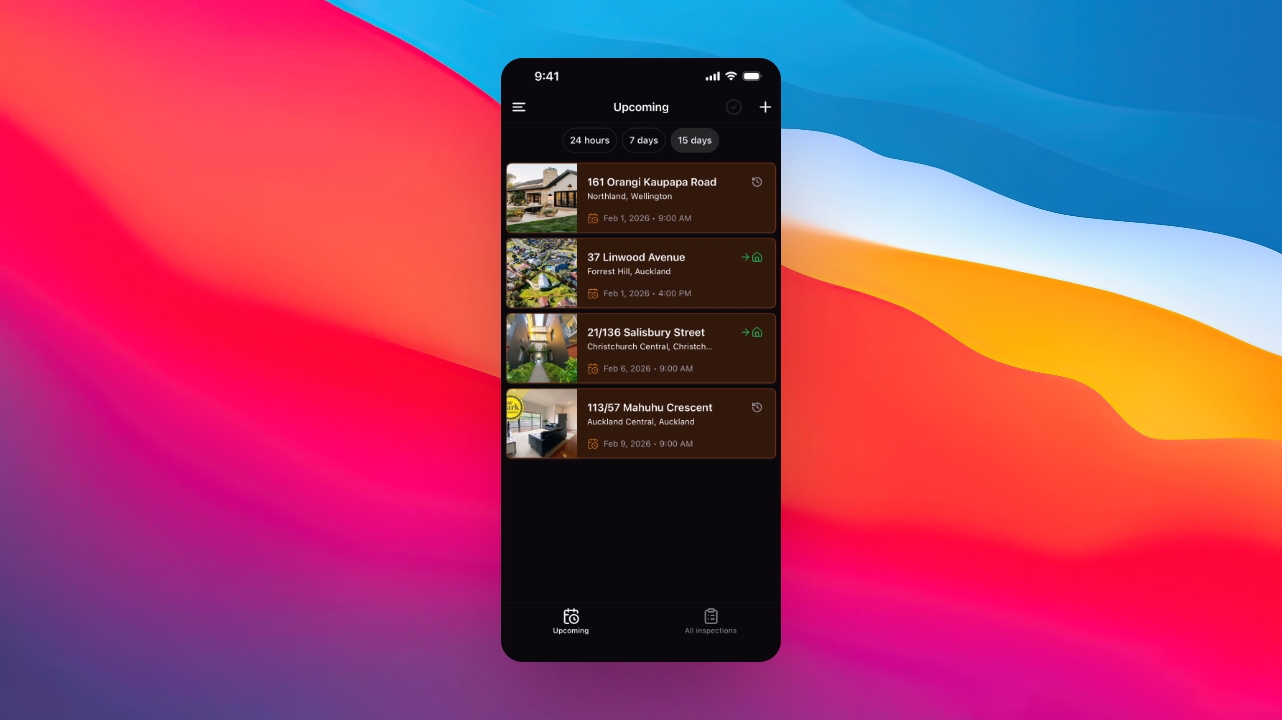
Check upcoming inspections grouped by schedule on the Home screen.
Step 3: Switch views
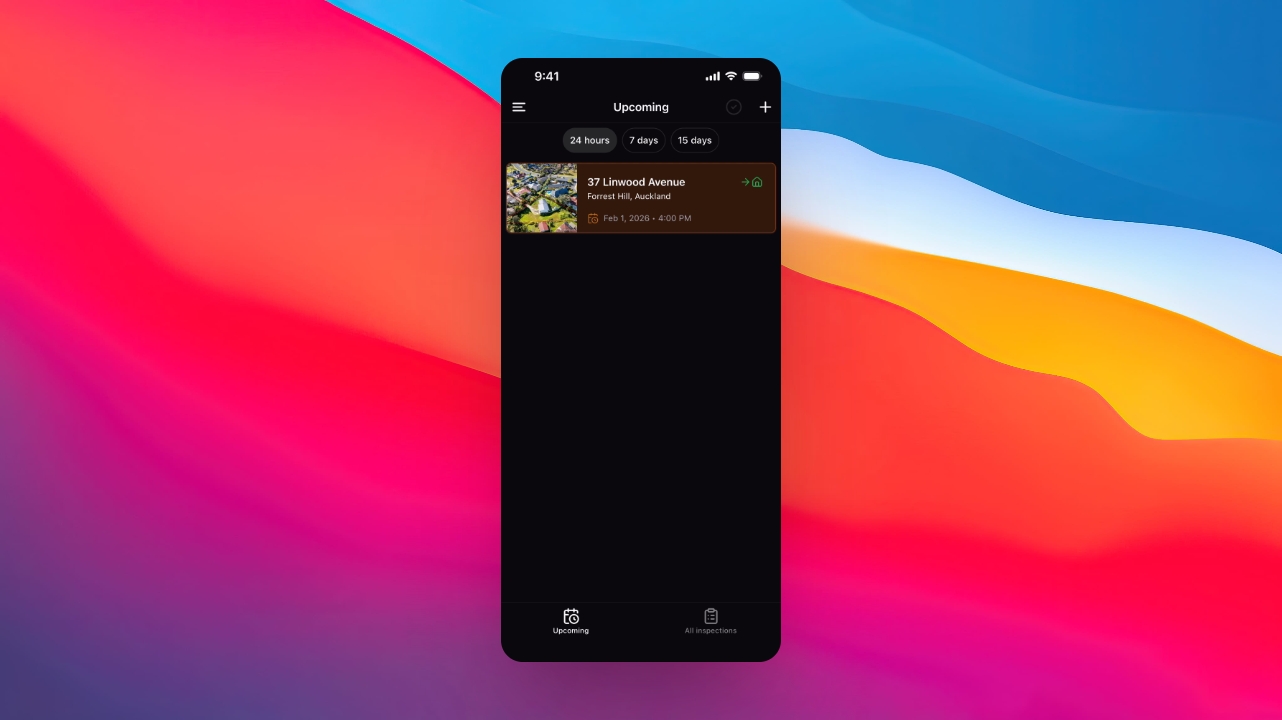
Switch between views for the next 24 hours, next seven days, or next 15 days of inspections.

Step 4: Create inspection
Click the plus icon to create a new inspection by filling in the required details and clicking Create.

Step 5: Start inspection
Tap on the inspection from the Home screen to begin.
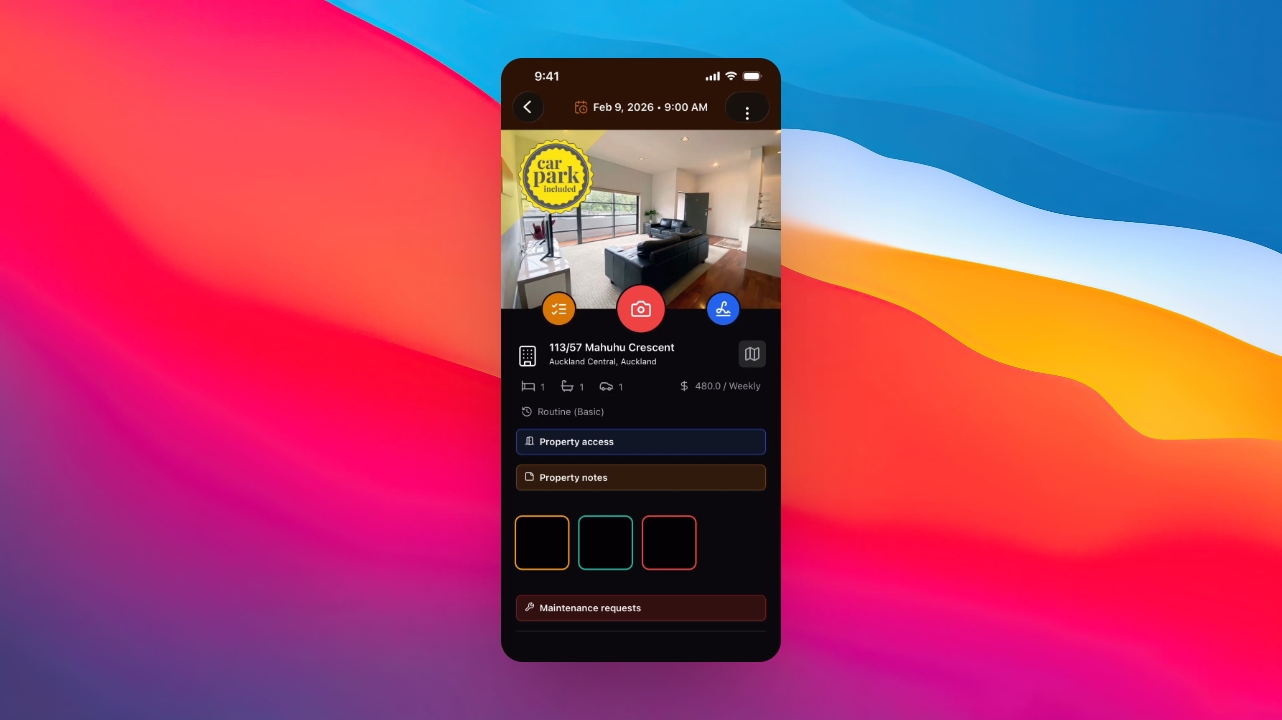
Step 6: Use main tools
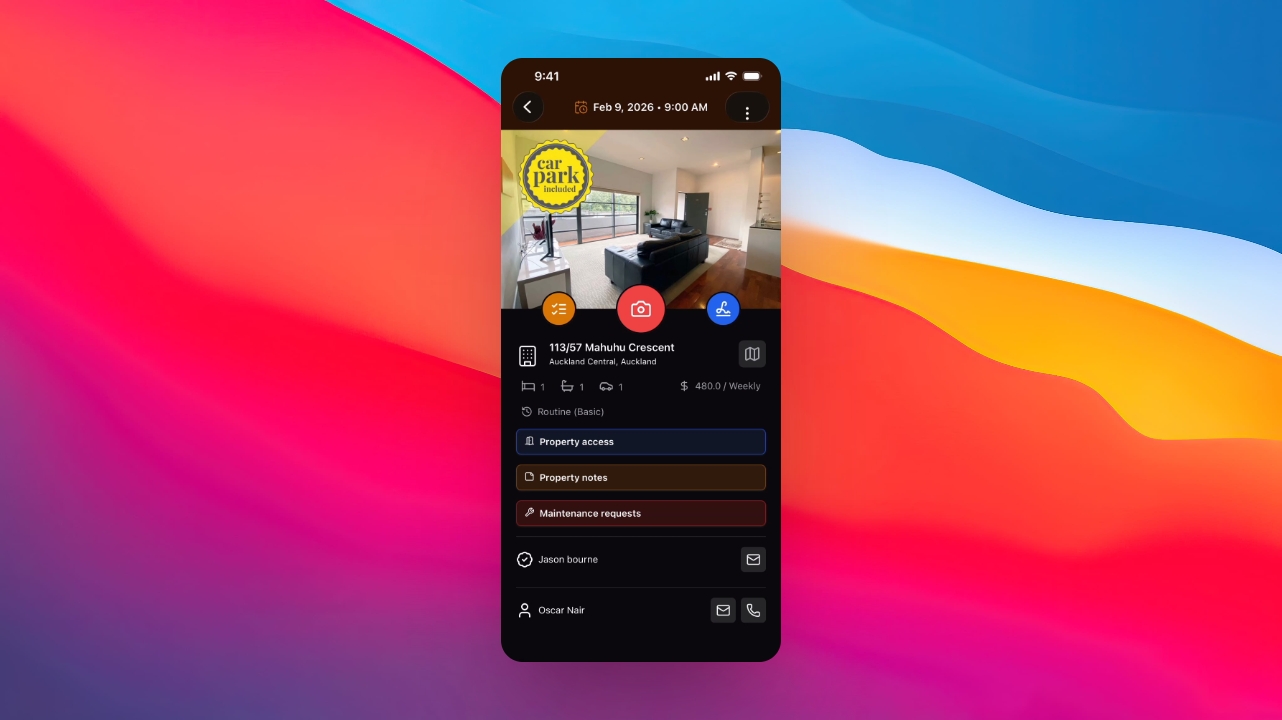
Access main tools such as the checklist, camera, and signature buttons during the inspection.
Step 7: Capture photos
Tap on an area to start capturing photos and information for that inspection space.
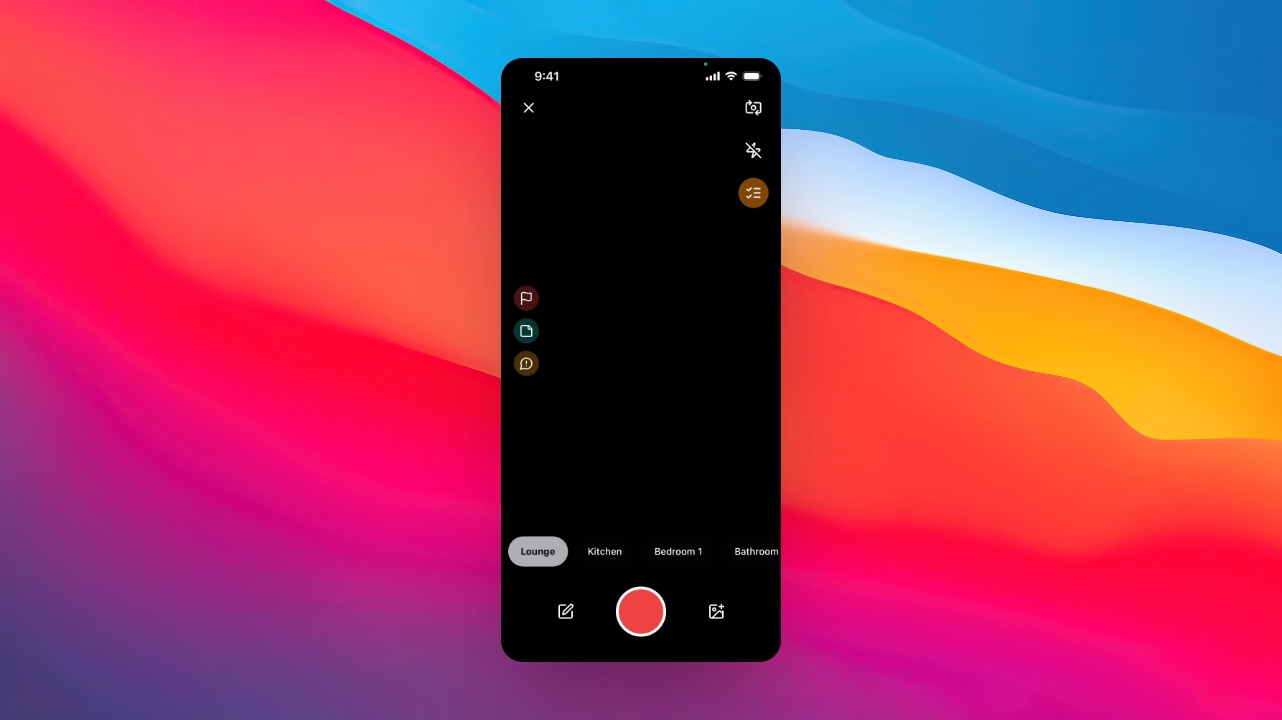
Step 8: Flag issues
Tap the flag icon to flag a photo for attention during the inspection.

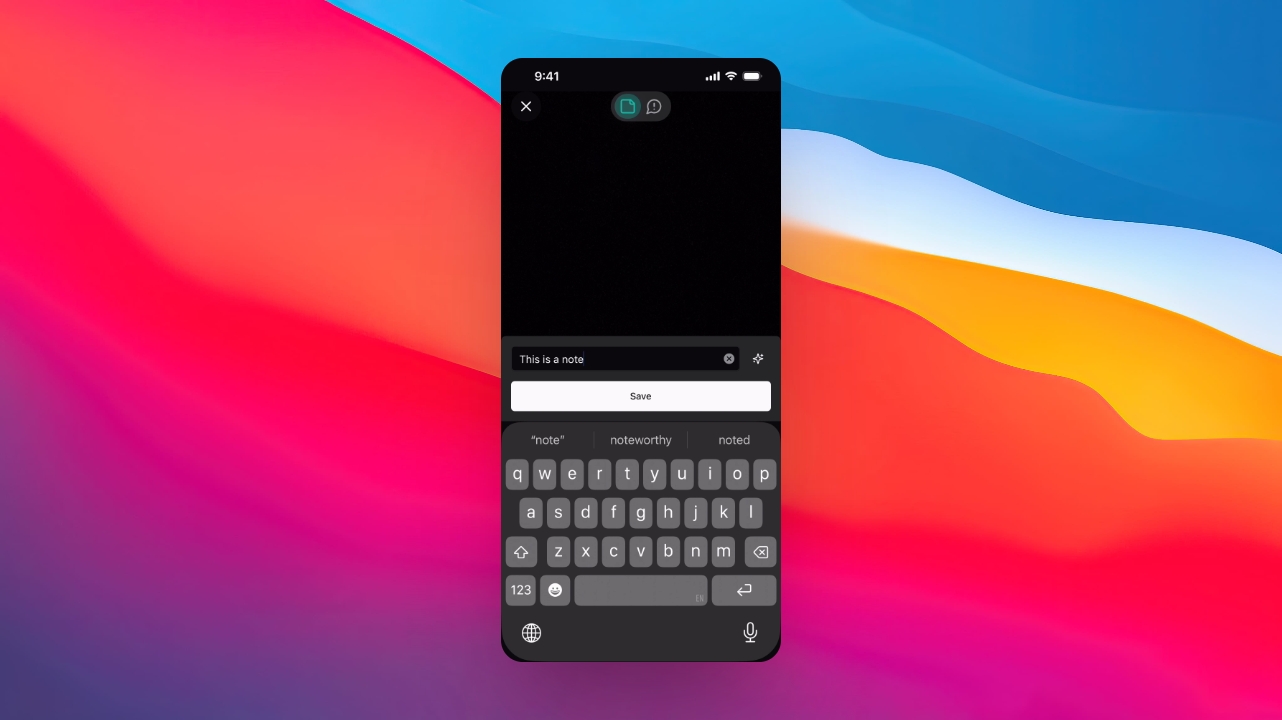
Step 9: Add notes
Use the Note icon to add notes to photos and click to prompt note addition.

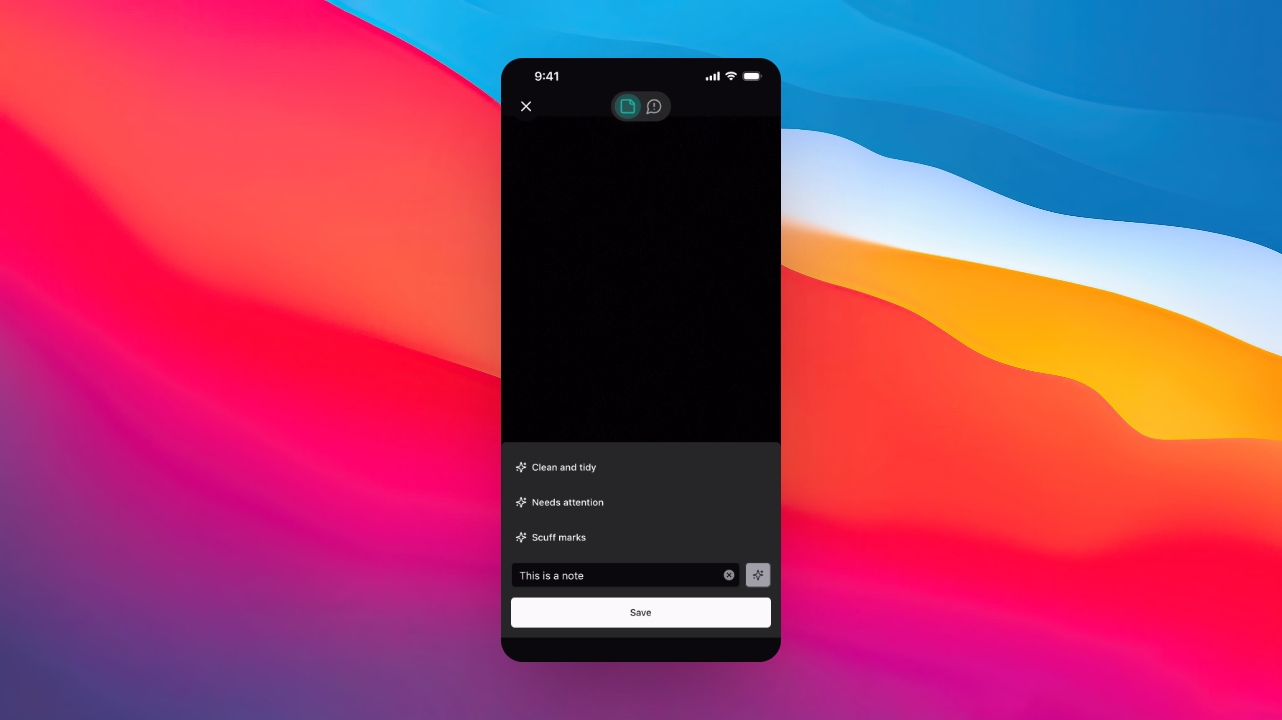
Step 10: Enhance writing
Click the Sparkles icon to use the AI feature for enhancing your writing.
Step 11: Create actions
Use the prompt icon to create actions and assign them to agents or tenants.

Step 12: Save changes
Click Save to save photos, notes, and actions during the inspection.
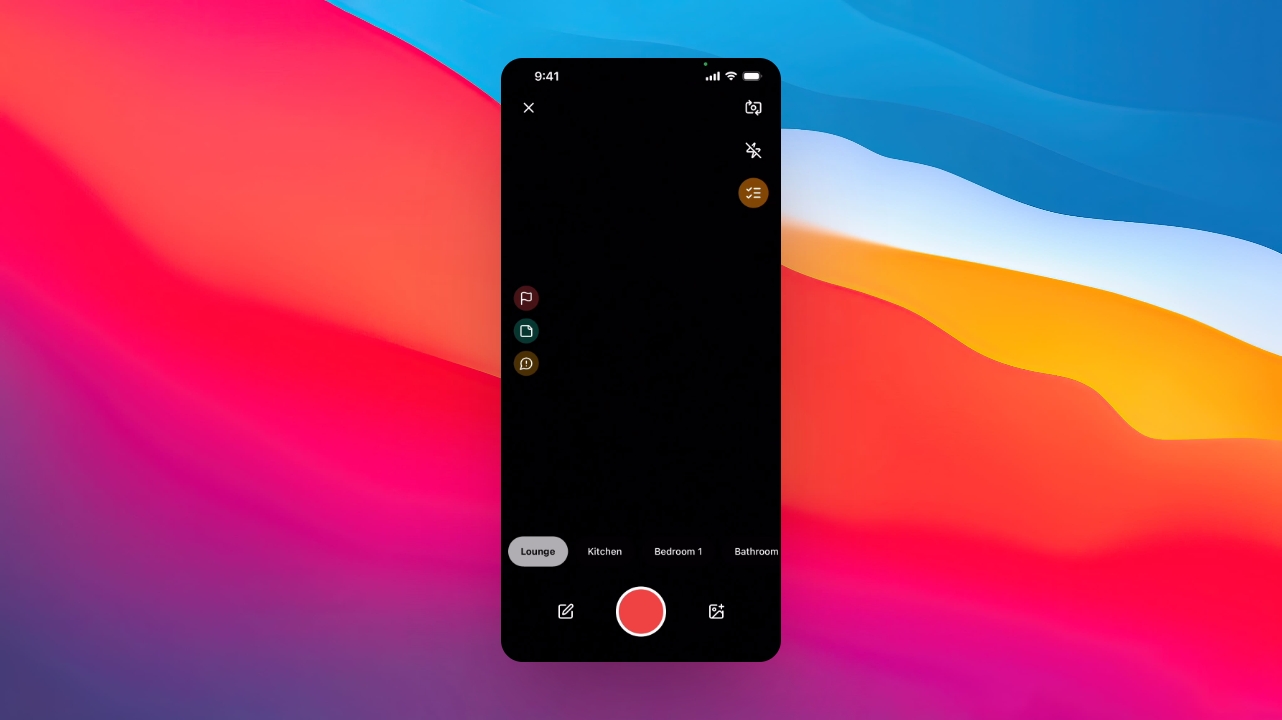
Step 13: Use camera features
Utilize the Flip icon, Lightning button, and Checklist button for camera adjustments and template preview.
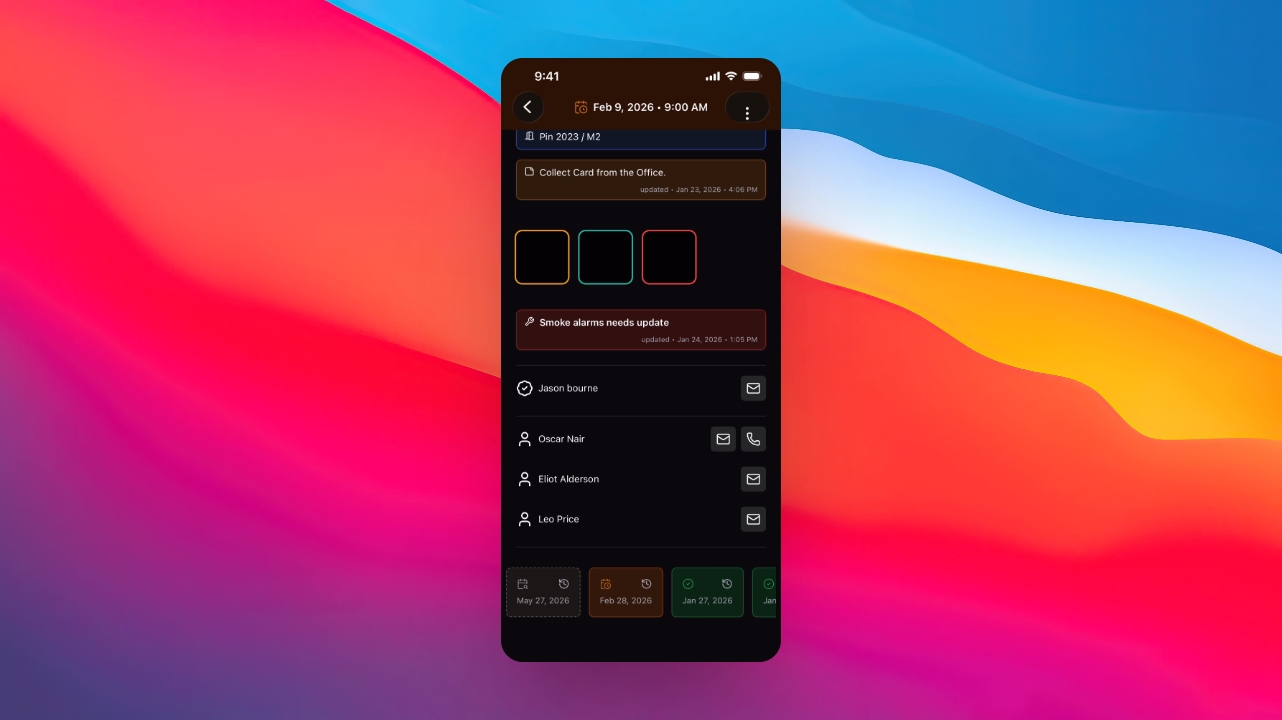
Step 14: Review inspection page
Check the property address, details, access information, and inspection history on the inspection page.
Step 15: Access additional options
Open the menu for additional options like viewing tenancy overview and editing inspections.
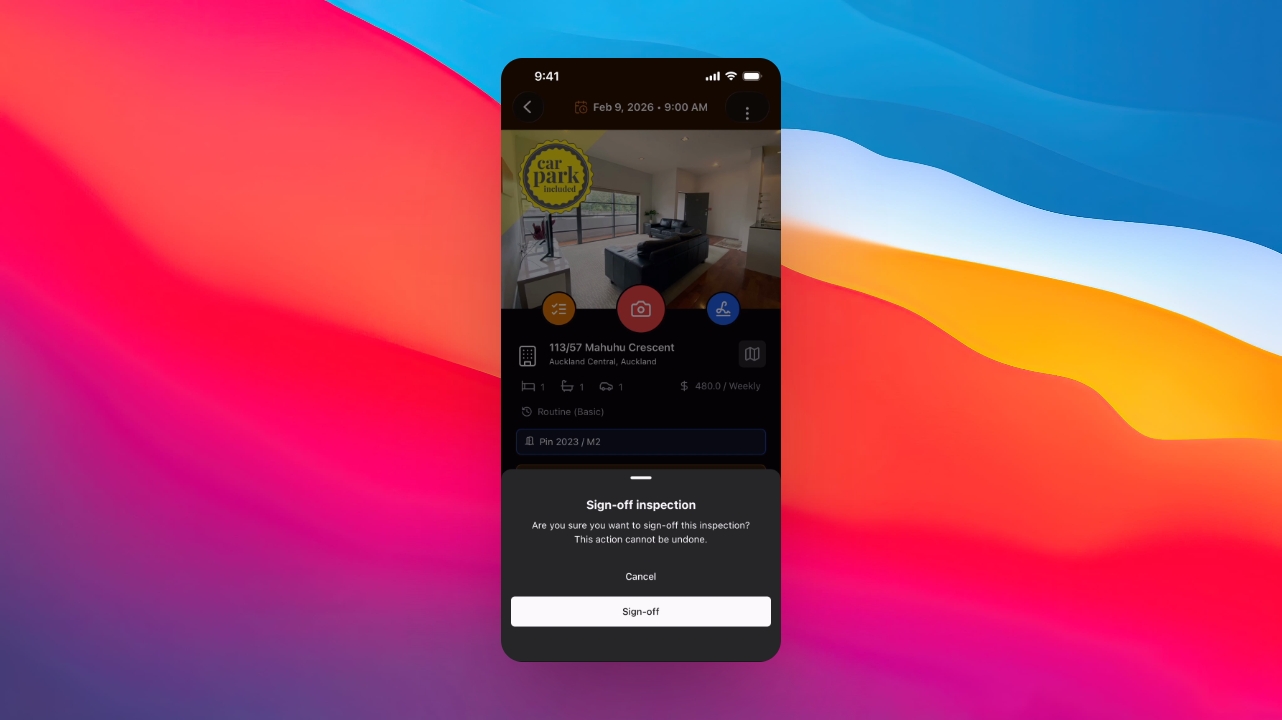
Step 16: Finalize inspection
Tap the blue signature icon to sign off and finalize the inspection.

Step 17: Pause inspection
If needed, pause the inspection to finalize later from the office.
Step 18: View all inspections
Tap on All Inspections to view completed, scheduled, overdue, and future inspections across your portfolio.