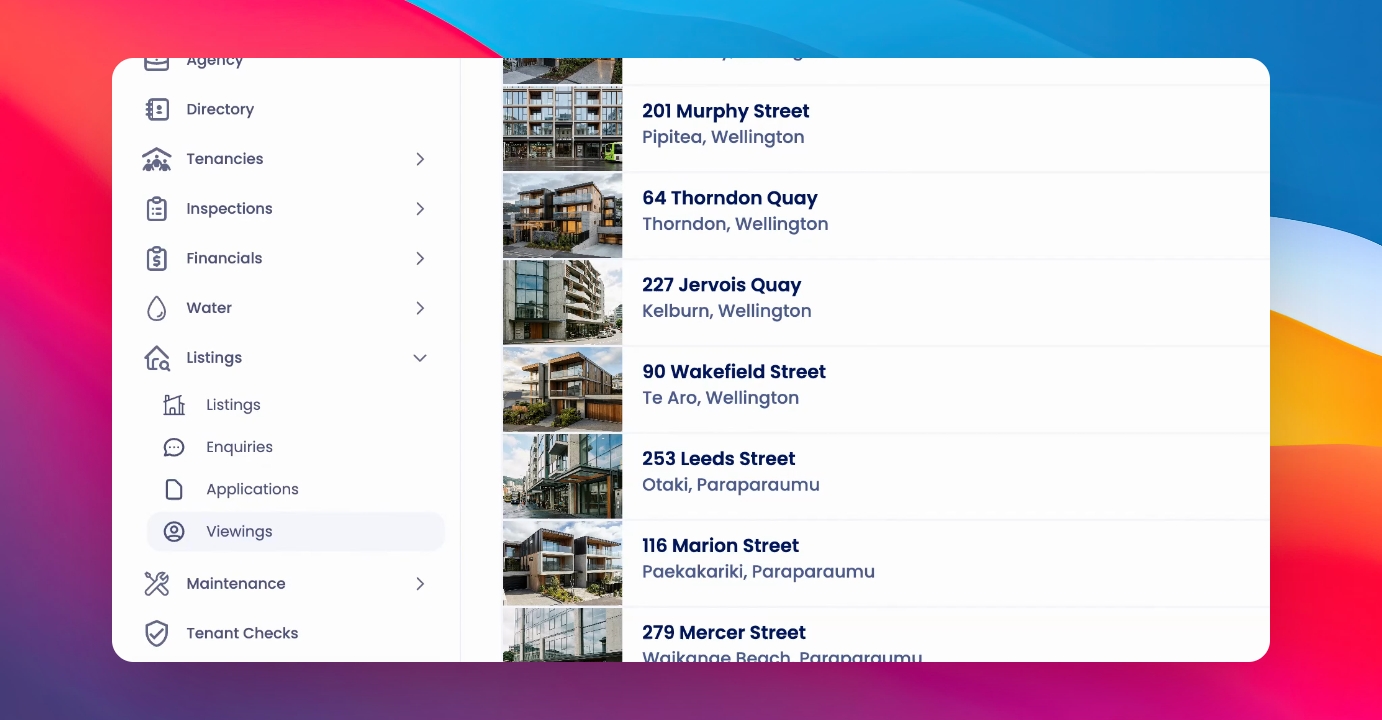
To create a viewing for a live listing, click on the Viewings menu item under Listings in the navigation bar. You'll see a list of your current upcoming viewings. Let's look at the steps:
Step 1: Click Actions
Click Actions at the top right hand corner and schedule viewings.

Step 2: Find Property
Find the property you would like to schedule a viewing for. You can search for the property in the search bar.
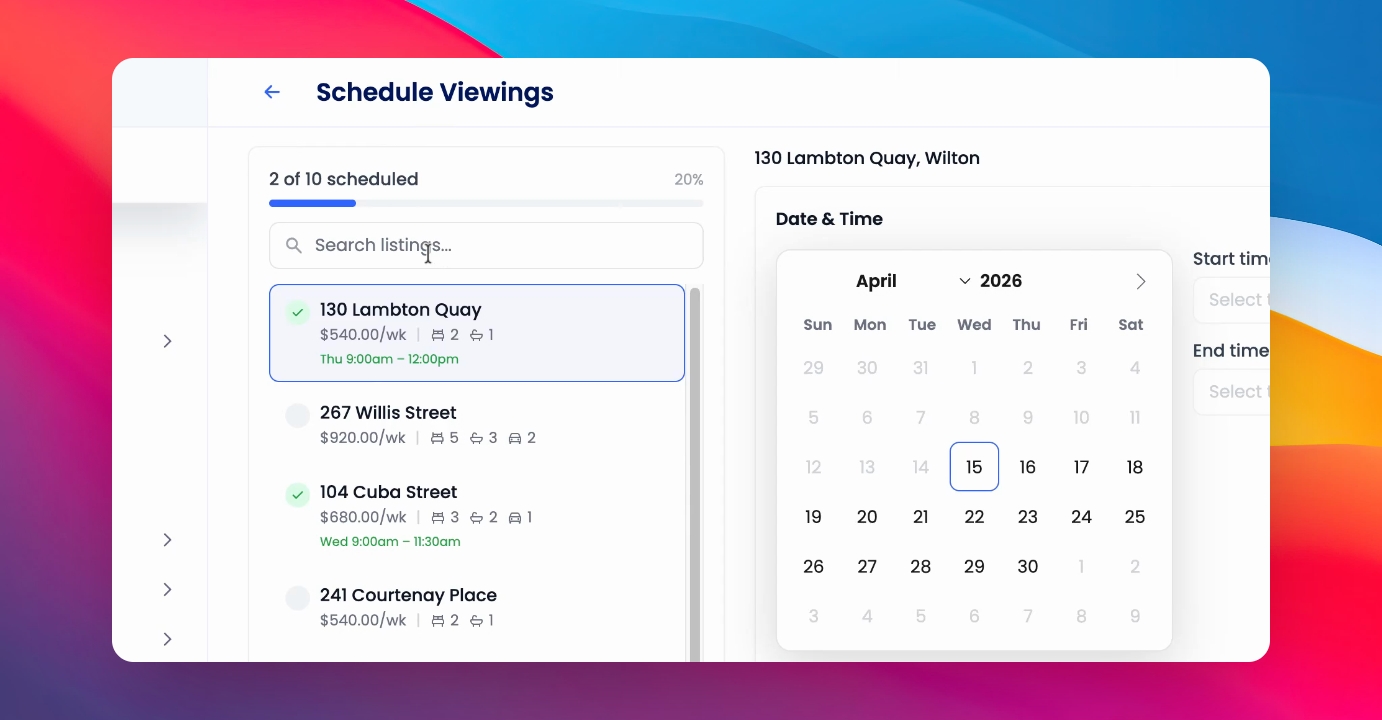
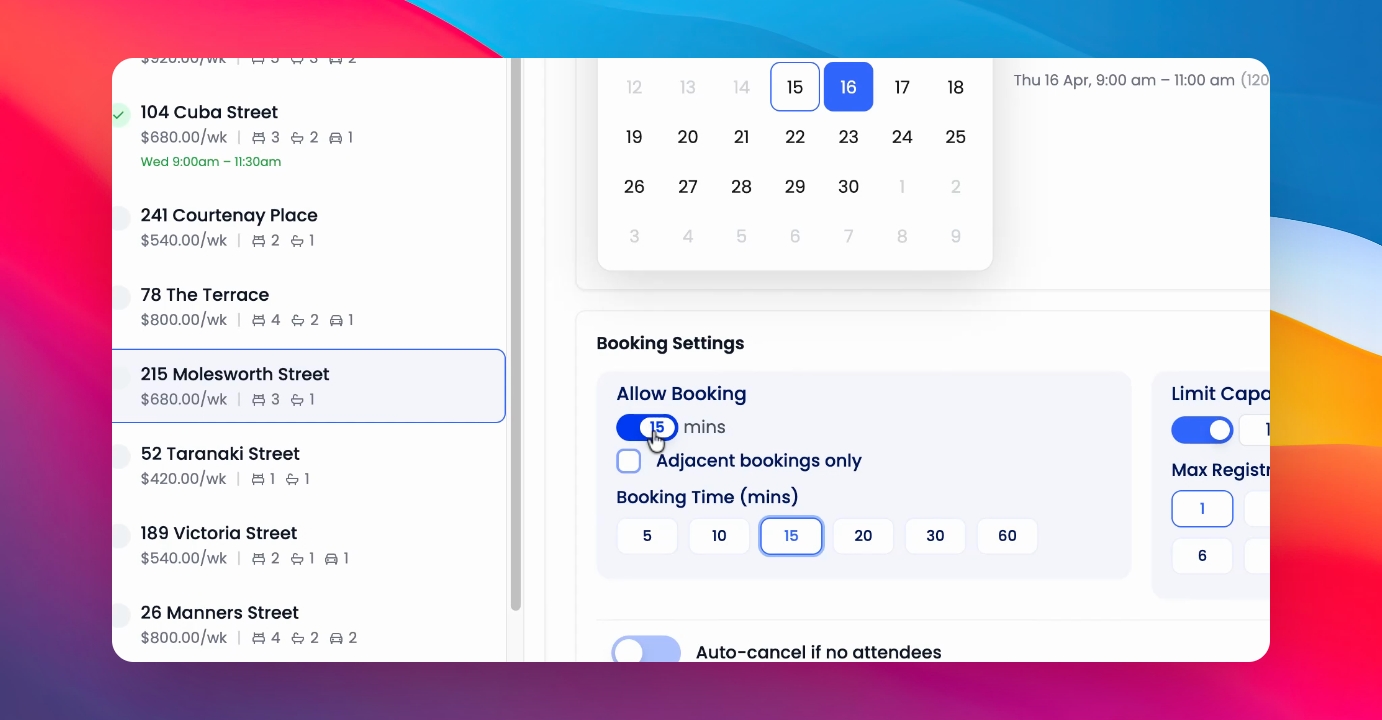
Step 3: Select Date
Once you've selected the relevant property, select a date and a booking window.
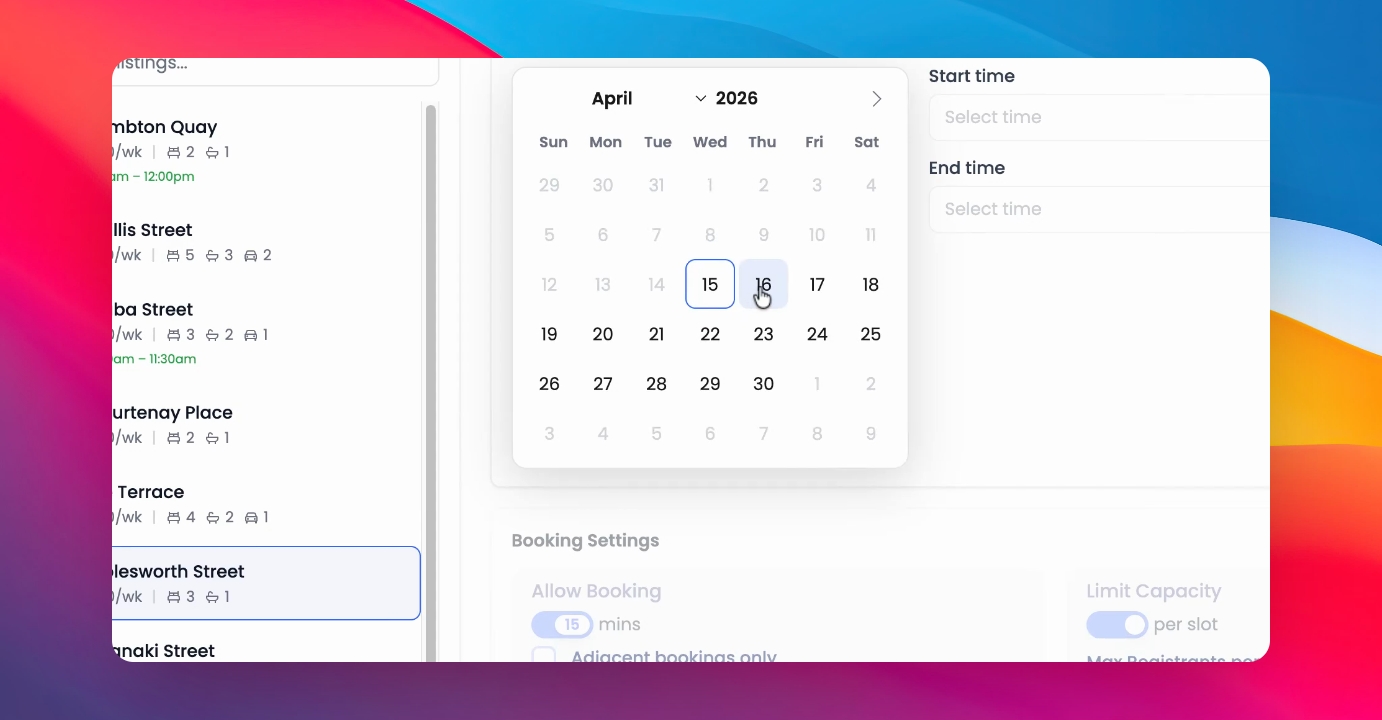
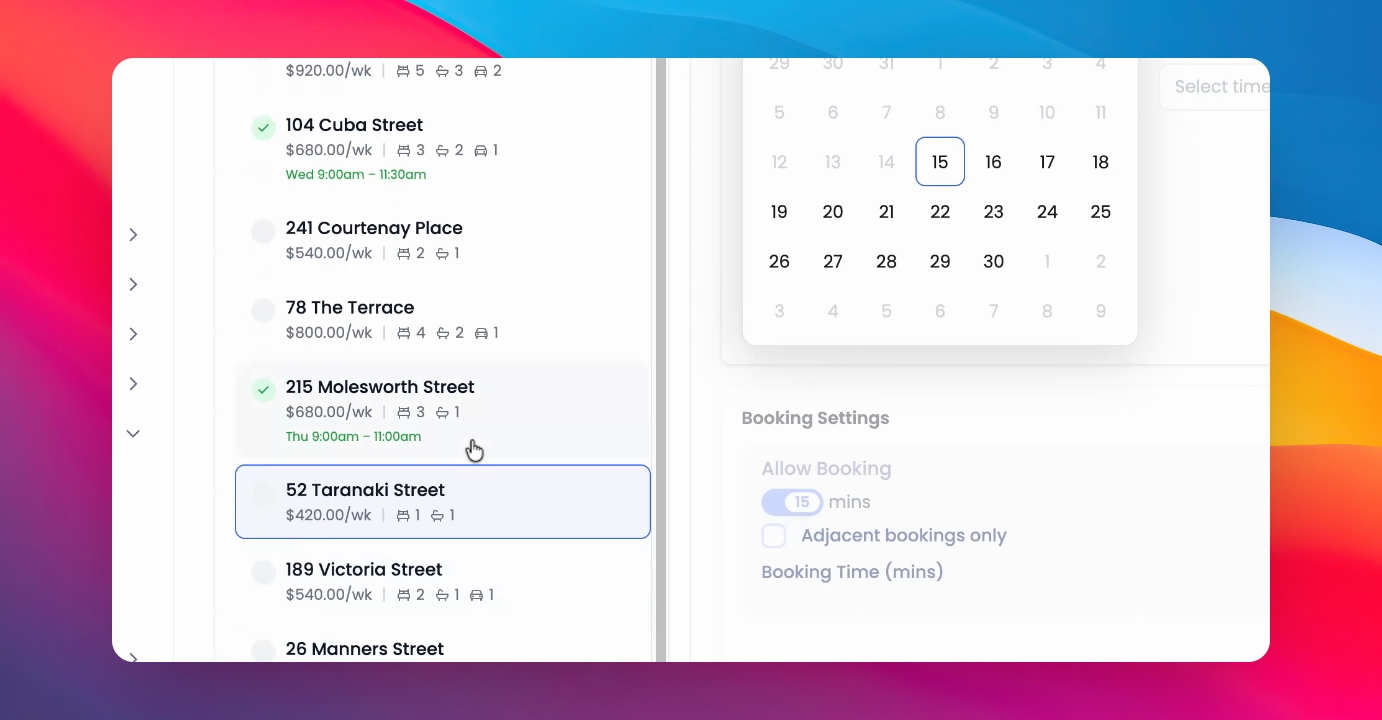
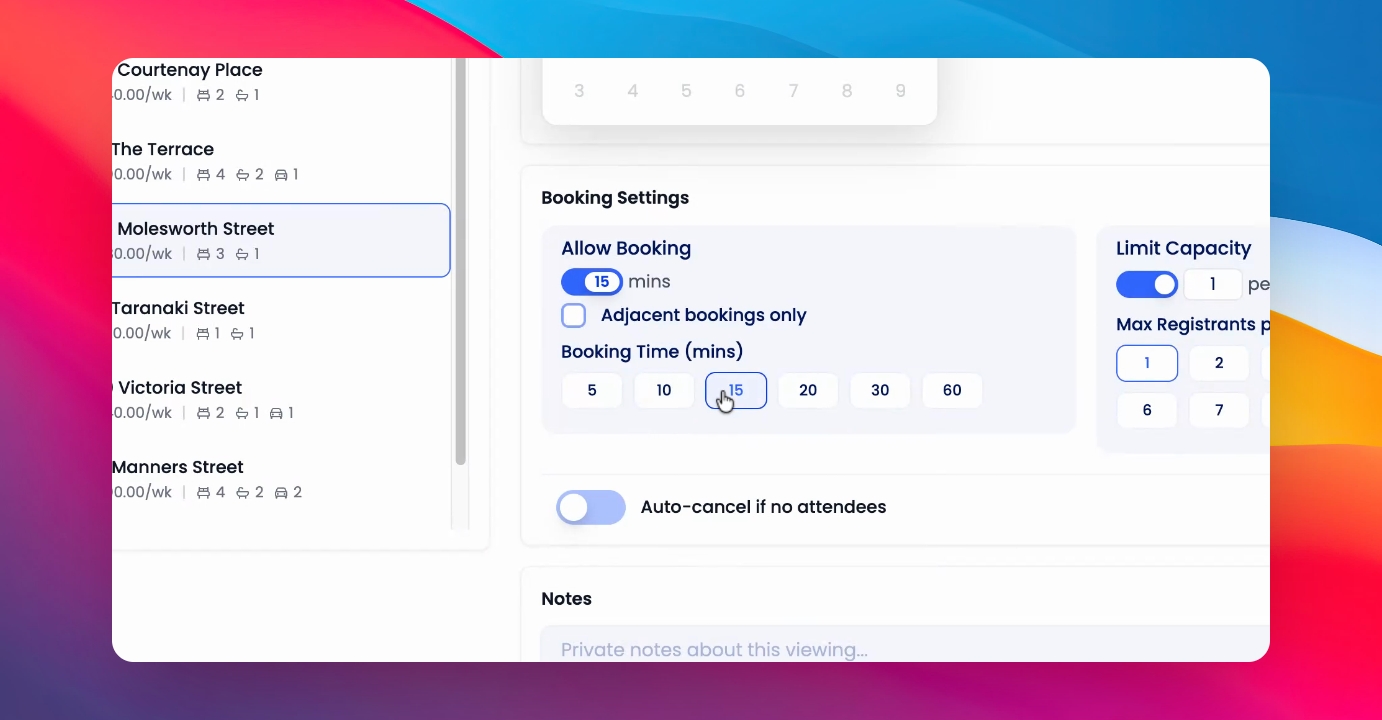
Step 4: Select Booking Slots
Next, select the booking slots. Optionally select if you'd like adjacent bookings only to be available.
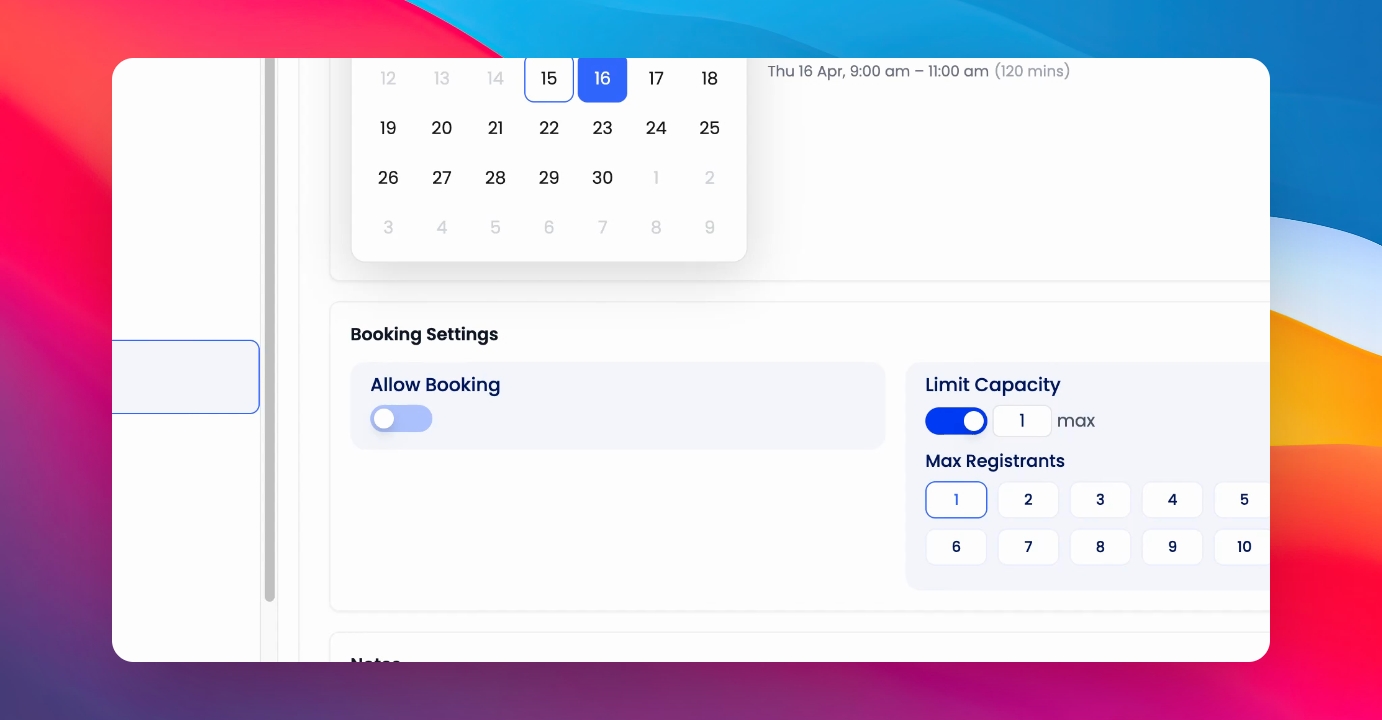
Step 5: Allow Open Booking
If you would like to not have any windows within the booking time and just allow an open booking, you can deselect Allow Booking.
Step 6: Set Capacity
You can also select Capacity Go Window to allow as many people as you like to register for the booking time.
Step 7: Add Notes
Add any notes for the viewers.
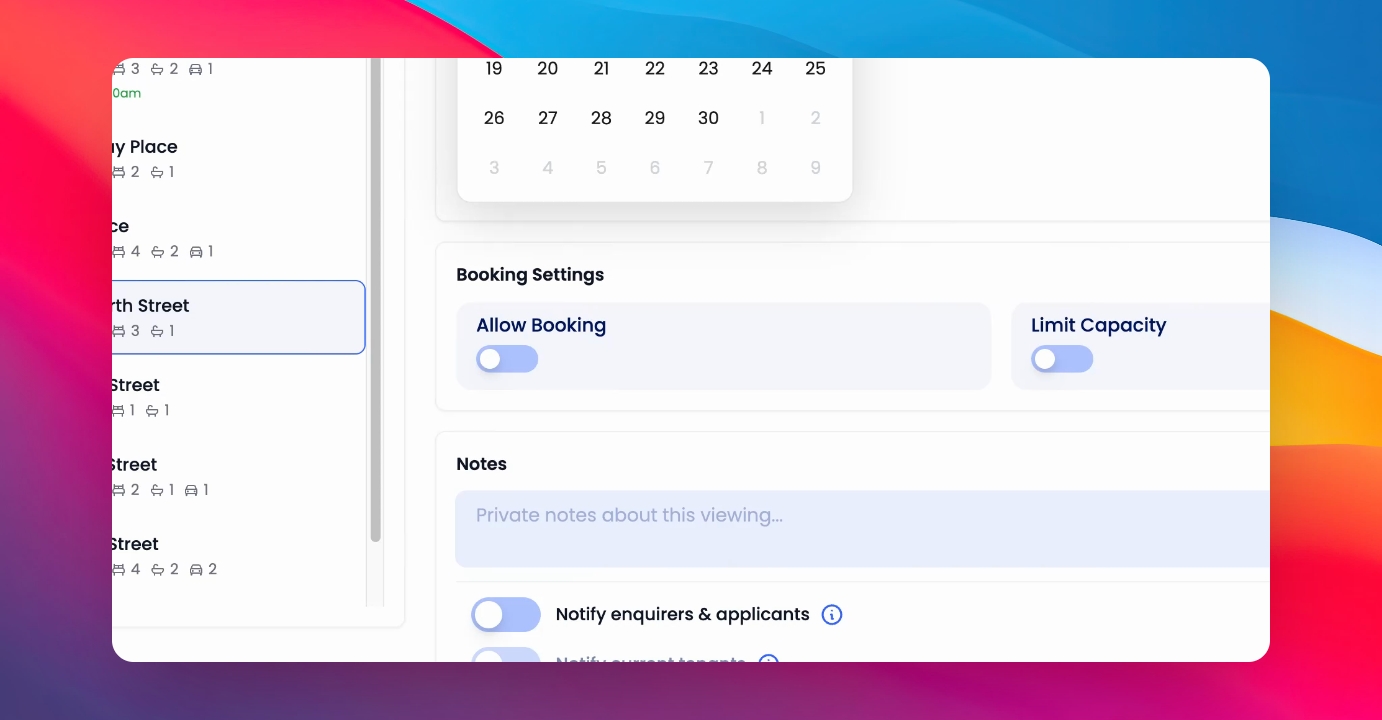
Step 8: Notify Inquirers
Toggle on whether you'd like to notify inquirers and applicants that have already acquired or applied to this listing.

Step 9: Notify Current Tenant
If there is a current tenant at the property, you can toggle on to notify them that you have booked a viewing for this time.
Step 10: Schedule Viewing
Click Schedule Viewing.
You can carry on and book multiple viewings, but you can see that this viewing has been booked.