TL;DR
1
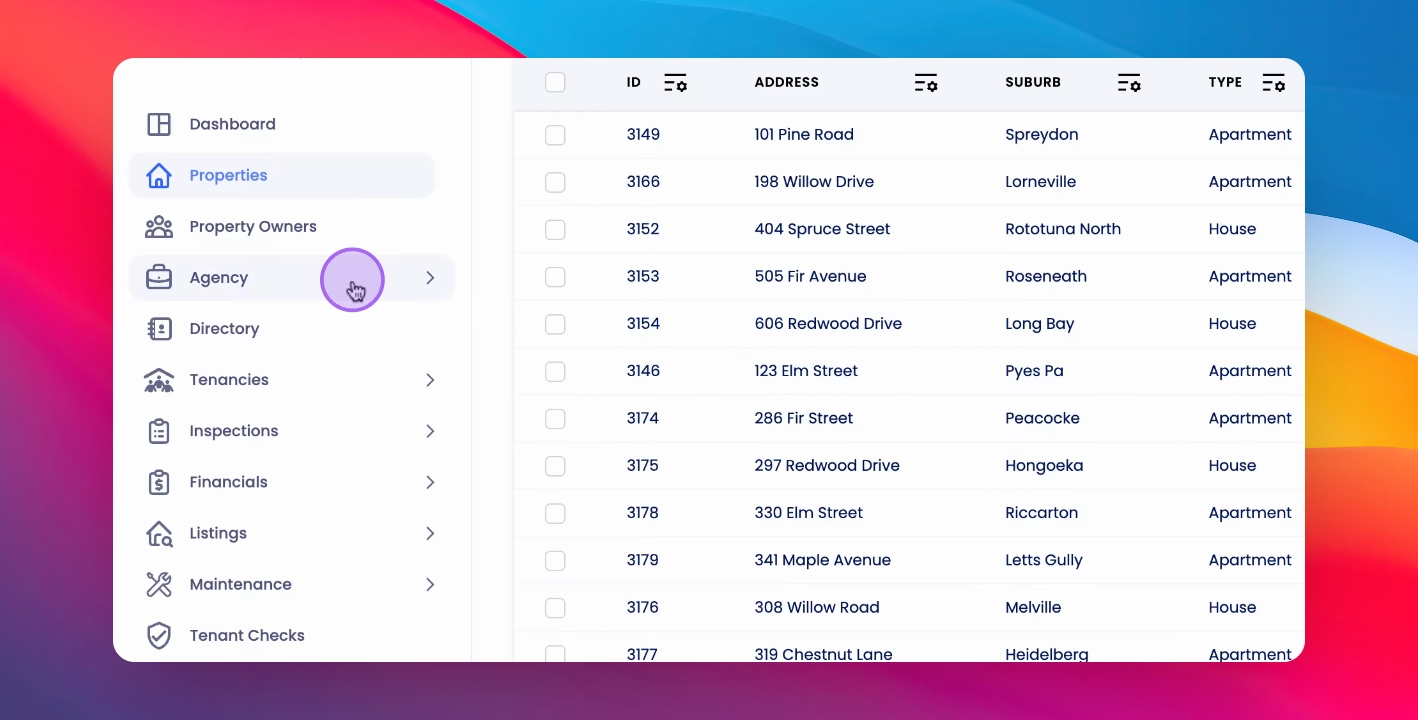
Open Agency Menu
Click Agency to access configuration settings.
2
Navigate to Tags
Go to Agency Configuration and select Tags.
3
Create Tag Group
Click Create Tag Group and name it.
4
Add Tags
Enter tags and click Add to save.
Let's Do It Together!
Step 1: Open Agency Menu
Click on Agency in the Keyhook interface.
Step 2: Access Agency Configuration
Click on Agency Configuration.
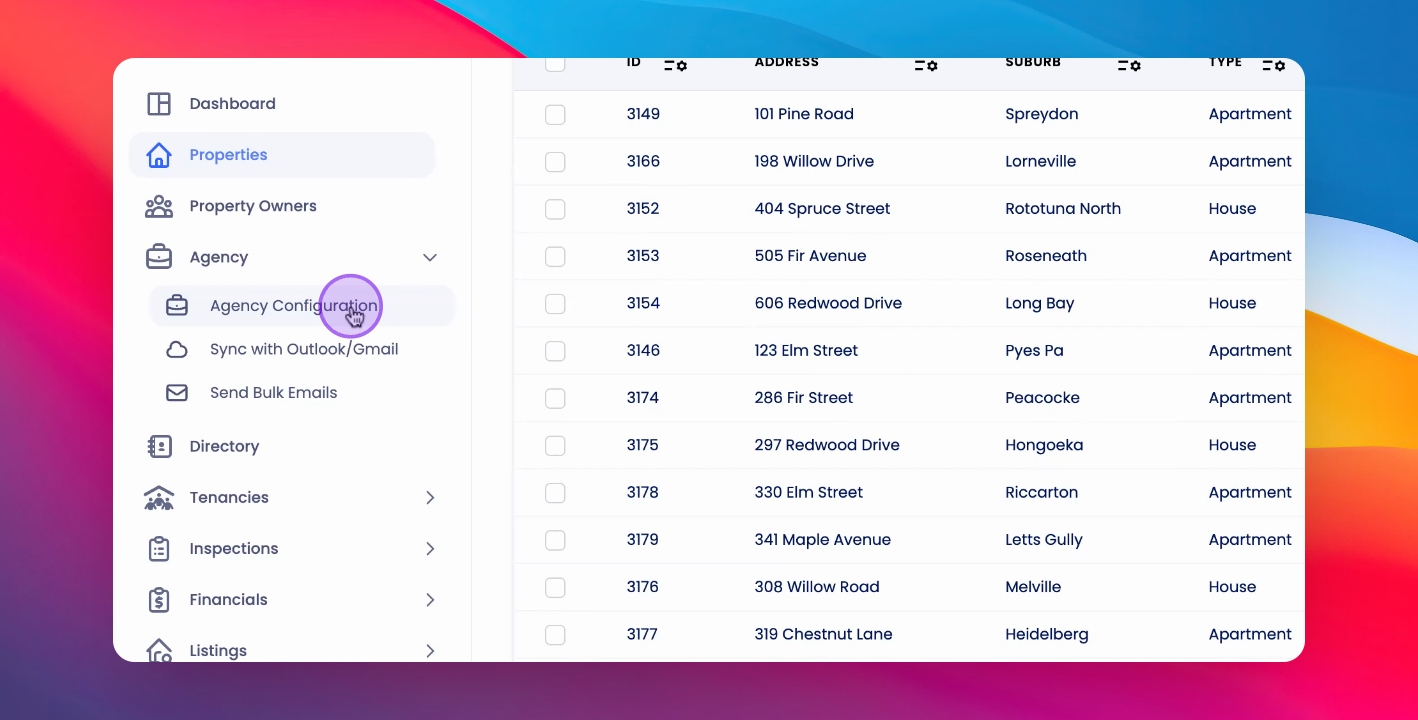
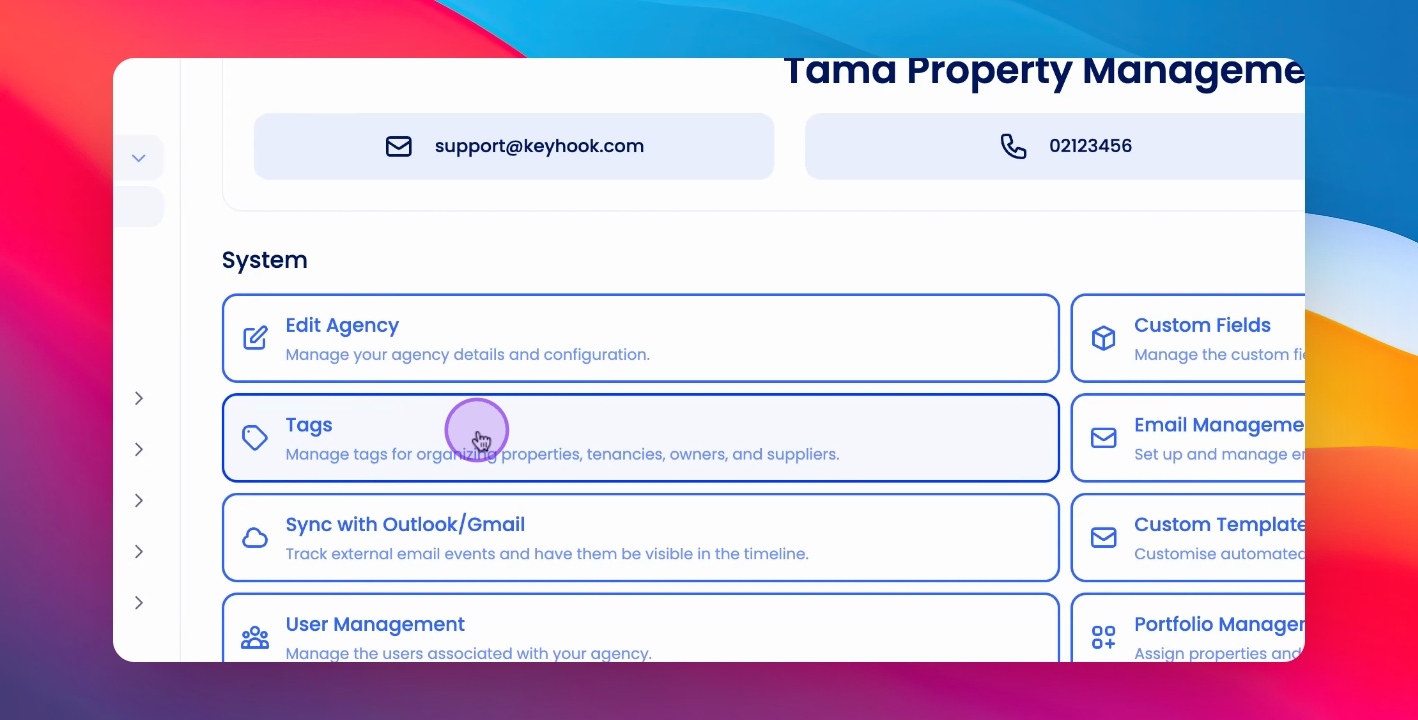
Step 3: Open Tags Section
Click on Tags.
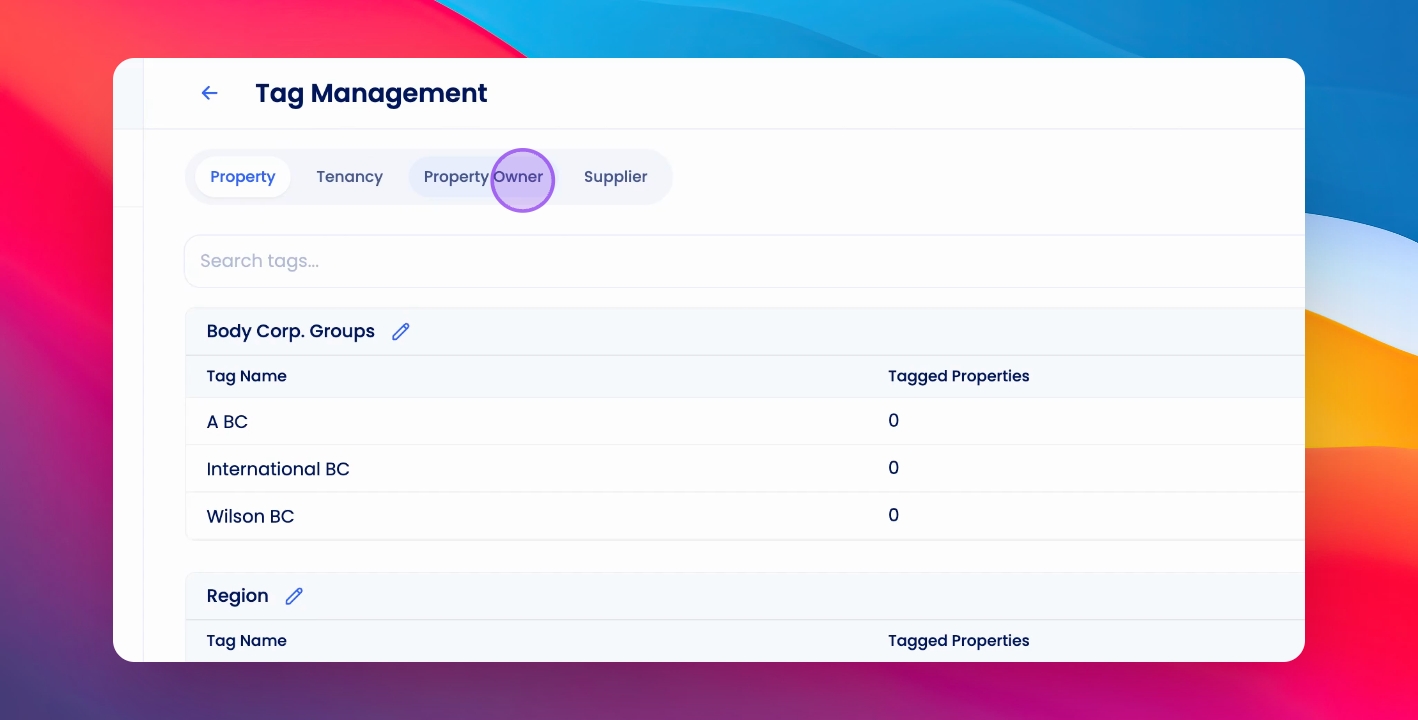
Step 4: Choose Tag Type
Select the type of tag you'd like to add, such as Property Owner.
Step 5: Create Tag Group and name it
Click on Create Tag Group.
Step 6: Confirm Tag Group Creation
Click Create to finalize the tag group.
Step 7: Add Tags
Add tags by entering them on individual lines within the created tag group.

Step 8: Save Tags
Click Add to save the tags you created.
Step 9: Manage Tag Groups
You can manage the tag groups from the Tags page.
If you need more help or have any questions, just reach out to us at support@keyhook.com — we're always here to help!
Help us improve this article. Your opinion means the world to us!
Click on this link to give a feedback: Support Article Feedback Form