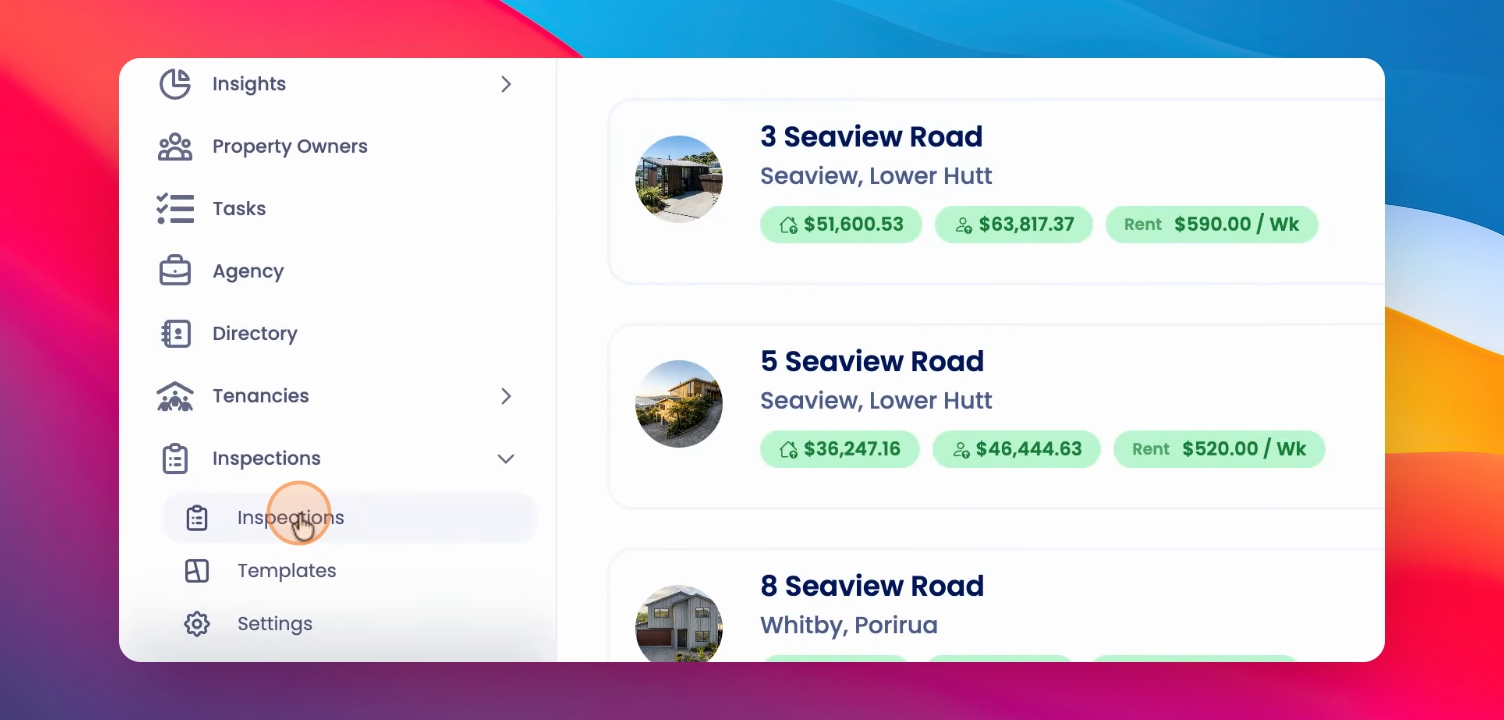
To bulk checkout keys for inspections, start by preparing your inspections list. Let's look at the steps:
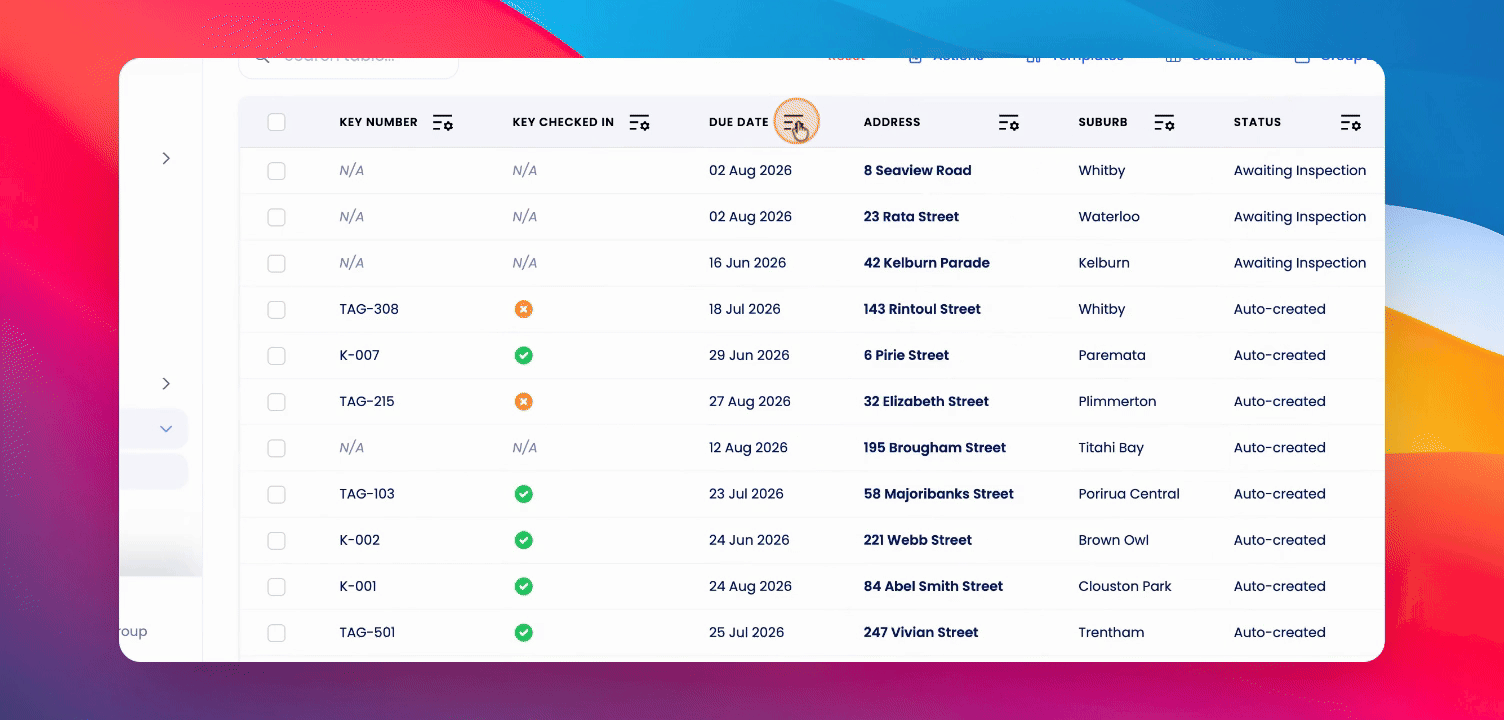
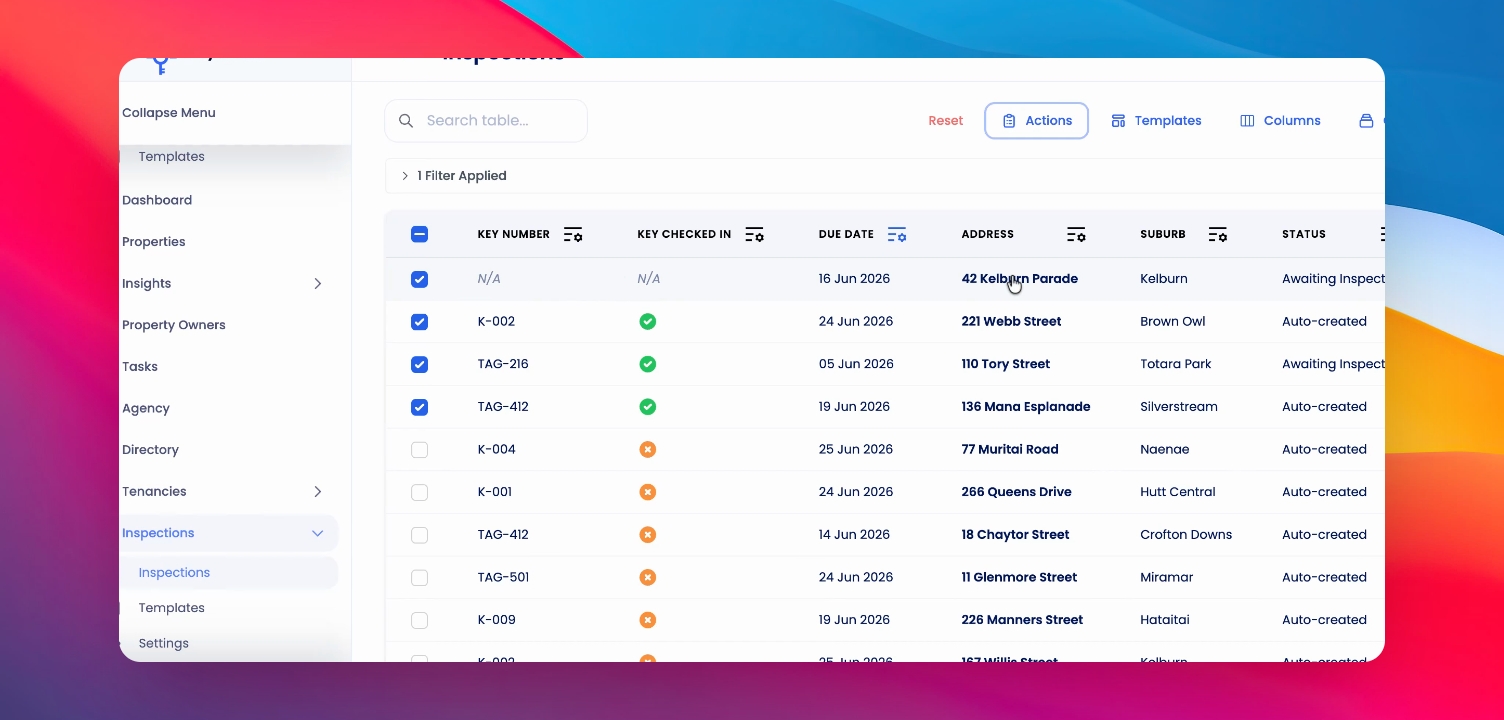
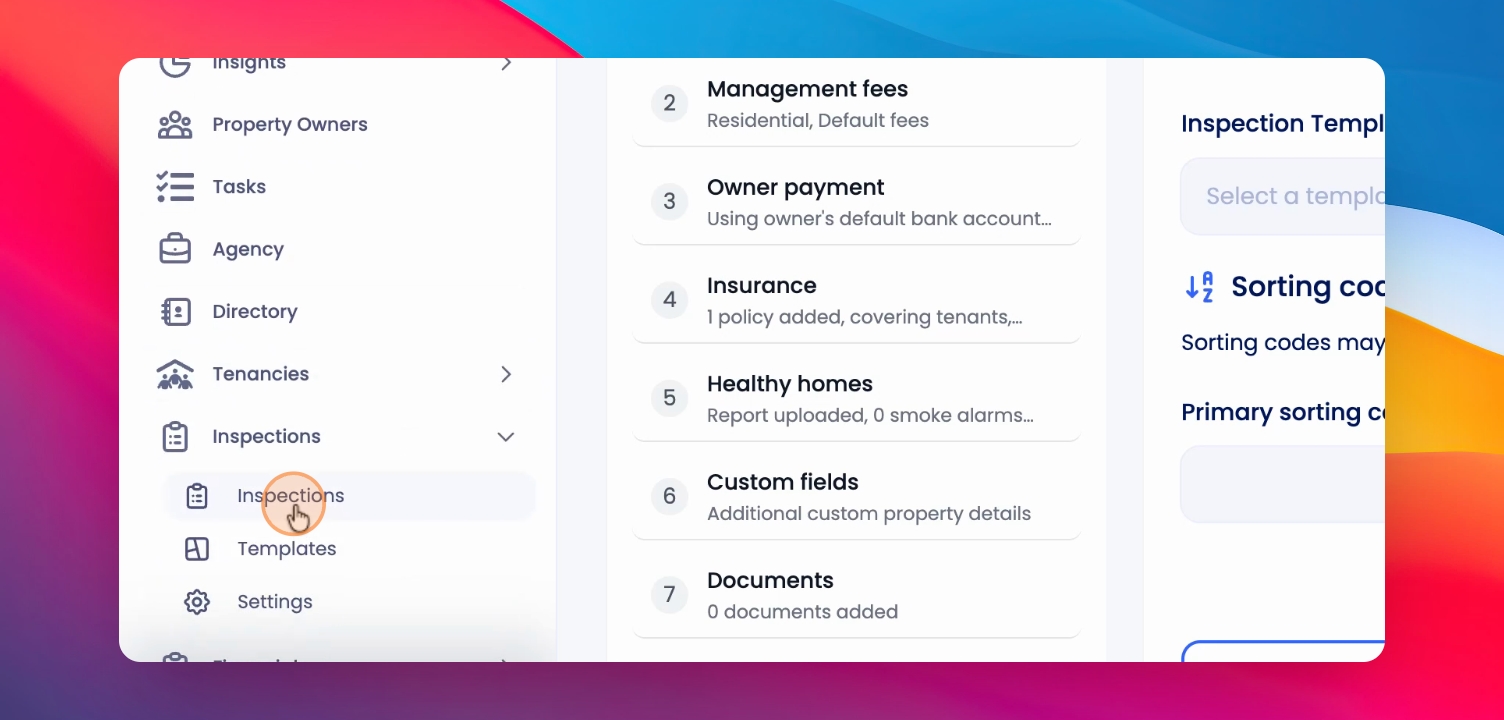
Step 1: Edit Columns in Inspections List
Go to the Inspections list and edit the columns to display the information you want. It is helpful to include Key number and keys checked in columns.
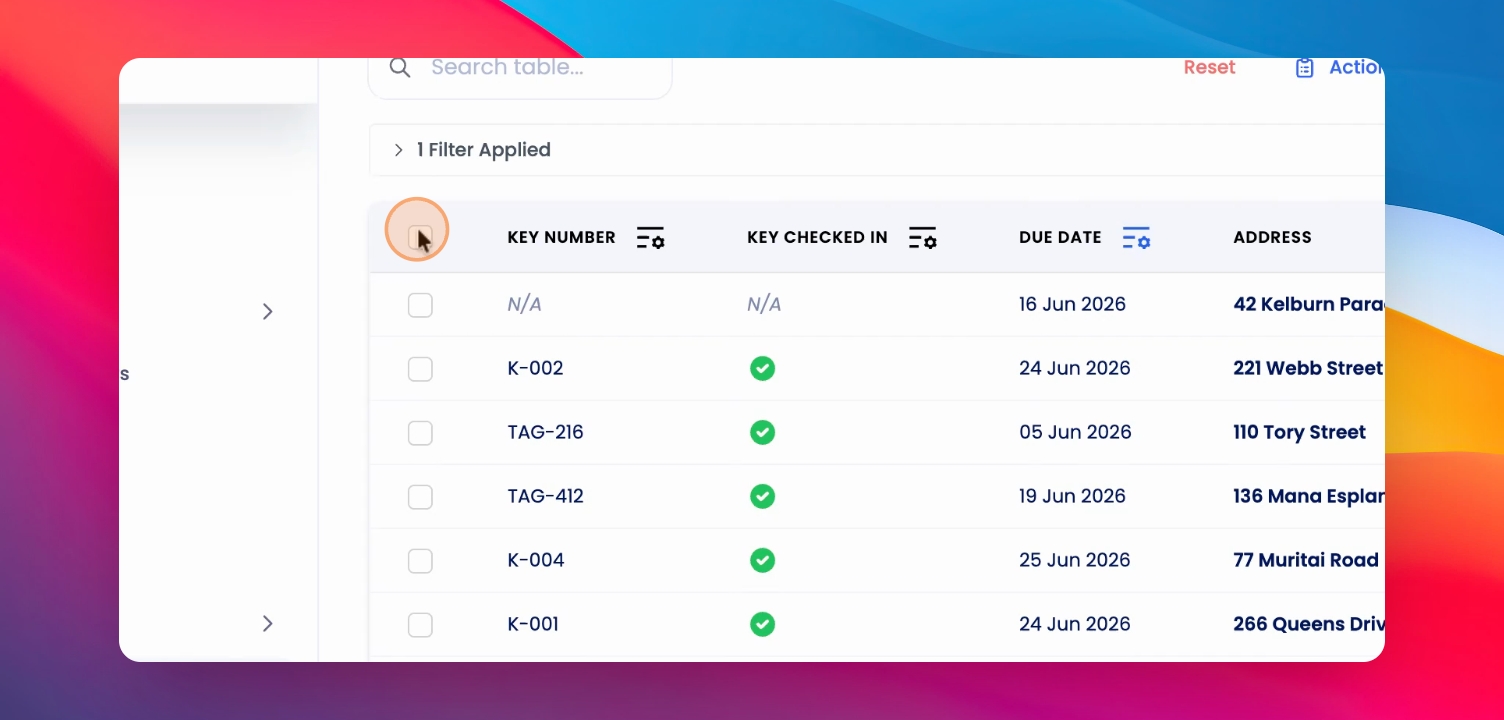
Step 2: Filter Inspections
Apply filters to show only the inspections you want to work with.
Step 3: Select Inspections
Select all inspections you plan to complete by ticking their checkboxes.
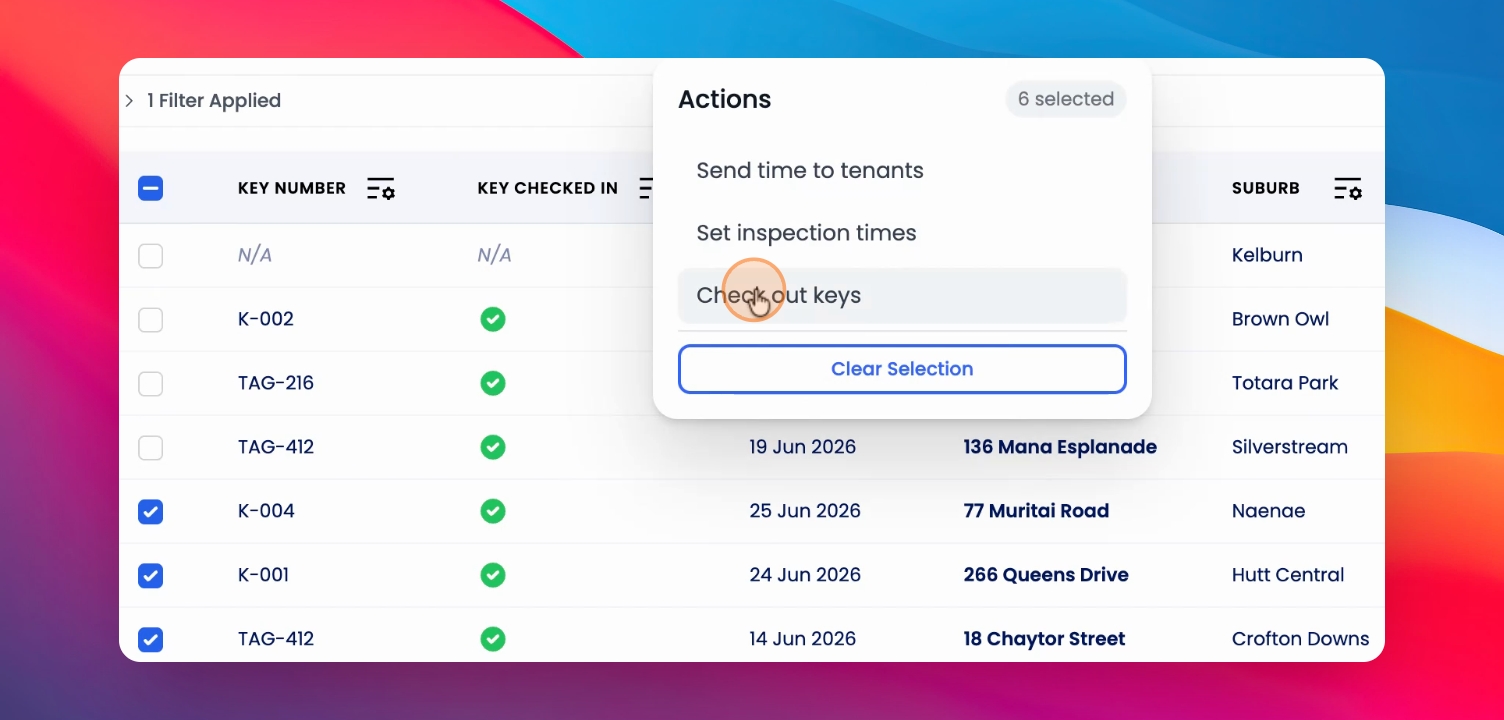
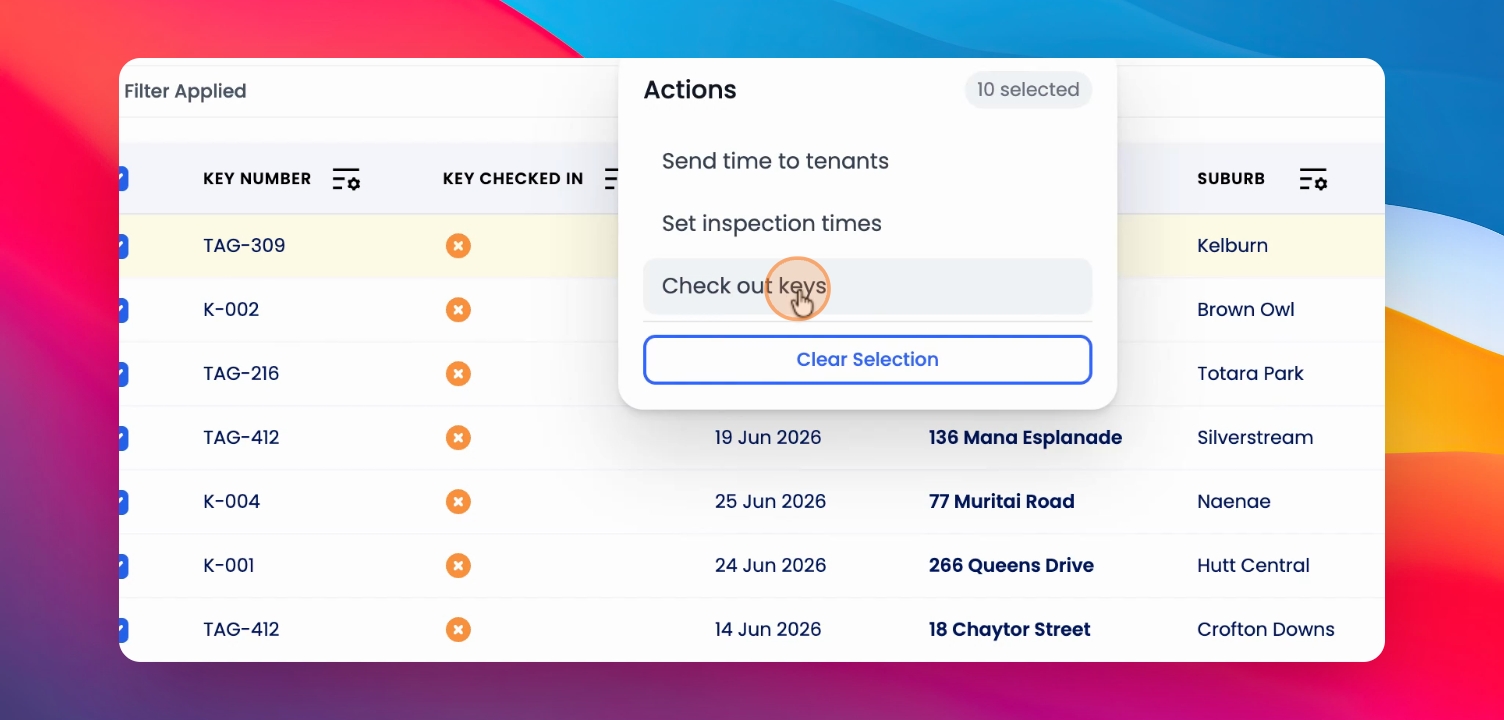
Step 4: Checkout Keys
Click on Actions and select Checkout Keys to check out the selected keys.
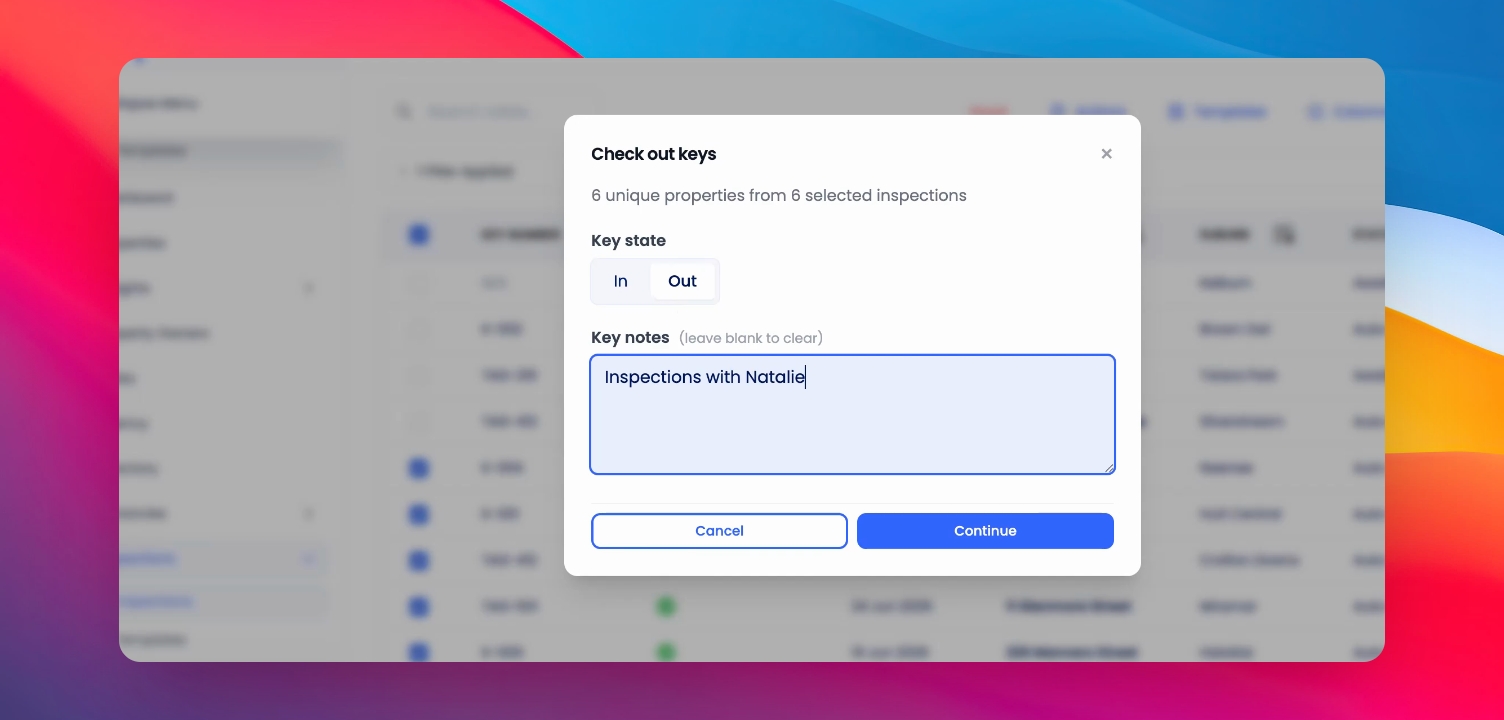
Step 5: Add a Comment and Continue
Add a comment if needed, then click Continue.
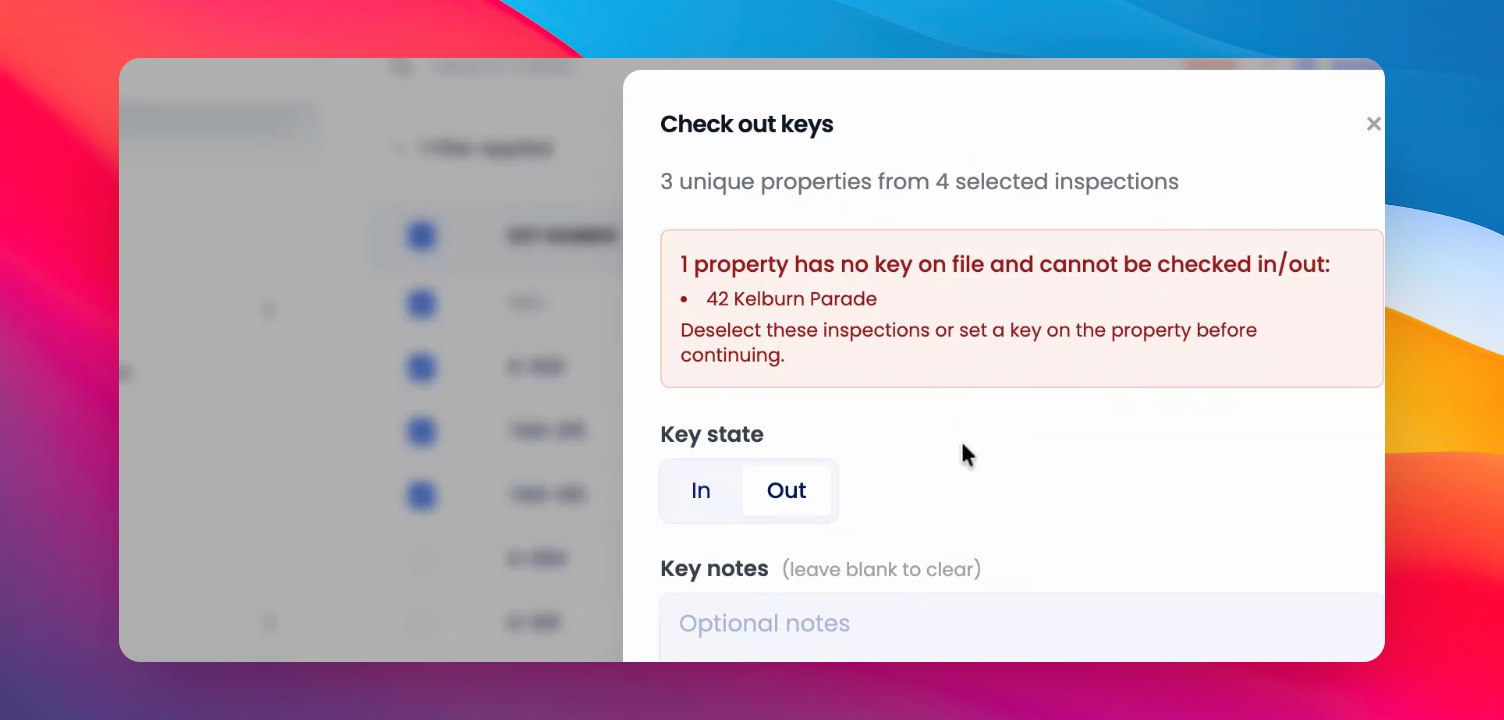
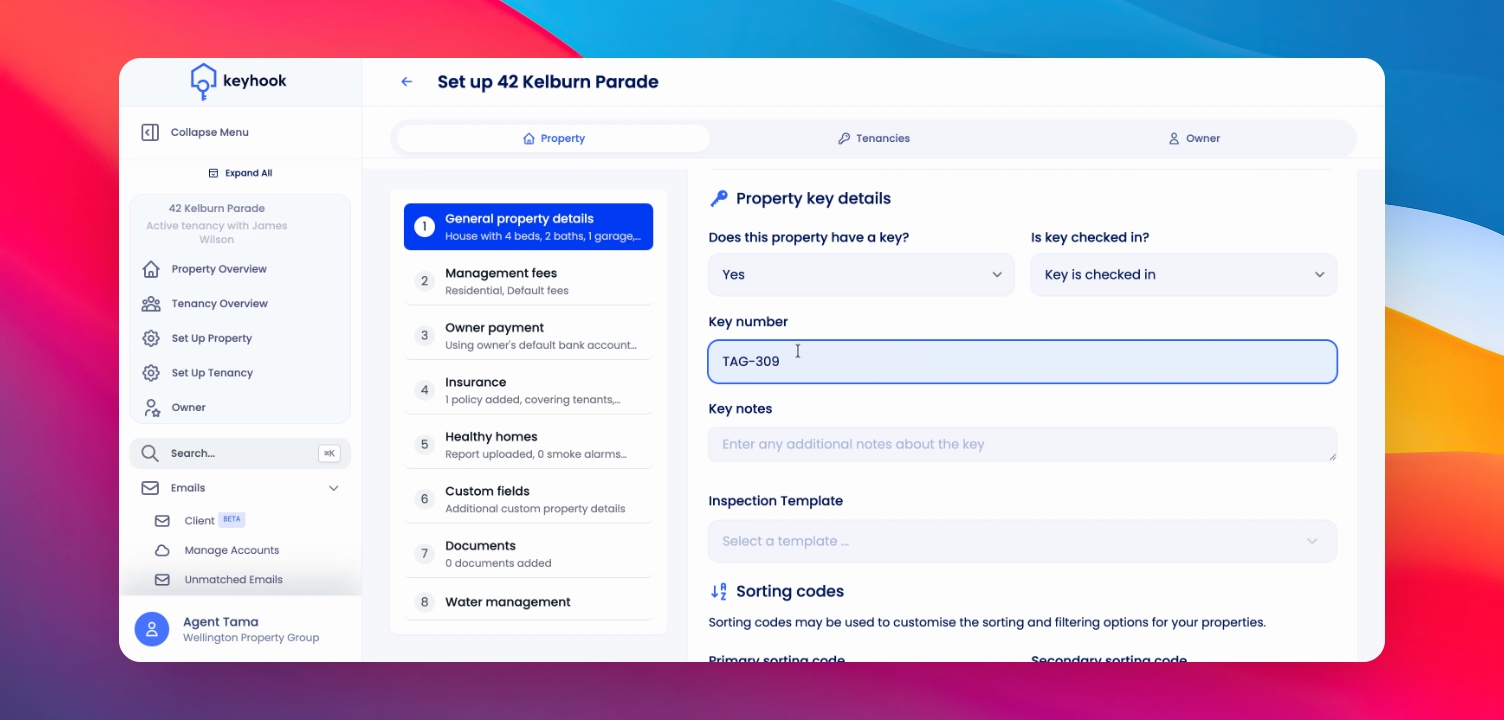
Step 6: Add Missing Key Numbers
To resolve missing key numbers, click on the property, go to Setup Property, and in Step 1, set Key number to Yes. Add the key number and save.
Step 7: Retry Checkout After Adding Key Number
Return to the inspections table and confirm the inspection now has a key number. Click on Actions and check out the keys again.
Step 8: Check In Keys
When all inspections are complete or you want to check in the keys, repeat the same actions to check in the keys.
Step 9: Save and Use Templates
If you prefer the view with key numbers at the start, save it as a template. If the view resets, select your template and click on Templates and select your templates to restore it.
